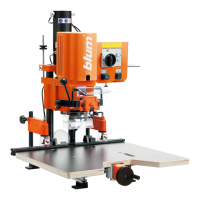
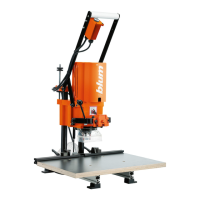
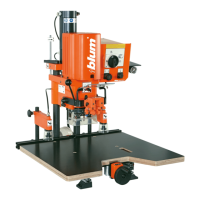
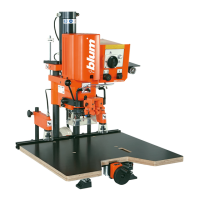
4.1 - Cruciform mounting plate assembly
4 - Assembly
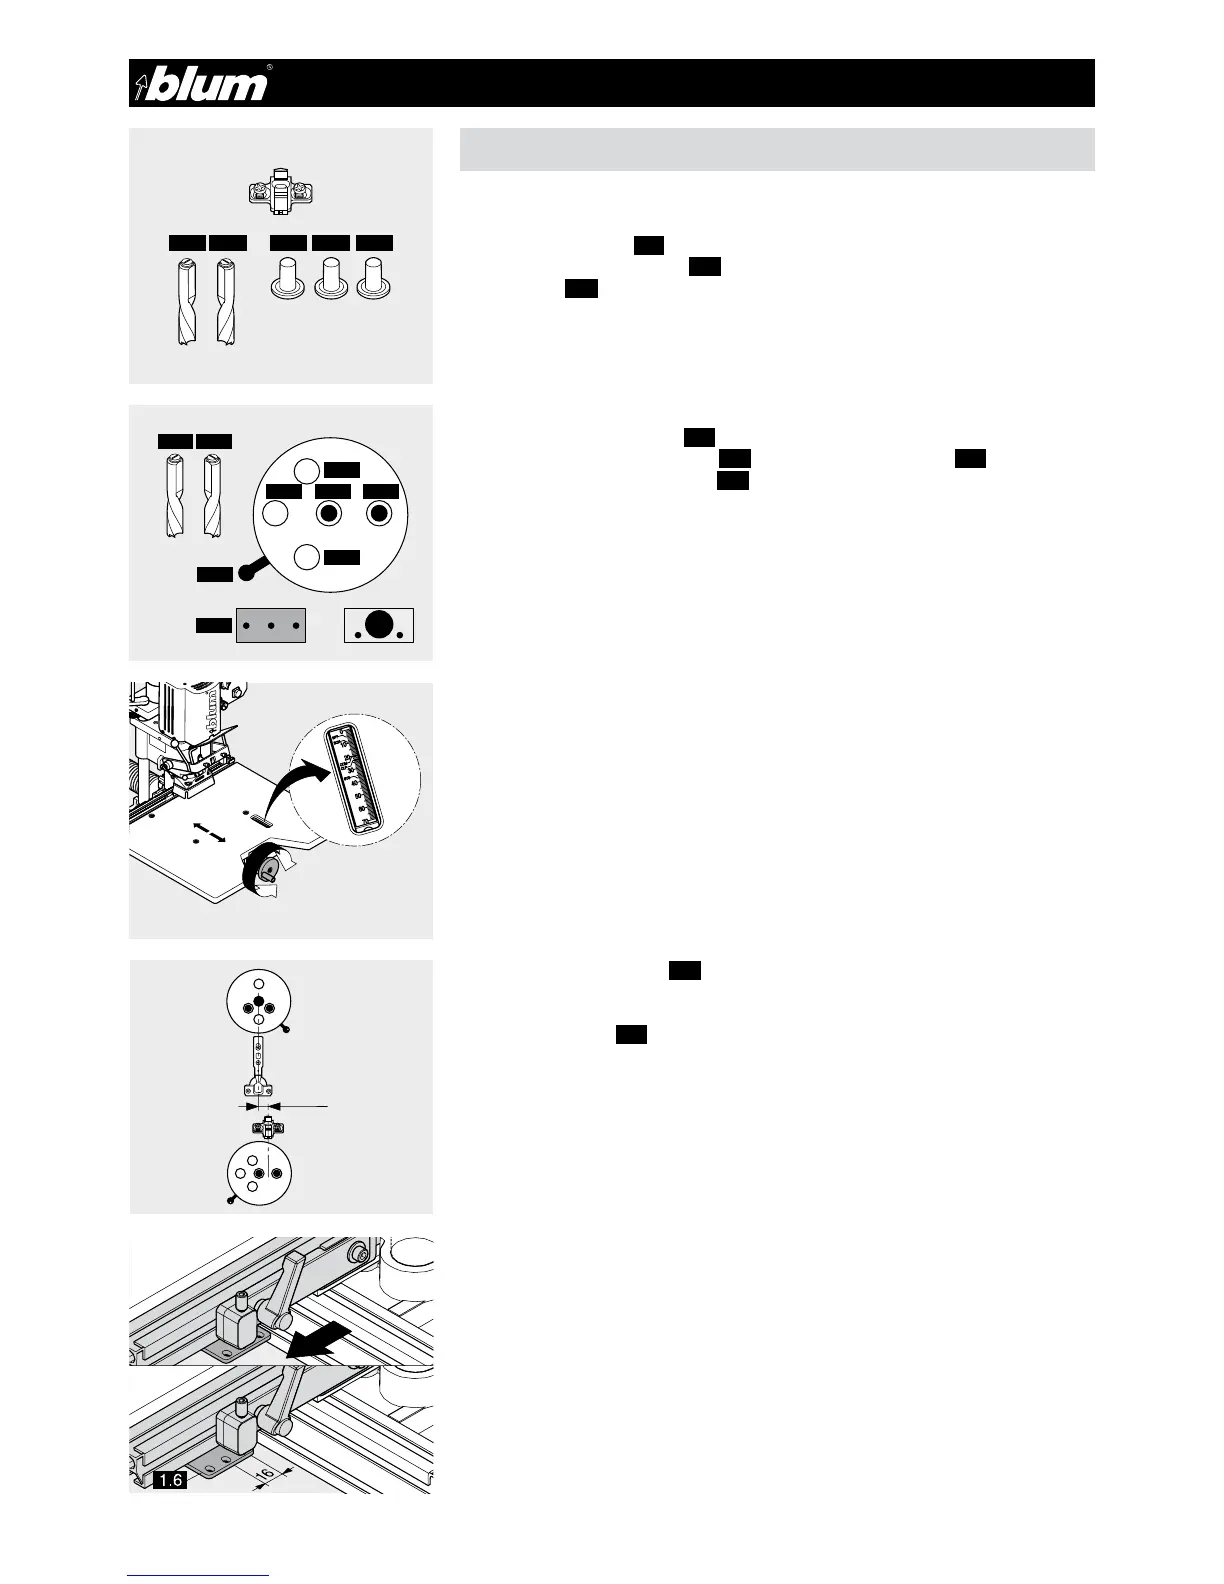
4.1.1) Required parts
• Drill bits:
1 x ø5 mm clockwise (4.1) (marked in black)
1 x ø5 mm counterclockwise (4.2) (marked in red)
• Cover caps (3.3)
• Cabinet Side
• Cruciform mounting plate with system screws
4.1.2) Setting drill bit length (see point 3.1.2)
IMPORTANT:
This step will align the 0 point offset for the cruciform mounting plate.
(See point 4.1.8)
4.1.3) Setting drilling pattern
• Pull drilling head fixing knob (3.5).
• At the same time, move the lever (3.6) to the “Hole Group” symbol (4.3)
• Release drilling head fixing knob (3.5).
4.1.4) Installing drill bits into the chuck (see point 3.1.4)
4.1.5) Checking drilling depth setting (see points 3.1.5 / 3.1.6)
4.1.6) Setting the cam speed (see points 3.1.7 / 3.1.8 / 3.1.9)
4.1.7) Setting the stop system
• Set the desired dimension using the hand wheel
• or set the stop system to SY using this fixed setting (the drilling distance is 37 mm)
4.1.8) Setting swivel stops (1.7)
a) If the bottom edge of the door should be flush with the bottom edge of the cabinet,
only the base ruler (1.2) needs to be re-positioned.
Repositioning the ruler:
• Loosen screws
• Move ruler 16 mm in the direction of the outside drill bit
• Secure screws
4.2 4.1 3.3 3.3 3.3
Ø 5 Ø 5
4.1
3.6
4.3
3.3
3.3
3.3 4.1 4.2
4.2
 Loading...