4.0 Installation
The Lemur series printer was designed to be mounted either on a desktop or shelf (horizontal model) or vertically in
a counter top (see Appendix B for installation of vertical printers). Lemur-S model printer is not able to be mounted
vertically.
Prior to site preparation and installation, the printer should be powered up and run in the self-test mode.
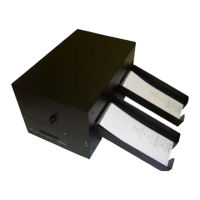
• Lay the printer flat on a counter top. On a Lemur-S model printer you will need to remove the side cover.
• Attach the AC cord and interface cable into the proper connectors. The printer is designed to be connected to
only one interface port at a given time. The printer should not be operated with two interface ports being used at
the same time.
• Install ticket hopper (if applicable) to catch the tickets. Lemur series printer without a cutter won’t have a ticket
hopper.
• Recommend that the stack of paper stock be fanned prior to use. This may be done by securely holding one side
of the stack and fanning the other. You will want to do both sides. This fanning will help remove any paper dust or
debris that may be on the ticket stock, as well as reduce the paper dust in the printer too.
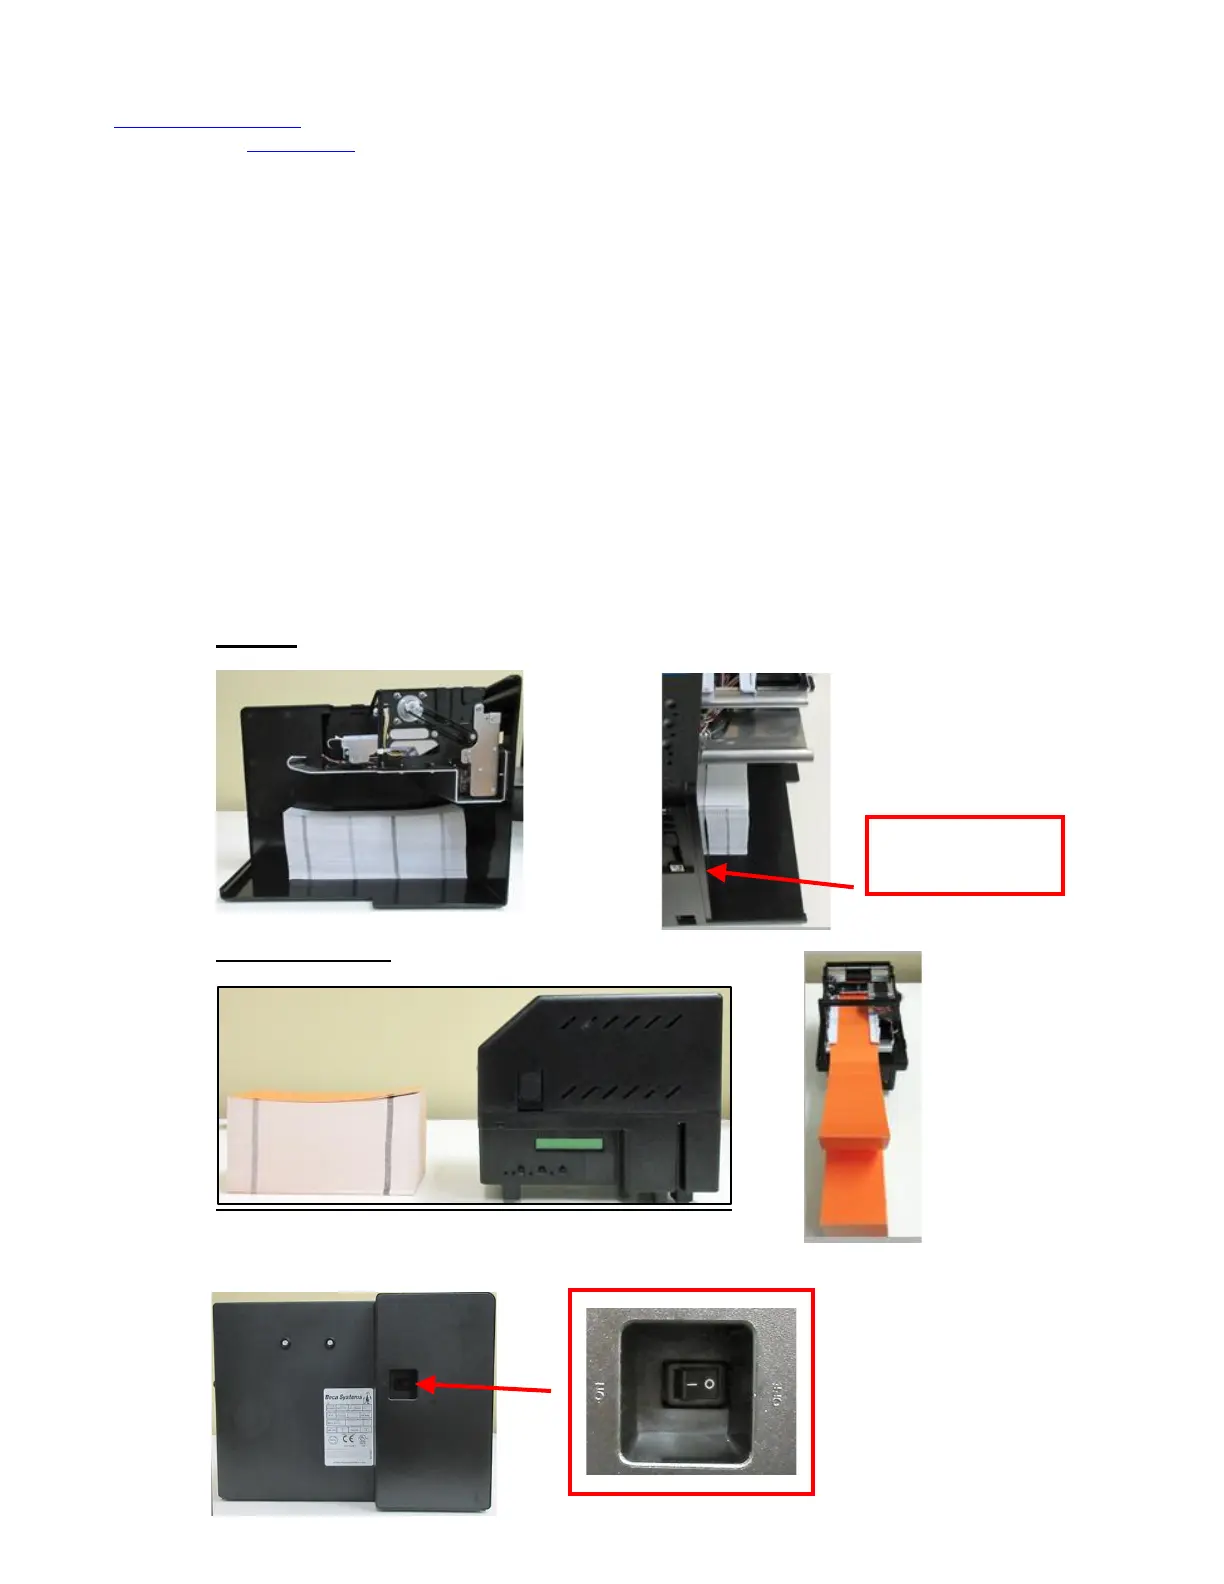
• For Lemur or Lemur-K printer place the media directly behind the printer and in line with paper path.
For Lemur-S place the media inside the printer. You will need to make sure the media has the proper orientation.
o Lemur-S
o Lemur or Lemur-K
• Turn power on.
o Lemur-S