APPENDIX J – CONFIGURE WI-FI CONNECTION
To use the wireless capabilities of a printer equipped with the optional 802.11b wireless interface (Wi-Fi), it will
first be necessary to setup the printer with information and security settings that match the settings of the IEEE
802.11b compatible wireless server/router you are connecting to. Printer purchased after April-2014 is able to
support IEEE 802.11g compatible wireless server/router. Printers purchased after July 2020 can support
802.11 b/g/n wireless networks.
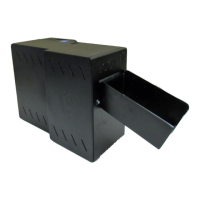
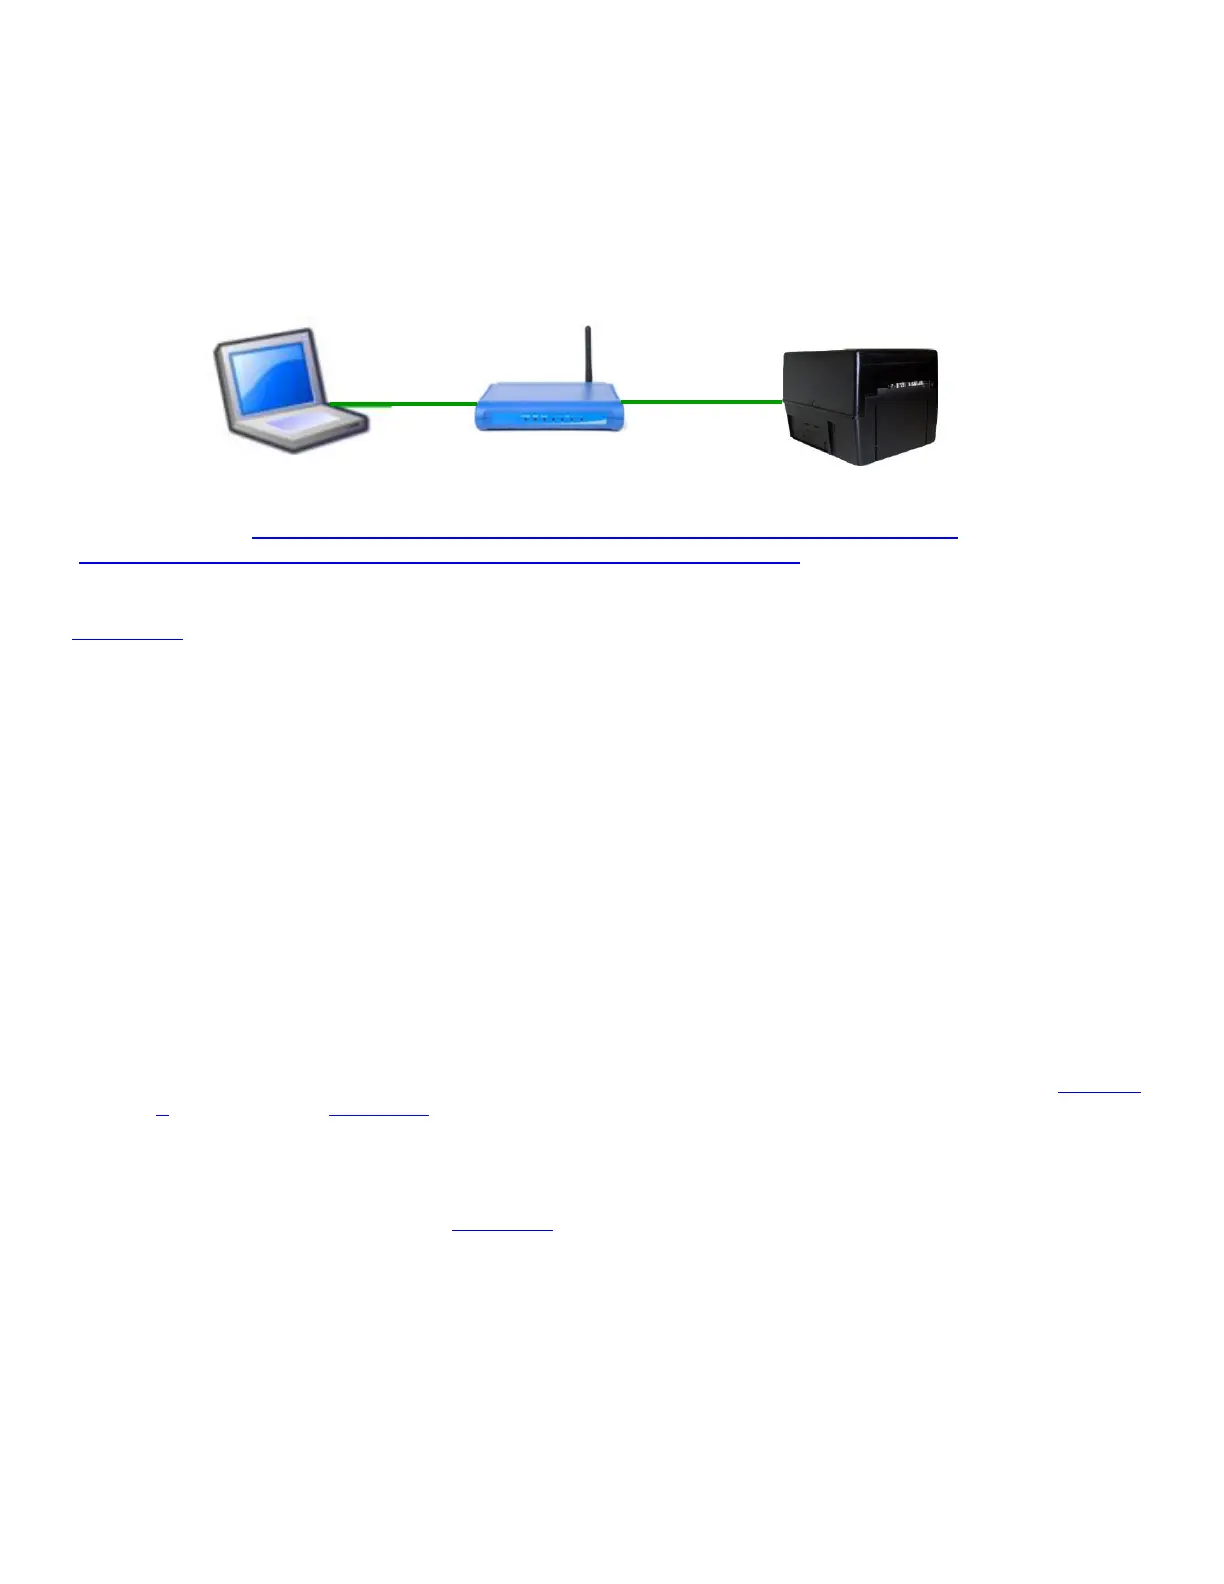
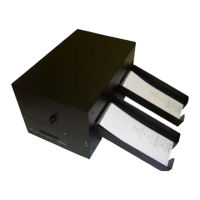
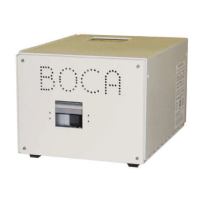
Our Wi-Fi printer is designed to work with a wireless router.
To initially configure the wireless settings, it will be necessary to connect to the printer via the USB interface
using a Windows (http://www.bocasystems.com/documents/WindowsDriverInstallGuide.pdf ) or MAC
(https://bocasystems.com/documents/MAC_Driver_Install_Guide_2021.pdf ) based system.
This may be done using our Configure and Test program for Windows or Customer program for MAC (see
Appendix F). The printing of a ticket via this program will confirm it is communicating with the printer.
To use the wireless capabilities in FGL and PCL 26/46 model printers equipped with a wireless interface, it will
first be necessary to setup the printer with information and security settings that match the wireless settings of
the local wireless server/router. To configure the printer with the correct security settings, it is necessary to
acquire these settings directly from the wireless server/router or see your network administrator. Also, to
initially configure the wireless settings it will be required to temporarily connect a cable between the printer and
the host computer.
We recommend that the Wi-Fi be configured by either your system administrator or IT support staff.
You will need to know the appropriate SSID, security mode and their associated values for your Wi-Fi
router.
The below steps walk you through the Wi-Fi setup in the infrastructure mode. The Wi-Fi router must be configured
to support b/g/n wireless device. For 802.11 N routers, our Wi-Fi only supports 2.4 GHz speed and not
5 GHz.
1. The printer will need to be connected to the host computer via a cable (parallel, serial, USB or optional Ethernet
if your printer has it. If connecting via USB then you will need to install our BOCA print driver first (see Appendix
K for Windows and Appendix L for MAC). For initial install the printer must be as close as possible to the Wi-Fi
router itself. This will ensure maximum single strength. Once you have confirmed the Wi-Fi is operational, the
printer may be moved to its desired location.
2. You will want to confirm you are able to print a ticket using our Configure and Test program for Windows or
Customer program for MAC (see Appendix F). The printing of a ticket via this program will confirm it is
communicating with the printer. Leave the program open and move onto the next step.
3. In the Configure and Test program for Windows click on the “Setup Wi-Fi button. In the Customer program for
MAC select “Setup Wi-Fi” under the “Select Printer Operation”.
4. When the Configure Printer Wi-Fi and Security menu comes up you have a few choices.
a. Wireless Mode – Infrastructure (this is default setting). DO NOT SELECT Ad Hoc (peer to peer)
b. Disable Wireless – You would choose this if you wanted to disable the Wi-Fi
Enable with Static IP – This would be for networks that require a static IP address.
Enable with DHCP IP - Automatically attempts to get an IP address from Local Server (this is the most
common one and the one we will be using for the rest of the steps).