English–91 609 929 J60 • (05.12) PS
Dust/Chip Extraction
Take protective measures when dust is pro?
duced while working that can be detrimental to
health, combustible or explosive. For example,
some dusts are considered carcinogenic. Wear a dust
protection mask and use dust/chip extraction, if it can
be connected.
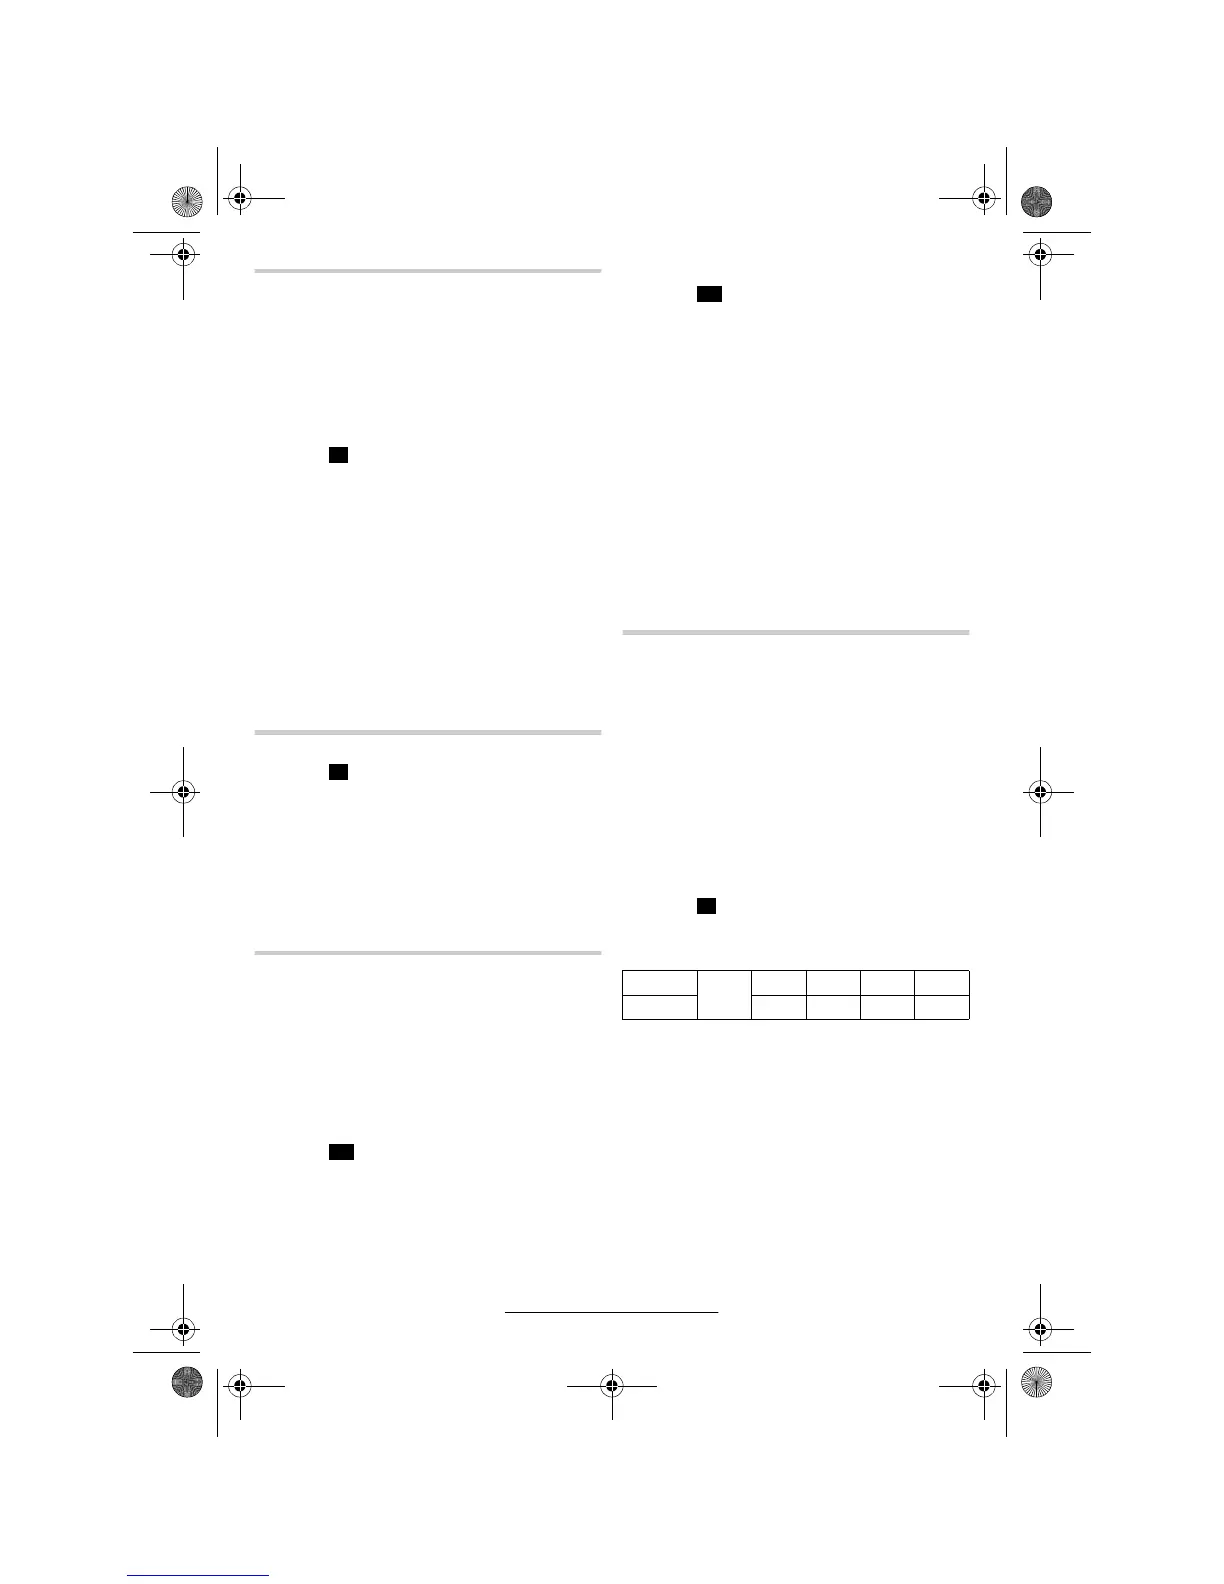
Integrated Dust Extraction
(see Figure
)
Place the dust bag 20 on the sawdust ejector 25.
The dust bag must never come in contact with moving
parts of the machine while sawing.
Empty the dust bag in a timely manner.
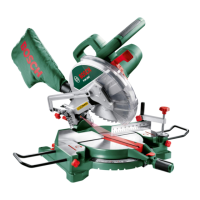
External Dust Extraction
For extraction, a vacuum cleaner hose (35 mm dia.)
can be connected to the sawdust ejector 25.
The vacuum cleaner must be suitable for the material
to be worked.
When vacuuming dry dust that is especially detrimen
tal to health or carcinogenic, use a special vacuum
cleaner.
Extending the Saw Table
(see Figure
)
Before all work on the machine, pull the mains
plug.
Long work pieces must be supported at the free end.
Loosen the winged nut 43 and pull the saw table ex
tension 5 on the extension hoop outward to the re
quired distance.
Retighten the winged nut.
Clamping the Work Piece
Before all work on the machine, pull the mains
plug.
To ensure optimum working safety, the work piece
must always be firmly clamped.
Do not work with work pieces that are too small to
clamp.
Vertical Clamping
(see Figure )
Insert the quick action clamp 44 provided into one of
the holes 8 intended for it.
Press the work piece firmly against the fence 7.
Press the quick release 45 and adjust the quick action
clamp to the work piece.
Then turn the knob 46 in the clockwise direction and
thereby clamping the work piece.
Horizontal Clamping
(see Figure )
Loosen the winged nut 47 and pull the quick action
clamp apart.
Then insert the "reduced" quick action clamp 44 in one
of the holes 8 intended for it.
Press the work piece firmly against the saw table 14.
Press the quick release 45 and adjust the quick action
clamp to the work piece.
Turn the knob 46 in the clockwise direction and there
by clamping the work piece.
Releasing the Work Piece
To loosen the quick action clamp, first turn the knob
46 in the counter clockwise direction. The press the
quick release 45 and pull the threaded rod away from
the work piece.
Adjusting the Mitre and
Bevel Angles
Before all work on the machine, pull the mains
plug.
To ensure precise cuts, the basic adjustments of the
power tool must be checked and adjusted as neces
sary after intensive use (see Section "Checking and
Adjusting Basic Adjustment").
Always tighten the locking knob 12 before saw?
ing. Otherwise, the saw blade can jam in the work
piece.
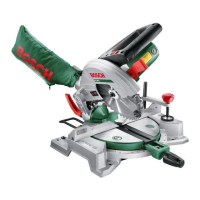
Standard Horizontal Mitre Angles
(see Figure
)
For quick and precise setting of often used mitre an
gles, detents 13 are provided on the saw table:
Place the power tool in the working position.
Loosen the locking knob 12 in case it is tightened.
Press the lever 11 and rotate the saw table 14 with the
locking knob to the required notch to the right or the
left.
Then release the lever. The lever mounting must be felt
to engage in the notch.
G
H
I1
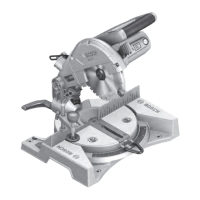
Left 0° 15° 22,5° 30° 45°
Right 15° 22,5° 30° 45°
I2
J
PCM10_WEU.book Seite 9 Donnerstag, 1. Dezember 2005 9:16 09