English–131 609 929 J60 • (05.12) PS
Bevel Angle 45° (Vertical)
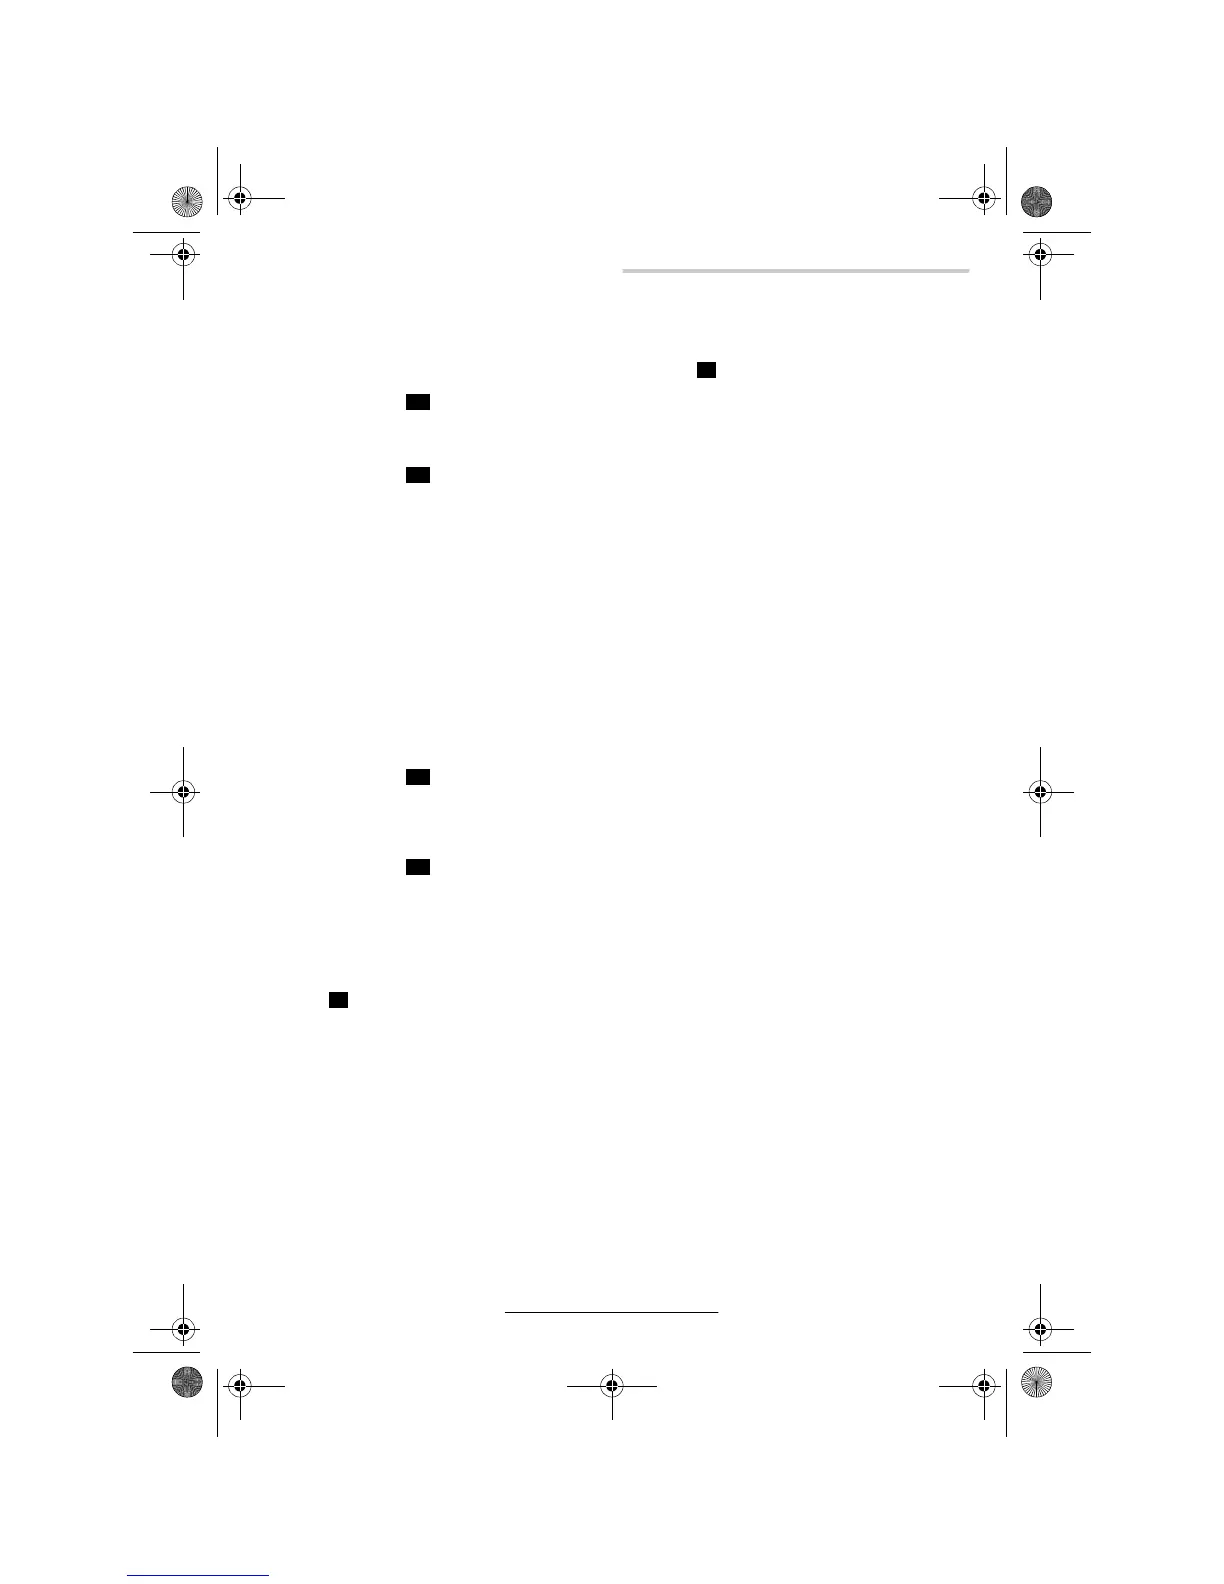
Place the power tool in the working position.
Rotate the saw table 14 to the detent 13 for 0°.
Loosen the locking knob 26.
Swing the tool arm with the handle 2 until the tool arm
rests on the stop bolt 18.
Checking: (see Figure
)
Set the combination square to 45° and place it on the
saw table 14. The leg of the square must be flush with
the saw blade over its entire length.
Adjusting: (see Figure )
Loosen the locking nut of the stop bolt 18 with a com
mercially available ring or openended spanner
(10 mm).Turn the stop bolt either in or out until the leg
of the square is flush with the saw blade over its entire
length.
Retighten the locking knob 26. Then retighten the
locking nut of the stop screw 18.
In case the angle indicator 50 is not in alignment with
the 45° mark on the scale 58, recheck first the 0° ad
justment of the bevel angle and the angle indicator.
Then repeat the adjustment of the 45° bevel angle.
Fence
Place the power tool in the transport position.
Rotate the saw table 14 to the detent 13 for 0°.
Checking: (see Figure
)
Set the combination square to 90° and place it on the
saw table 14. The square must be flush with the fence
7 and the saw blade 21 over the entire length of both
legs.
Adjusting: (see Figure
)
Loosen all four sockethead screws 28 with the Allen
key 29 (6 mm) provided. Rotate the fence 7 until the
square is flush with the fence over its entire length.
Retighten the sockethead screws.
Angle Indicator (Horizontal)
(see Figure
)
Place the power tool in the working position.
Rotate the saw table 14 to the detent 13 for 0°.
Checking:
The middle line of the angle indicator 49 must be in line
with the 0° mark of the scale 10.
Adjusting:
Loosen the screw 60 with a commercially available
Phillips screwdriver and align the middle line of the an
gle indicator along the 0° mark.
Storage and Transport
Before all work on the machine, pull the mains
plug.
Storing the Power Tool
(see Figure
)
When the power tool is not in used for a longer time,
protect it against dust by covering with the protective
dust cover 61 provided.
Carrying the Power Tool
Place the power tool in the transport position.
Remove the extension hoops.
Carry the power tool with the right hand by the trans
port handle 22 and with the left hand on the housing
under the drillings 16.
Use only the transport devices for transporting the
power tool and never the protective hood or the
swinging guard.
V1
V2
W1
W2
X
Y
PCM10_WEU.book Seite 13 Donnerstag, 1. Dezember 2005 9:16 09