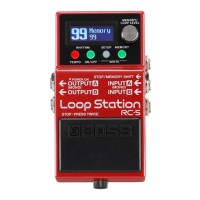
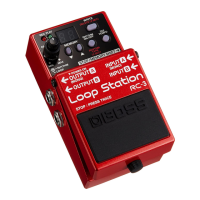
7
Saving a Memory
Saving a Memory (WRITE)
If you select a dierent memory or turn o the power after
recording or editing the settings, the recorded content or edited
settings will be lost. If you want to keep the data, you must save it.
1. Press the [SETUP] button and [MEMORY] button
simultaneously.
The UTILITY screen appears.
UTILITY
WRITE
J
2. Turn the [MEMORY/LOOP LEVEL] knob to select
“WRITE,” and press the [MEMORY/LOOP LEVEL]
knob.
WRITE:01
Memory01
J
Save-destination memory
Memory name
3. Turn the [MEMORY/LOOP LEVEL] knob to select the
save-destination memory.
5 You can skip this step if you want to save to the currently
selected memory.
5 If you decide to cancel, press one of the RHYTHM [TEMPO]–
[MEMORY] buttons.
4. Press the [MEMORY/LOOP LEVEL] knob.
The memory will be saved.
* Do not turn o the power while the “EXECUTING...” message is
shown.
MEMO
You can assign a name to the memory. For details, refer to p. 11.
Erasing Data from a Memory (CLEAR)
You can erase the data that is saved in a memory, clearing that
memory to an empty state.
1. Press the [SETUP] button and [MEMORY] button
simultaneously.
The UTILITY screen appears.
UTILITY
WRITE
J
2. Turn the [MEMORY/LOOP LEVEL] knob to select
“CLEAR,” and press the [MEMORY/LOOP LEVEL]
knob.
CLEAR:01
Memory01
J
Memory to be cleared
Memory name
3. Turn the [MEMORY/LOOP LEVEL] knob to select the
memory that you want to clear.
5 You can skip this step if you want to clear to the currently
selected memory.
5 If you decide to cancel, press one of the RHYTHM [TEMPO]–
[MEMORY] buttons.
4. Press the [MEMORY/LOOP LEVEL] knob.
The memory will be cleared.
* Do not turn o the power while the “EXECUTING...” message is
shown.