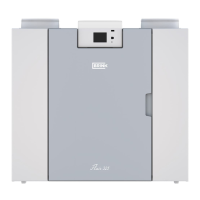
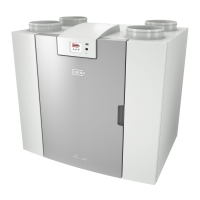
Elan 10 2.0 / Elan 16 2.0 / Elan 25 2.1 Revision D 11
5.6 Connecting ducts
Standard manifolds are available for the Elan series.
)RU DQ 8SÀRZ WKHVH DUH SODFHG on the appliance and for a
'RZQÀRZ WKH\ DUH SODFHG under the appliance. The hot air
ducts are connected to this manifold.
Observe the following items when connecting the ducts.
,QVWDOOLIQHFHVVDU\DFRQWUROYDOYHLQHYHU\EUDQFKRIWKH
manifold or the main duct.
,QVXODWHDOOKRWDLUGXFWVLQFOXGLQJWKHJULOODGDSWHUVDQGWKH
exterior air duct.
3ODFH D PRLVWXUH EDUULHU DURXQG WKH LQVXODWLRQ PDWHULDO WR
prevent condensation.
$OZD\VOD\RXWUHWXUQGXFWVLQVXFKDPDQQHUWKDWWKH\GR
not become sound bridges, so no straight connections bet-
ween two rooms.
&RQQHFWLQJWKHUHWXUQ
Connect the return duct to the return air or the installation
room. An acoustic return plate is available for an appliance
with open return.
3URYLGHWKHH[WHULRUDLUFRQQHFWLRQZLWKDFRQWUROYDOYHDQG
connect it to the return duct.
&KDSWHU,QVWDOODWLRQ
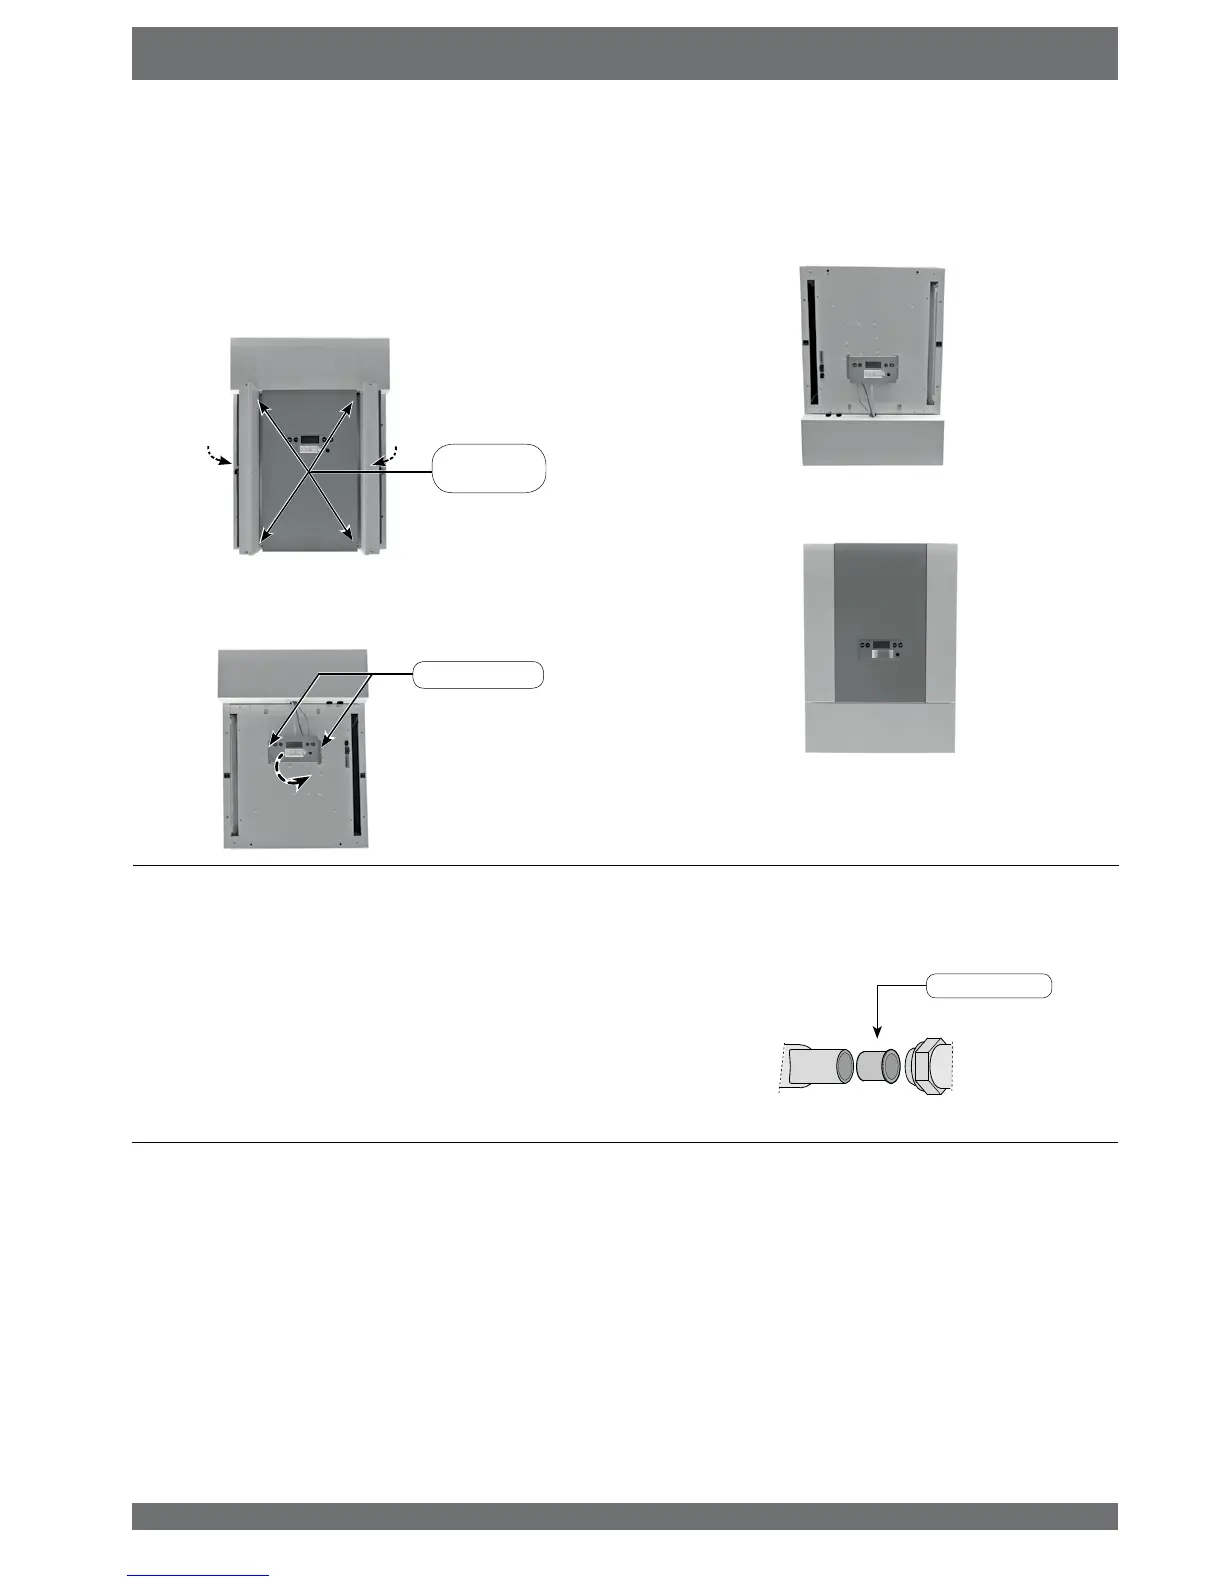
&RQYHUVLRQWR8SÀRZYHUVLRQ
$Q8SÀRZ(ODQDSSOLDQFHFDQHDVLO\EHFRQYHUWHGWRDQ(ODQ
'RZQÀRZDSSOLDQFH
2SHQERWK¿OWHUGRRUVn.
8QVFUHZ VFUHZV o7RU[7 WKDW KROG WKH IURQW SDQHO
with the doors and take out this panel so the control panel
with the mounting bracket is accessible.
o
4x Torx T20
n
n
8QVFUHZ WKH WZR VFUHZV 7RU[ 7 WKDW KROG WKH FRQWURO
panel to the front panel and rotate this control panel 180
degrees.
2x Torx T20
5RWDWHWKHHQWLUH(ODQDSSOLDQFHGHJUHHV
5HPRXQWWKHIURQWSDQHOZLWKWKHGRRUVZLWKWKHIRXUVFUHZV
7KHDSSOLDQFHLVQRZD'RZQÀRZYHUVLRQ
5.5 Water connections
The heat exchanger in the air heater is connected with 22 mm
FRQQHFWRUV ERWK FRPSUHVVLRQ ¿WWLQJ DQG VROGHUHG ¿WWLQJ DUH
SRVVLEOH
It is recommended to place stop cocks with couplings directly
on the outside of the appliance in the input as well as the input
lines.
Use one of the breakout tabs for feeding through the water li-
nes. The water connections can be routed out of the appliance
on the left or on the right.
:KHQXVLQJDFRPSUHVVLRQ¿WWLQJDOZD\VXVHDVXSSRUWEXVK
Ø 22 mm when making the water connections.
6upport EusK
(Oan
appOiance
Water connection
 Loading...