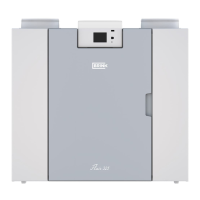
12 Elan 10 2.0 / Elan 16 2.0 / Elan 25 2.1 Revision D
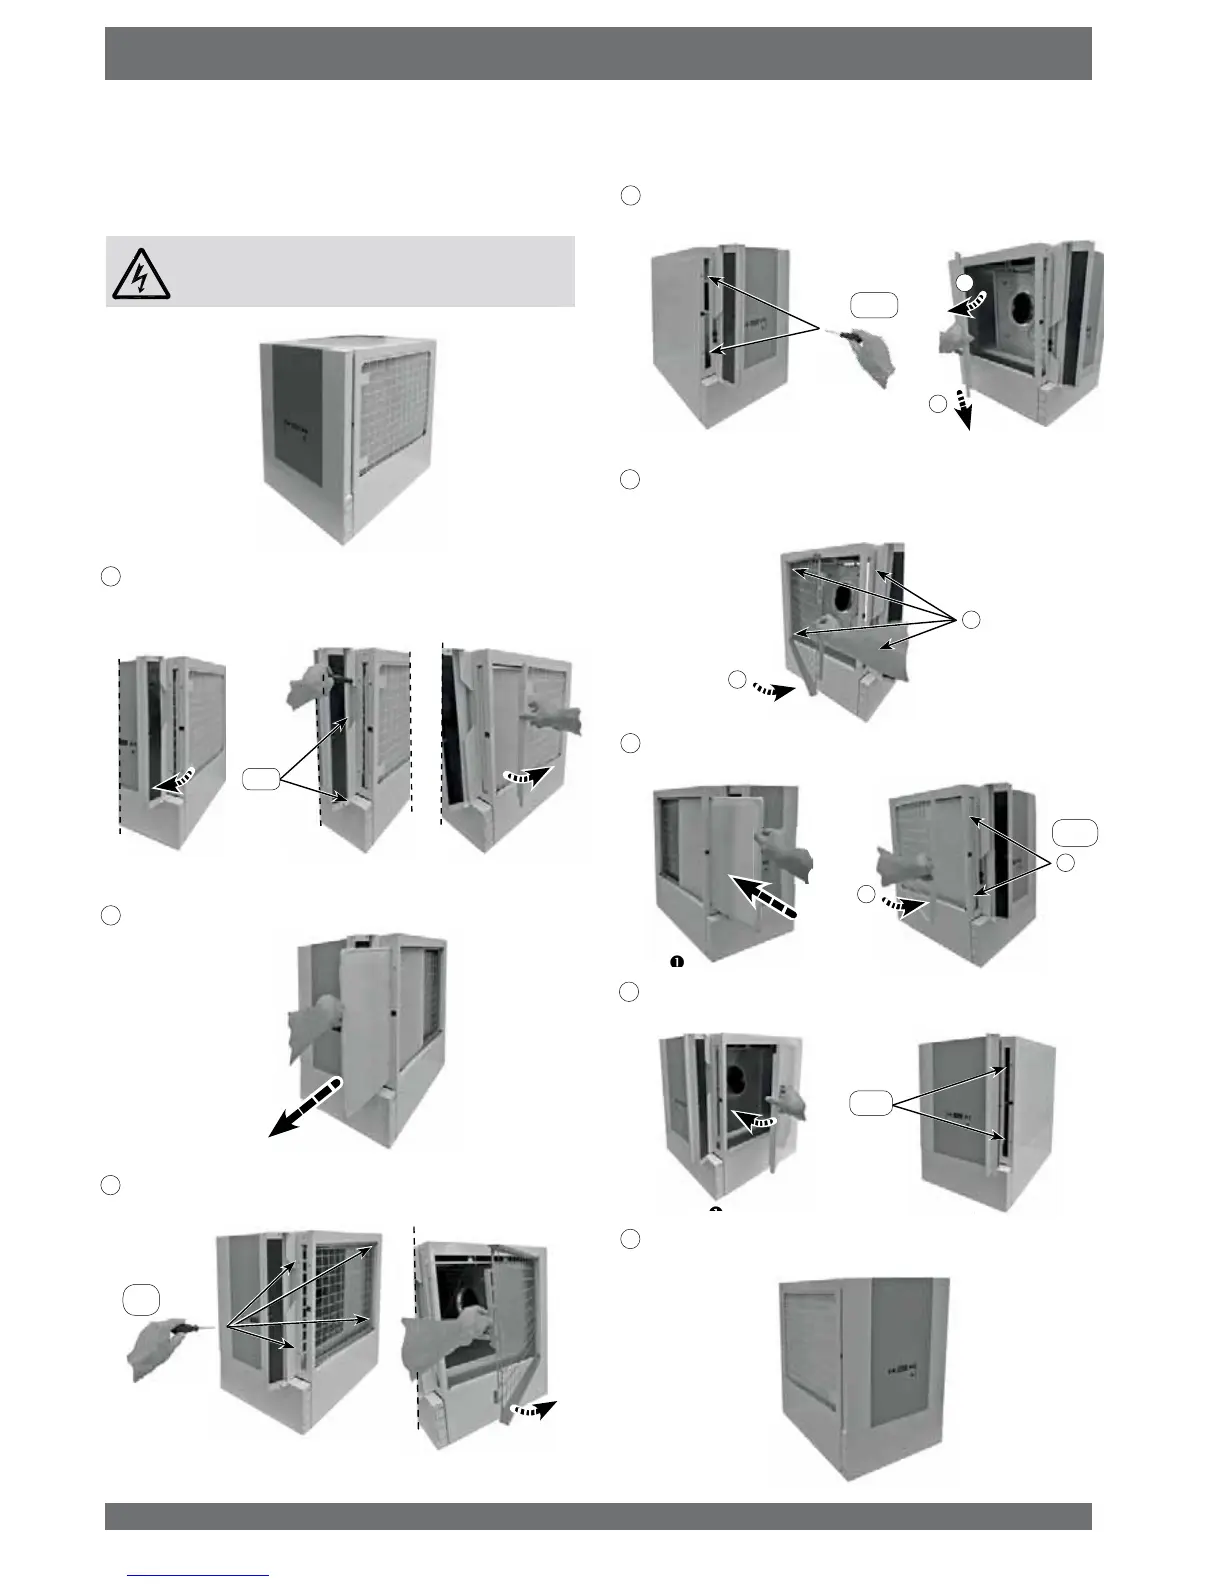
5.7 Conversion from right-handed to left-handed appliance
$VVWDQGDUGDQ(ODQKDVWKH¿OWHURQWKHULJKWKDQGVLGHRIWKH
appliance. If necessary, it can be moved to the left-hand side.
Always take the voltage from the appliance by pulling
the power plug when working on the appliance.
1
n
2SHQERWK¿OWHUGRRUV
o
8QVFUHZWZRORQJFRXQWHUVXQNVFUHZV7RU[7
p
7DNH¿OWHUPHVKIURPWKHDSSOLDQFH
2
6OLGHWKH¿OWHUIURPWKHDSSOLDQFH
3
n
8QVFUHZWKH¿OWHUUDLO[7RU[7
o
7DNHWKH¿OWHUUDLOIURPWKHDSSOLDQFH
4
n
8QVFUHZWKHSDQHORQWKHOHIWKDQGVLGH[7RU[7
o
Take out the panel.
5
3ODFH WKH ¿OWHU UDLO WKDW was removed from the right-hand
VLGHRQWKHQRZIUHHRSHQLQJDQG¿[LWZLWKVFUHZV
Note: Filter rail is mounted at a pitch to the rear!
6
n
3ODFHWKH¿OWHULQWKH¿OWHUUDLO
o
0RXQWWKH¿OWHUPHVKZLWKlong Torx screws.
7
n
Mount the panel taken from the right-hand side.
o
Fix it with 2 long Torx screws.
8
1RZWKH(ODQDSSOLDQFHKDVWKH¿OWHUFRQQHFWLRQRQWKHOHIW
hand side instead of on the standard right-hand side.
&KDSWHU,QVWDOODWLRQ
n
o
p
2 x
4 x
n
o
n
o
2 x
A
B
A
B
n
o
2 x
n
o
A
B
 Loading...