Elan 10 2.0 / Elan 16 2.0 / Elan 25 2.1 Revision D 13
,IWKHUHWXUQDLUGXFWPXVWEHFRQQHFWHGRQ'RZQÀRZYHUVLRQ
RUXQGHU8SÀRZYHUVLRQWKHDSSOLDQFHD¿OWHUXQLWPXVWEH
placed.
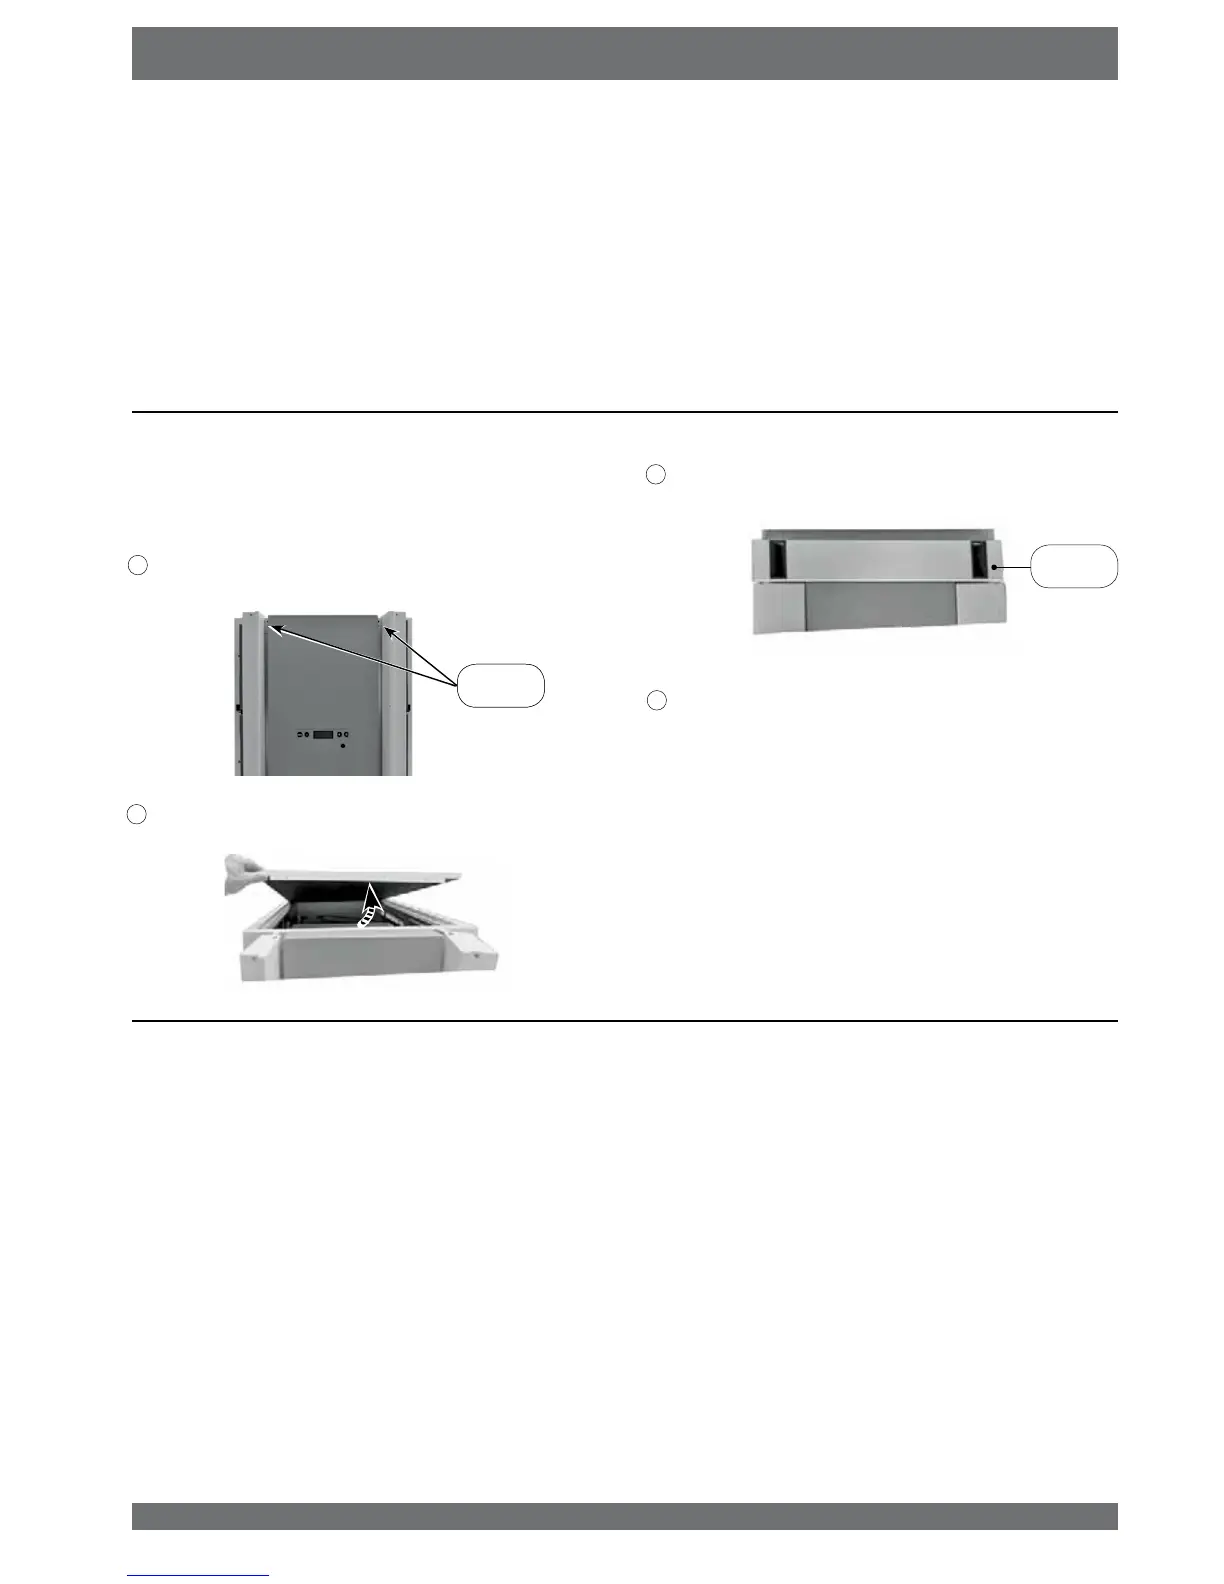
2SHQERWK¿OWHUGRRUVRIWKHDSSOLDQFHDQGUHPRYHWKHWZR
long countersunk Torx screws that hold the top panel.
2 Remove the top panel (it will be used later to replace the
¿OWHUPHVKRQWKHVLGHRIWKHDSSOLDQFH
3XWWKH¿OWHUXQLWRQWKHDSSOLDQFHDQG¿[LWZLWKWKHWZR
long Torx screws.
5HSODFHWKHH[LVWLQJ¿OWHUPHVKE\WKHSDQHOWKDWZDVWD-
NHQRXW)RUUHPRYLQJWKH¿OWHUPHVKDQGPRXQWLQJWKHWRS
panel, see §5.7.
5.10 Cooling
An Elan appliance can be equipped for cooling. For that purpo-
se an Elan cooling block (cooling block water or cooling block
LQYHUWHUPXVWEHLQVWDOOHGLQWKHDLUV\VWHPDQGLIQHFHVVDU\
a condensing unit must be connected to the cooling block. In
addition, a relay (mounted in the interface cooling that comes
ZLWKWKHFRROLQJEORFNRQWKHFRQWUROXQLWPXVWEHFRQQHFWHGWR
the Elan on connection 7 and 8 on the 9-pole connector. (also
UHIHUWRDQG
When cooling is switched on, the system will always be running
DWWKHDLUTXDQWLW\FRROLQJVHWWLQJVWHS)RUVZLWFKLQJRQFRR-
ling, a connection must be made between terminals 1 and 2 on
WKHSROHFRQQHFWRUDOVRUHIHUWRDQG
5.9 Filter connection top / bottom
&KDSWHU,QVWDOODWLRQ
filter
unit
2 x
Torx T20
2 x
Torx T20
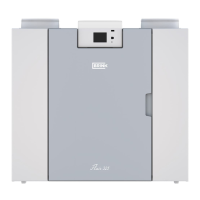
3ODFLQJ+59RQ(ODQ'RZQÀRZ
7KH(ODQ'RZQÀRZLVSUHSDUHGLQVXFKDZD\WKDWD%ULQNKHDW
UHFRYHU\XQLW+597\SH5HQRYHQW(ODQFDQEHSODFHGRQWKH
appliance.
:KHQSODFLQJWKH5HQRYHQW(ODQRQDQ(ODQ'RZQÀRZDSSOL-
ance, it is assumed that the fronts of both appliances are kept
ÀXVK
The connection “to dwelling” is connected at the top on the
(ODQ'RZQÀRZDSSOLDQFH
Use the optionally available coupling kit (Brink article code
IRU(ODQ%ULQNDUWLFOHFRGHIRU(ODQ
WKDWLVSODFHGEHWZHHQWKH(ODQ'RZQÀRZDSSOLDQFHDQGWKH
Renovent Elan.
If a Renovent Excellent is placed separately in the installation
room, this coupling it is not necessary and the air supply con-
nection of the Renovent Excellent can be connected to the re-
turn duct of the Elan air heater.
 Loading...