6
How to Use Quick-Connect Tubing
For ease of installation, the dispenser includes quick-connect tubing. Review the following instructions before
installing dispenser.
1. Cutting Tubing
A. Use the included Tube Cutter (G) or a sharp knife to cut the end of the tubing.
B. After cutting, ensure ends are straight and able to sit flush against the back of the fitting.
C. Inspect ends for any nicks, scratches, or rough spots. Recut tubing if necessary.
2. Connecting Tubing
A. Insert tubing into the collet.
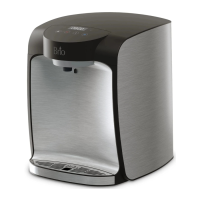
B. Push tubing in until it engages the O-ring.
C. Continue pushing until the tubing hits the back of the quick connect fitting.
NOTE: A common error is to stop pushing once the tubing reaches the O-ring. This will lead to water
leakage. Tubing must be inserted approximately 0.75 inches (2.2 cm) so that it extends past the
O-ring and sits flush against the back of the fitting as shown below.
3. Disconnecting Tubing
A. Push in the collet with fingertips and hold it. Pull tubing out.
Installation
1. Determine Installation Location
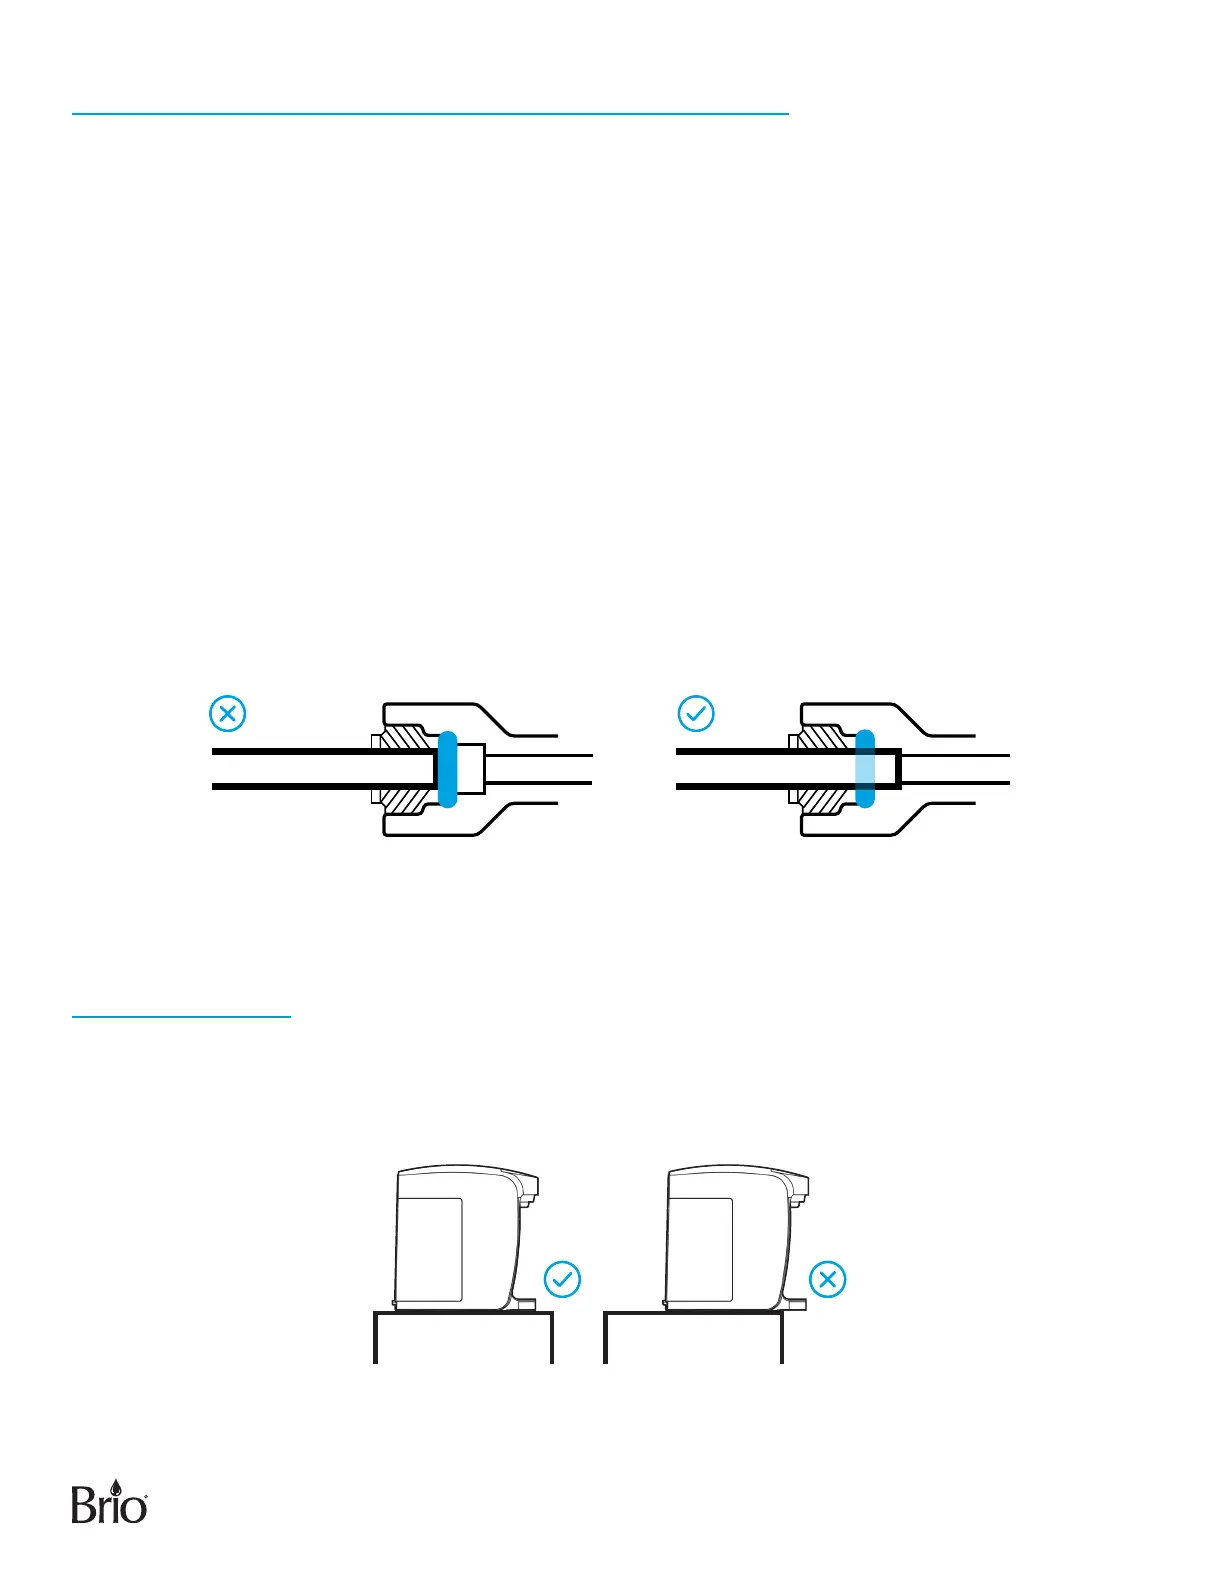
A. Place the dispenser upright on a sturdy and level indoor surface away from direct sunlight. Ensure
dispenser is fully seated on counter. Do not allow drip tray to extend o edge.
B. Locate the dispenser near a grounded GFCI wall outlet.
CAUTION: Do NOT plug in power cord until the entire installation is complete.
 Loading...