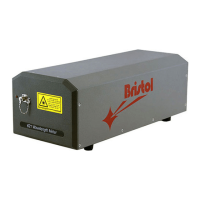
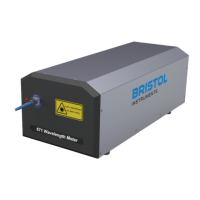
Model 621 User’s Manual LASER INPUT – IR AND MIR VERSIONS
Bristol Instruments, Inc. 15
The power of the red tracer beam is less than 50 W, but do not stare into the beam
or view it directly with an optical instrument.
1 Set the height of the three adjustment feet to mid-range.
2 With appropriate mirrors, adjust the laser under test to be parallel to the optical table
at a height of approximately 5 ½ inches (140 mm). Total travel of the 621 adjustment
feet is ½ inch (13 mm). It is not advisable to have the instrument too close to the top
of the adjustment range.
3 Set the model 621 in front of the laser beam about 1 meter from the source.
4 Adjust the position and height of the two front adjustment feet so that the red tracer
beam and the laser under test are superimposed at the input aperture.
5 Adjust the height and position of the back adjustment foot until the red tracer beam is
directed back along the path of the laser under test.
6 Steps 4 and 5 may have to be repeated in order to optimize alignment.
IMPORTANT: In order to achieve the specified wavelength measurement accuracy,
the red tracer beam and the laser under test must be precisely collinear (within
0.5 mm for the model 621A and within 1.5 mm for the model 621B) over a one meter
path from the input aperture.
7 Use the lock rings on the adjustment feet to secure the model 621 when alignment is
complete. This is done by rotating the lock ring upward to snugly contact the leg,
thereby preventing the adjustment foot from rotating. The lock ring does not require
substantial tightening.