Model 621 User’s Manual INITIAL INSTRUMENT SETUP
Bristol Instruments, Inc. 7
2 INITIAL INSTRUMENT SETUP
General
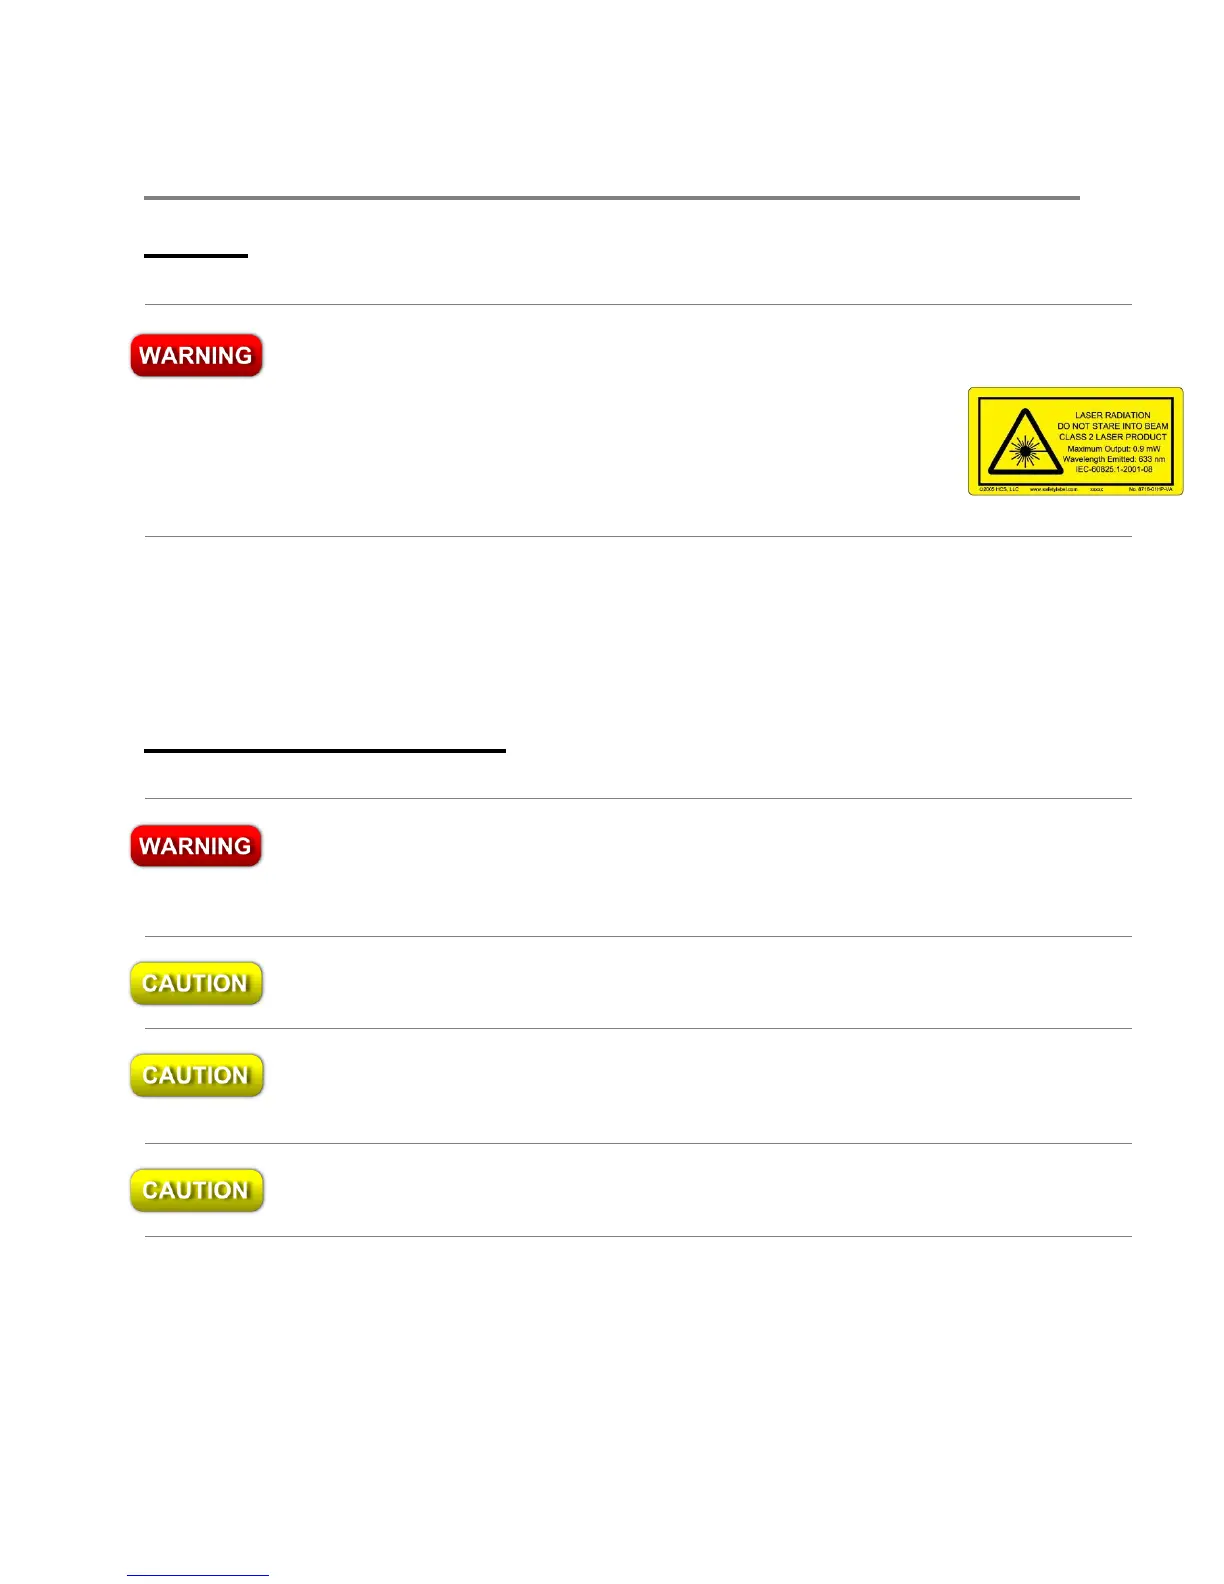
This instrument is a Class 2 Laser Product. It contains a laser that emits radiation
that can seriously damage your eyesight. Less than 15 W of this laser light is
emitted from the fiber-optic connector of the VIS and NIR versions,
and less than 50 W of this laser light is emitted from the aperture of
the IR and MIR versions. Do not stare into this beam or view it
directly with an optical instrument. The Class 2 warning label, shown
here, is located next to the fiber-optic input coupler (VIS and NIR) or
the input aperture (IR and MIR) on the front panel of the model 621.
1 Place the 621 Laser Wavelength Meter on a firm horizontal surface.
2 Make sure that there is at least 2 inches (50 mm) of clearance on all sides of the
instrument to allow for ventilation.
Power Supply Connections
This is a Safety Class 1 product (provided with protective ground). The mains plug
shall only be inserted in a socket outlet provided with a protective ground contact.
Any interruption of the protective conductor inside or outside of the product is
likely to make the product dangerous. Intentional interruption is prohibited.
Always use the three-prong AC power cord supplied with this instrument. Failure to
ensure adequate grounding by not using this cord may cause instrument damage.
Do not connect AC power until you have verified the line voltage is properly grounded
and within the specified range (90–260 VAC and 47–63 Hz). Damage to the instrument
could result.
This instrument has autoranging line voltage input. Be sure the supply voltage is within
the specified range.