Chapter 8
58
PhotoCapture Center™
print settings
8
You can change the print settings temporarily
for the next print job.
The machine returns to its default settings
after being idle for 1 minute.
You can save the print settings you use
most often by setting them as the default
settings. (See Setting your changes as a
new default on page 64.)
Print Quality 8
a Open the media slot cover.
b Put the memory card or USB Flash drive
in the correct slot.
c Press Photo.
d Press d or c to display View Photos.
e Press View Photos.
f Press d or c to display each photo.
When the photo you want is displayed,
press it, and then press OK.
g Press OK.
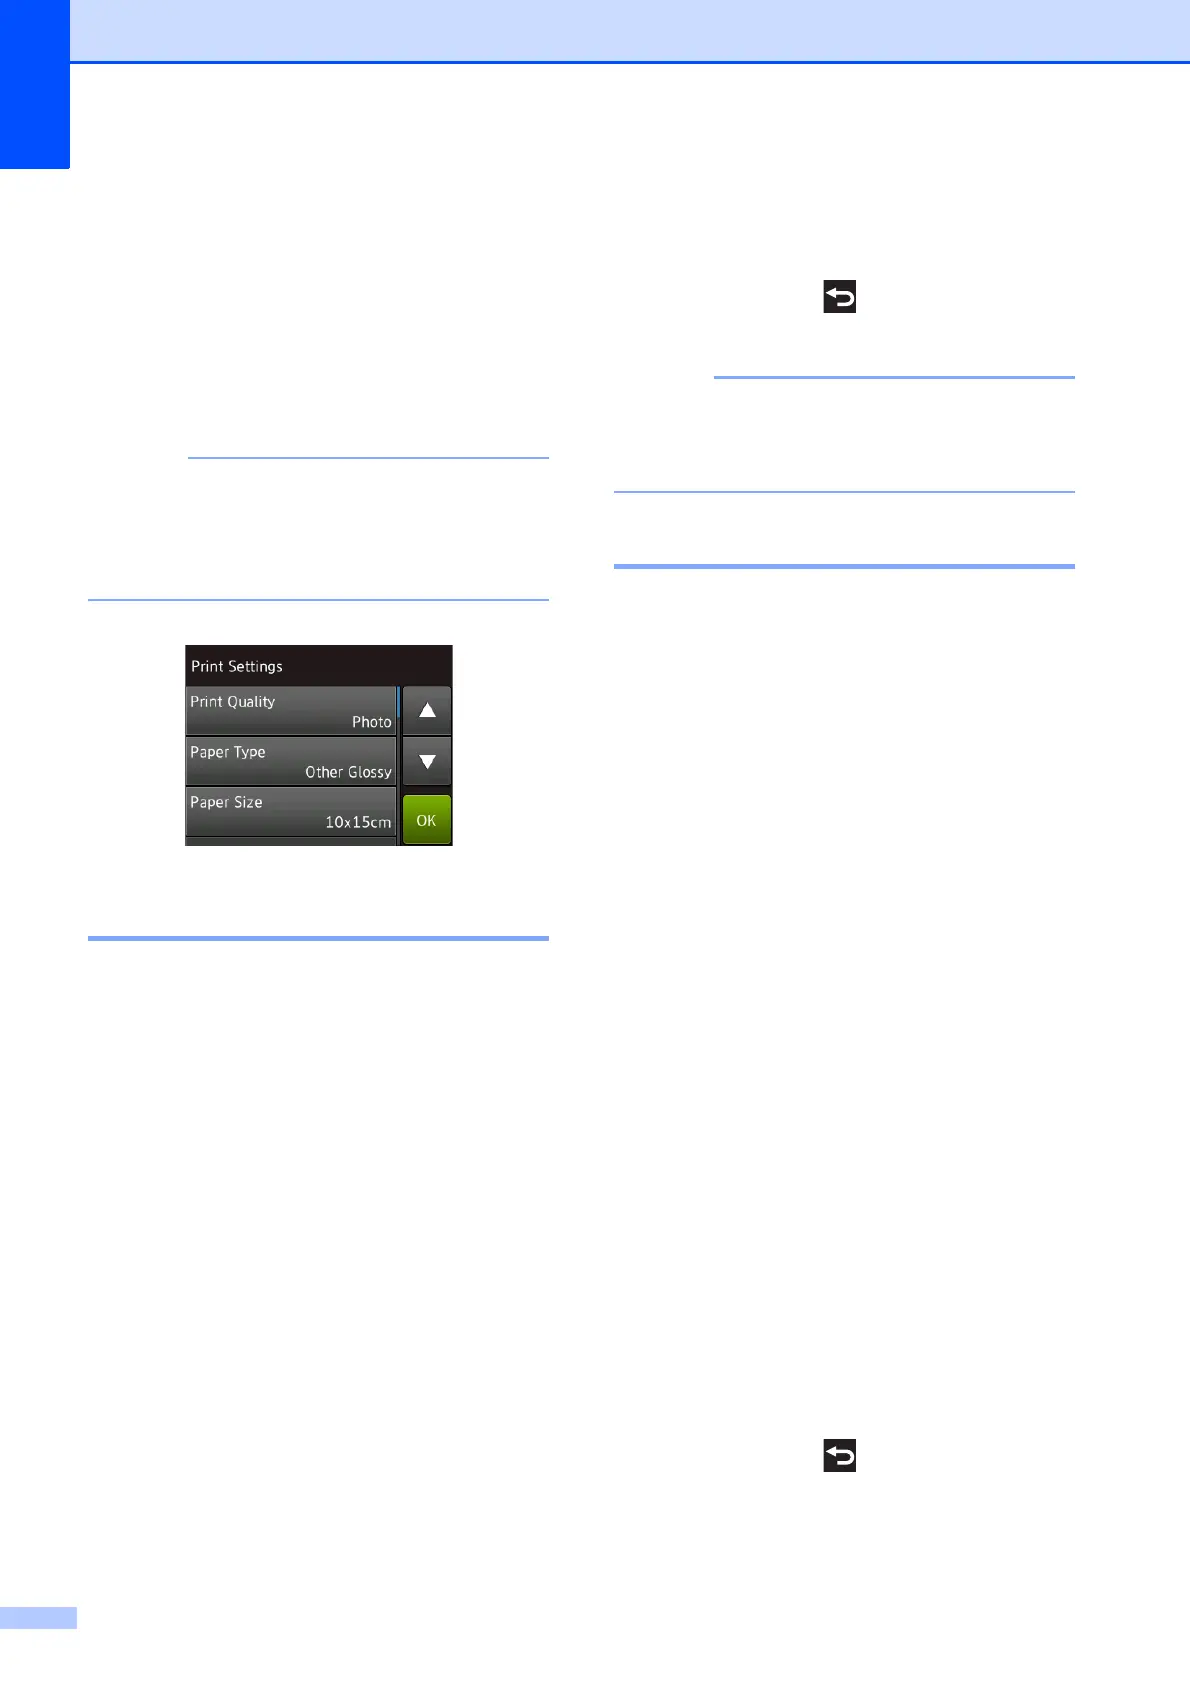
h Press Print Settings.
i Press a or b to display
Print Quality.
j Press Print Quality.
k Press Normal or Photo.
l If you do not want to change additional
settings, press or OK.
Press Start to print.
If you choose Inkjet Paper in
Paper Type, you can only choose
Photo.
Paper options 8
Paper Type 8
a Open the media slot cover.
b Put the memory card or USB Flash drive
in the correct slot.
c Press Photo.
d Press d or c to display View Photos.
e Press View Photos.
f Press d or c to display each photo.
When the photo you want is displayed,
press it, and then press OK.
g Press OK.
h Press Print Settings.
i Press a or b to display Paper Type.
j Press Paper Type.
k Press a or b to display Plain Paper,
Inkjet Paper, Brother BP71 or
Other Glossy, and then press the
option you want to set.
l If you do not want to change additional
settings, press or OK.
Press Start to print.
 Loading...