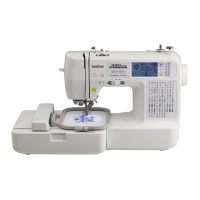
Editing Patterns (Embroidery Settings Screen)
73
EMBROIDERY
4
Aligning the pattern and the needle position
Example: Aligning the lower left side of a pattern and the
needle position
a
Mark the embroidery start position on the fabric, as
shown.
b
Press .
c
Press and press .
1 Start position
→ The needle position moves to the bottom left corner
of the pattern (the embroidery frame moves so that
the needle is positioned correctly).
d
Use to align the needle and the mark on the
fabric, press and begin embroidering the pattern.
Embroidering linked characters
Follow the procedure described below to embroider linked
characters in a single row when the entire pattern extends
beyond the embroidery frame.
Example: Connecting “ABC” with “DEF”
a
Select the character patterns for “ABC”, and then press
and .
b
Press .
c
Press , and then press .
→ The needle is positioned in the lower-left corner of
the pattern. The embroidery frame moves so that the
needle is positioned correctly.
d
Press .
e
Lower the embroidery foot and then press the “Start/
Stop” button to begin embroidering.
f
After the characters are embroidered, and the threads
are cut, remove the embroidery frame, and then press
for [Finished embroidering].
2 Press this key to rotate the entire
pattern.
You can rotate a pattern one degree, ten
degrees or ninety degrees at a time.
Press to return the pattern to its
original position.
Rotate key
3 Press this key to enter the embroidery
screen.
Embroidery key
4 Press this key to save patterns to the
machine's memory or USB flash drive.
(page 75)
Memory key
5 Press this key to check the position of
the pattern. (page 64)
Trial key
6 Press this key to move the needle start
position to align the needle with the
pattern position. (page 73)
Starting point key
No.
Display
Explanation
Key Name
1 End of the
embroidering