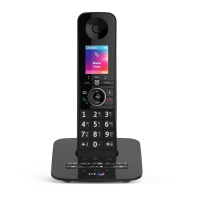
Settings
42
3. When you’ve nished making
your changes, press Left option
button
.
Handset name
1. Open the main menu and then
press Down on the
button
until you get to Settings. Press Left
option button
.
2. Press Down on the
button
until you get to Handset name.
Press Left option button
.
3. Edit the name using the keypad
and press Left option button
to save.
Call settings
1. When you’ve opened the main
menu, press Down on the
button to get to Settings. Press Left
option button
.
2. Press Down on the
button to
get to Call settings, then press Left
option button
.
3. You can then choose to switch
Auto answer, Auto end call, Auto
join calls and First ring on or o.
See right for an explanation of
each setting.
4. When you’ve nished, press Left
option button
to save.
Auto Join
• On (Default): When Handset 1 is
busy on a call, if you press the
on Handset 2, you will be given the
option to join the call in progress on
Handset 1.
• O: When Handset 1 is on a call,
if you press the
key on Handset
2, you will not be given the option
to join the call in progress on
Handset 1.
First Ring
• O (Default): When your Premium
Phone receives a call on the landline,
it will delay ringing, until the Caller
ID (and hence any contact matching)
has been displayed
• On: When your Premium Phone
receives a call on the landline, it will
start ringing straight away, the Caller
ID (and hence any contact matching)
will be displayed when it is received
by your Premium Phone.
Auto Answer
• O (Default): When your
Premium Phone receives a call,
lifting the handset from the base
will not answer the call. You’ll have
to additionally press the
button.
• On: When your Premium Phone
receives a call, lifting the handset
from the base will answer the call.