30
MA112780_38.6 [Original Instructions] 9/19/2011
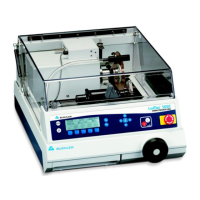
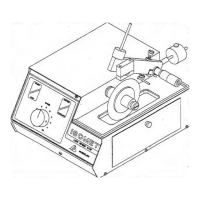
Installing the Specimen Position System
1. Turn OFF the IsoMet 5000.
2. Clean the mounting embossment if the X T-slot bed is not installed.
3. Attach the T-slot table to the IsoMet 5000 (there will be four (4) screws).
4. Align the T-nut and posts on the bottom of the Specimen Positioning System to the
T-slot and slide into position.
5. Attach a specimen to the chuck.
6. Rotate the adjustment arm to the desired cutting position.
7. Slide the Specimen Positioning System close to the cutting area.
8. Tighten the large brass nut (with the wrench provided) until tight.
9. Uncap the bottom power socket.
10. Insert the plug and secure it.
Removing the Rotating Chuck (Catalog Number 11-2695)
1. Turn OFF the IsoMet 5000.
2. Use an allen wrench (#4 metric) to loosen the two (2) mounting screws.
3. Disconnect the plug from the control panel.
4. Recap the middle power socket.
Installing the Rotating Chuck
1. Turn OFF the IsoMet 5000.
2. Insert the mounting T-nuts into the T-slot of the rail parallel to the turret.
3. Set the Rotating Chuck assembly on to the T-slot (where cutting is to take place) and tighten
the screws.
4. Uncap the middle power socket.
5. Insert the plug and secure it.