Bunn-O-Matic Corporation
25
Troubleshooting Components
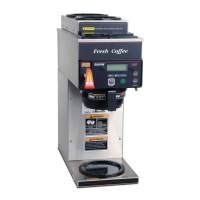
Membrane Switch
The membrane switch is located on the front face plate.
Test Procedures:
There are two methods for testing the membrane switch.
The easiest method is to use the built in test mode. Refer
to the programming section in this manual to access the
Service Tools (Test Switches) menus. If for some reason
you can’t get into the program mode, or brewer won’t
power up, you can test it with an ohmmeter or continuity
tester. Refer to the schematic to trace the appropriate pins.
NOTE: Pin 1 is the static shield & will not provide a reading to the other pins. There are two commons in this circuit,
pins 9 & 10. Disconnect brewer from power source before disconnecting ribbon cable from control board.
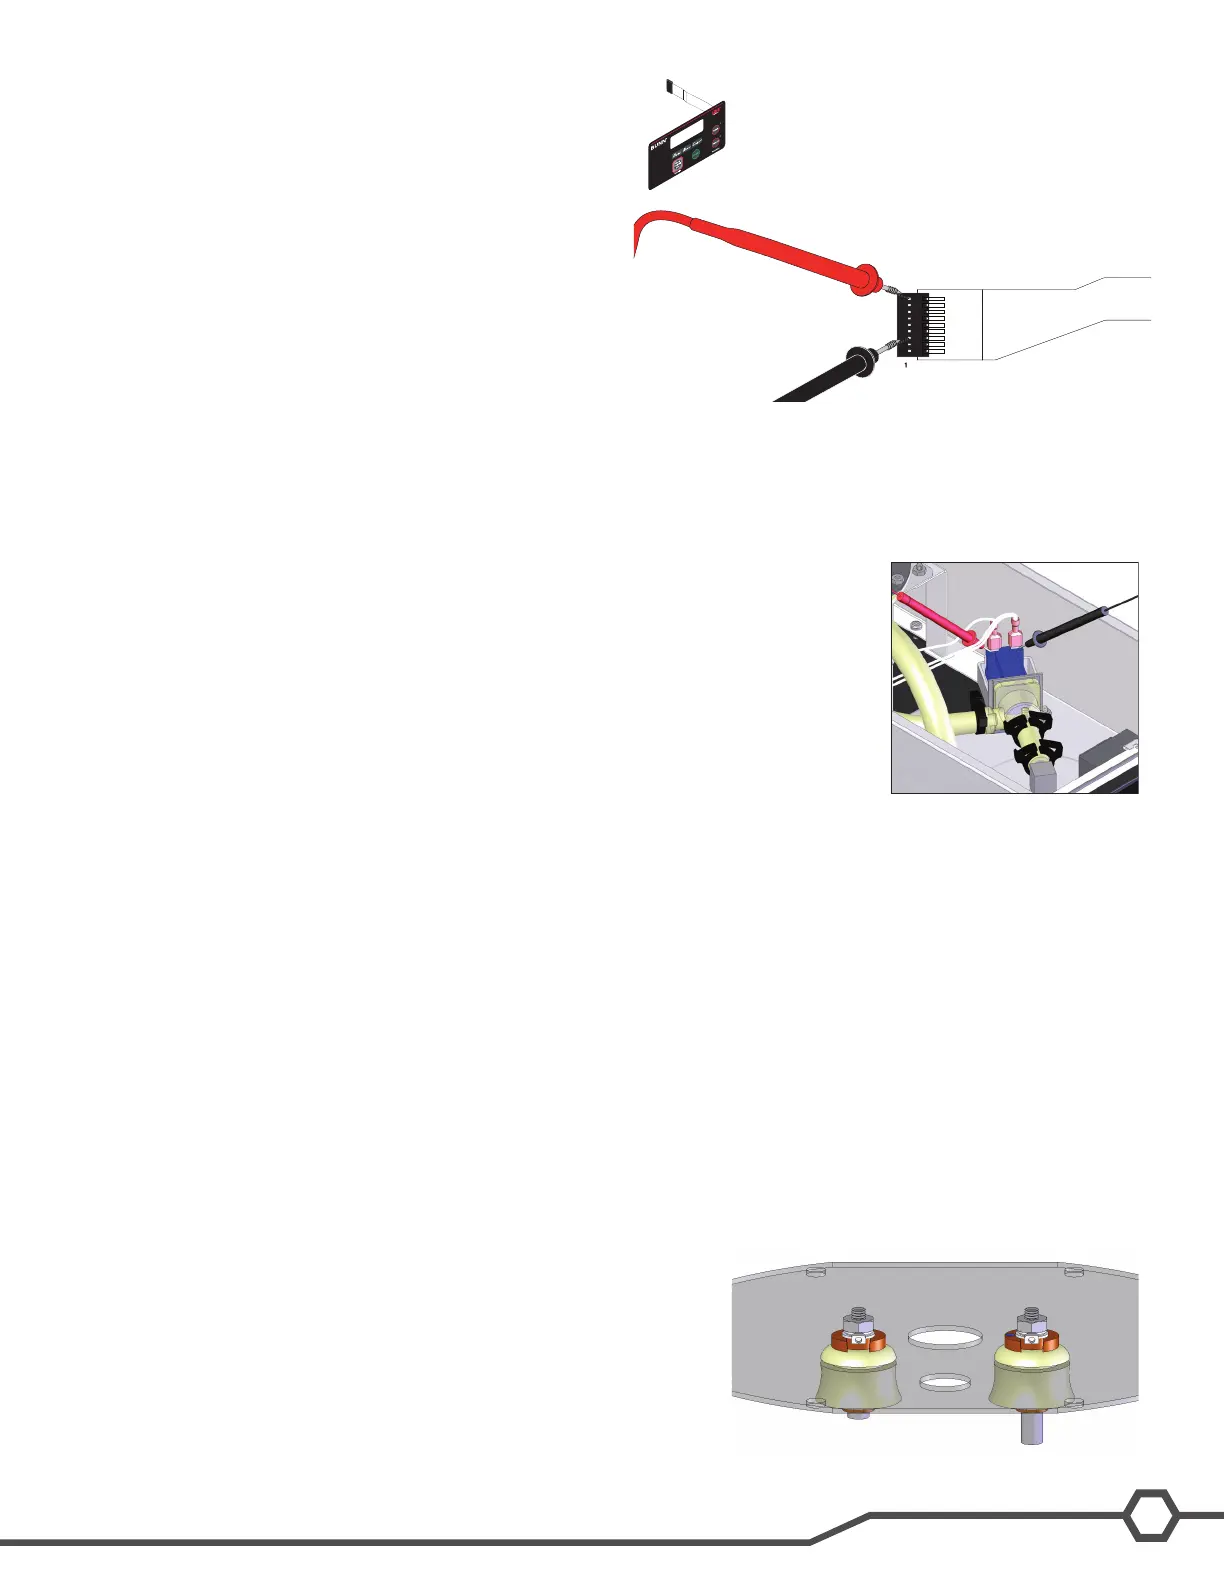
Brew Valve
The brew valve is located inside the top cover behind the front face plate.
Test Procedures:
1. Enter level 2 programming to access Service Tools/Test Outputs/Brew Valve.
2. Be sure brew funnel & server are in place before activating valve.
3. Check the valve for coil action. Turn on the valve with the test mode. Listen care
fully in the vicinity of the brew valve for a click as the coil pulls the plunger in.
• If no sound is heard as described, proceed to #4.
• If the sound is heard as described, there may be a blockage in the valve , hose,
tank, or sprayhead. Disconnect the brewer from the power source. Remove the
valve and inspect for blockage, and de-lime all related areas.
4. Connect the voltmeter leads to the coil terminals. Turn on the valve with the test
mode.
NOTE:Duetotheinternallyrectiedcoil,theindicationwillbe120VACallthetime.
Set the meter to DC volts. The indication should be 170VDC when activated. If the
polarity of meter leads are reversed, reading will indicate -170VDC. (Double these
readings for 240 volt coils)
• If voltage is present as described, but no coil action is observed, brew valve is defective. Replace valve and test
again to verify repair.
• If voltage is not present as described, refer to Wiring Diagrams and check the brewer wiring harness. Also check
the control board and switch for proper operation.
Liquid Level Probe System
The level probes are located inside the tank lid.
Test Procedures:
1.Enterprogramminglevel2,scrollto“Rell”.
NOTE:Thisscreenonlyreadsthelongprobe(bluewire)andisusedforsettingtherellconductancethreshold.
Alternate: Scroll to “Service Tools”.
Then scroll to “LP1 & LP2”. LP1 = short probe, LP2 = long probe.
2. A high reading (approximately 255) indicates water is not touching,
or not conductive enough to ground the circuit. A low reading (0-2)
indicates the probe is grounded.
Wrap a thin paper clip around each
meter lead and extend past the tip by
¼” - ½”. You may need to sand off the
clear coating on some clips!
Duetotheinternallyrectiedcoil,
do not attempt to test this type of
coil with an ohmmeter. The read-
ing will open or very high resis-
tance, depending on the polarity
of your meter leads.
 Loading...