AXIOM
®
Training Manual
4
Installation
Site Requirements
Space
• Counter able to support the weight of the equipment
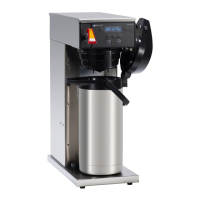
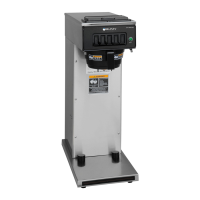
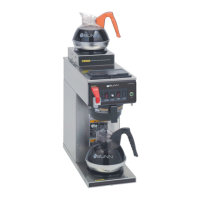
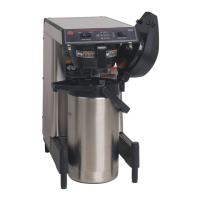
• AXIOM® (2 top warmers) approx. dimensions (H 18.9 x W 8.5 x D 17.7)
• AXIOM® (3 lower warmers) approx. dimensions (H 16.8 x W 16.5 x D 17.7)
• AXIOM® (4/2 Twin) approx. dimensions (H 19.1 x W 16.4 x D 17.7)
• AXIOM® (0/6 Twin) approx. dimensions (H 20.5 x W 30.3 x D 17.7)
Plumbing
• AXIOM®(Single)1/4”arewaterconnection
• AXIOM®(Twin)3/8”arewaterconnection
• A shut-off valve should be installed in the line before the machine
• Connected to cold water
• Dynamic water pressure 20-90psi, set to 50psi if regulator is needed
Electrical
• 120VAC with a dedicated 20 amp circuit with proper breaker and receptacle
• 120/208-240VAC with a dedicated 20 amp circuit with proper breaker and receptacle 3
wire + ground (neutral, L1, L2, ground)
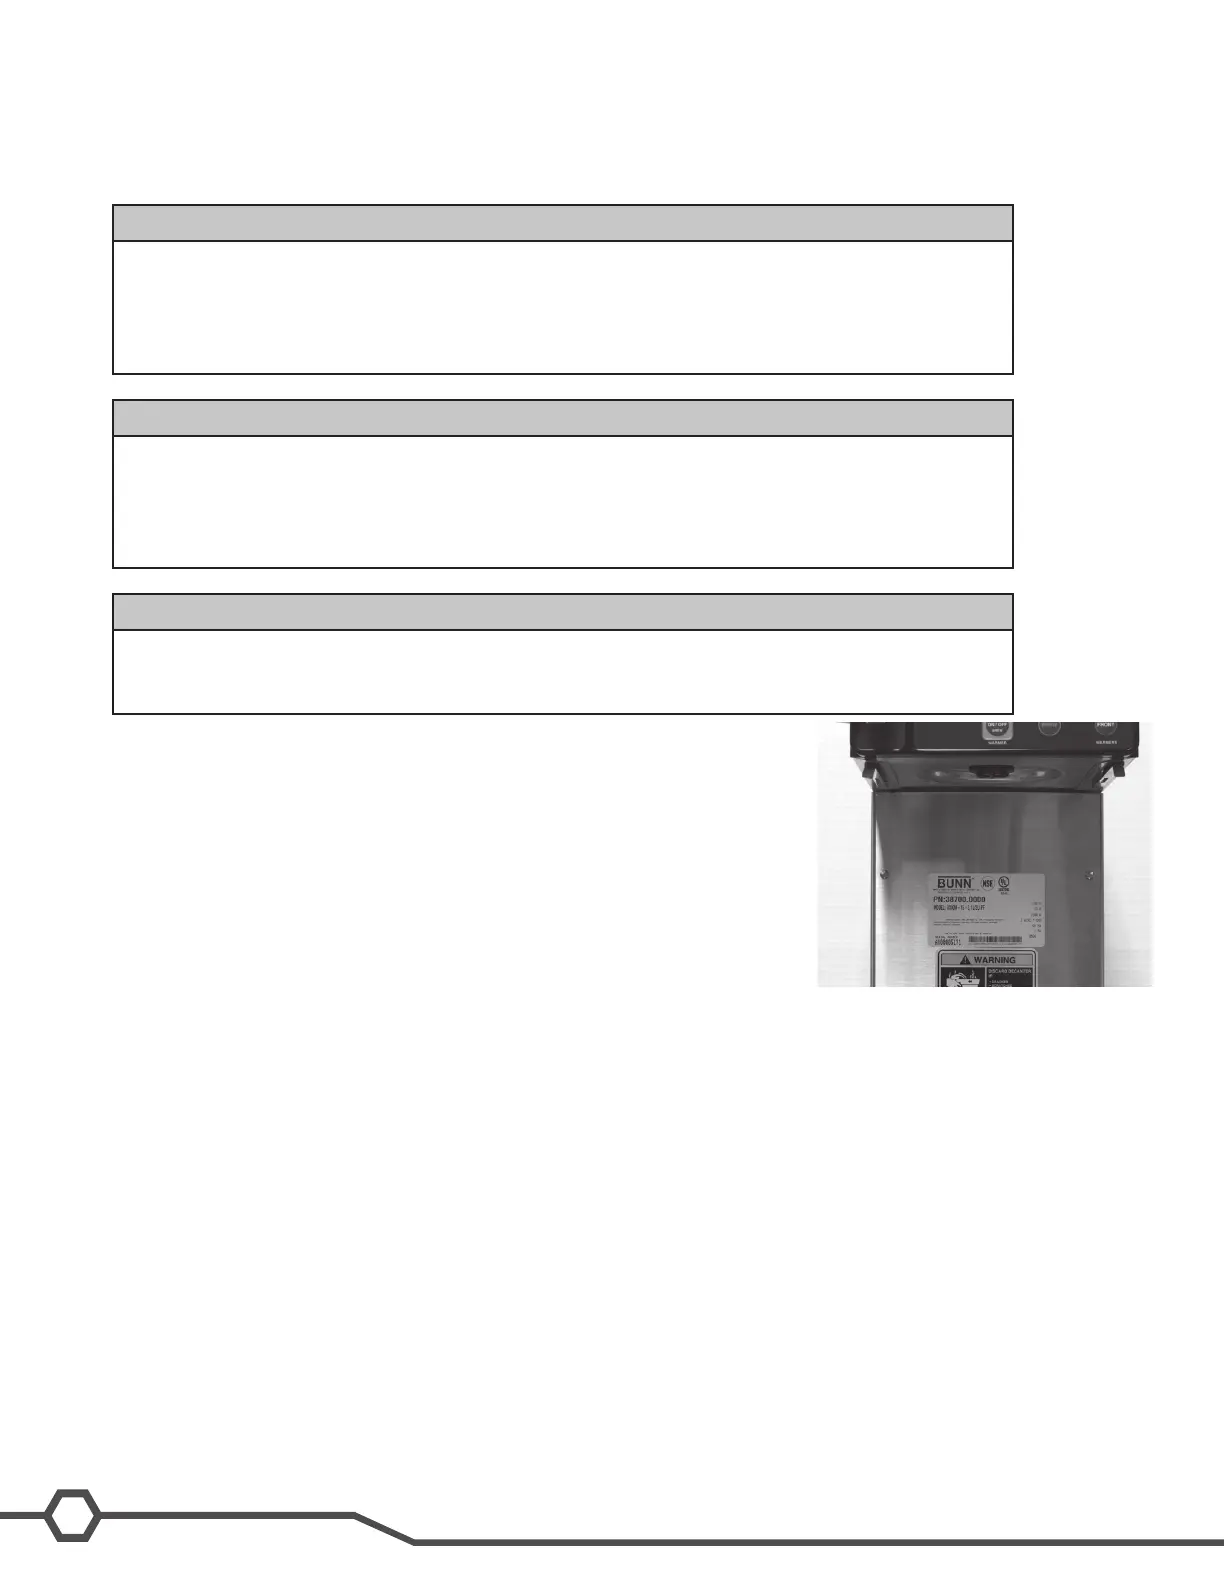
Location of the Serial Number
The machine’s serial number is located on the data plate which is attached
to the bottom of the front panel. The serial number begins with the letters AX.
The complete serial number will need to be documented on all work orders
and warranty tags.
Install Preparation
Step 1: Determine the electrical availability at site.
Step 2: Using a volt meter check voltage and color coding for each conductor on wall outlet.
Step 3: Factory installed power cord is 120VAC 15 amp. Unless ordered as 208-240VAC.
Step 4: If 208-240VAC power is used remove front panel and locate the main terminal block. Remove the 120VAC
power cord.
Step 5: Feed new power cord thru the rear of the machine.
Step 6:Installleadstothemaineldwiringterminalblock.
Step 7: Select desired voltage to be used by moving the selector switch. Switch is located in the upper most area of
the front of the brewer with the front panel removed.
Step 8:PlacetheAXIOMonasolidatsurfaceinsuringitislevelfronttorearandsidetosideusingalevel,adjust
legs as needed.
Water Supply Install
Step 1: Check dynamic water pressure, install a pressure regulator and set to 50 psi for pressures exceeding 90 psi
orifexcessivepressureuctuations.
Step 2:Flushwaterlinesandlterifused
Step 3: Install shut-off valve.
Step 4:Attachthewaterlinetothearettingofthemachine.
Step 5: Turn on water and check for leaks.

 Loading...