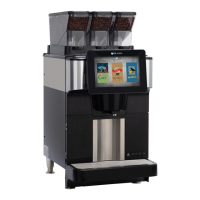
SmartWAVE
®
Training Manual
4
Installation
Site Requirements
Space
Height clearance of 19”•
Footprint able to accommodate 10” W x 18” D•
Counter able to support 25lbs•
Level installation surface, brewer level on the surface•
Water Treatment
Sedimentltrationtoreducelargeparticles•
Tasteandodorltertoremovechlorine•
Scaleltrationasneeded•
For best results a BUNN•
®
Easy Clear
®
ltrationsystemshouldbeused
Plumbing
.75-11.5NH(3/4”hosethread)tting(¼”areadapterincluded)•
Dedicated water supply with shut-off•
Connected to the cold water supply•
Water pressure 20-90 psi•
Electrical (120VAC)
120VAC•
2-wire plus ground (L1, neutral, ground)•
15 amp dedicated circuit (breaker, plug, and receptacle)•
Receptacle within 5 feet of the machine•
Power cord and plug included•
Electrical (208VAC or 240VAC)
120/208VAC or 120/240VAC•
3-wire plus ground (L1, L2, neutral, ground)•
15 amp dedicated circuit (breaker, plug, and receptacle)•
Receptacle within 5 feet of the machine•
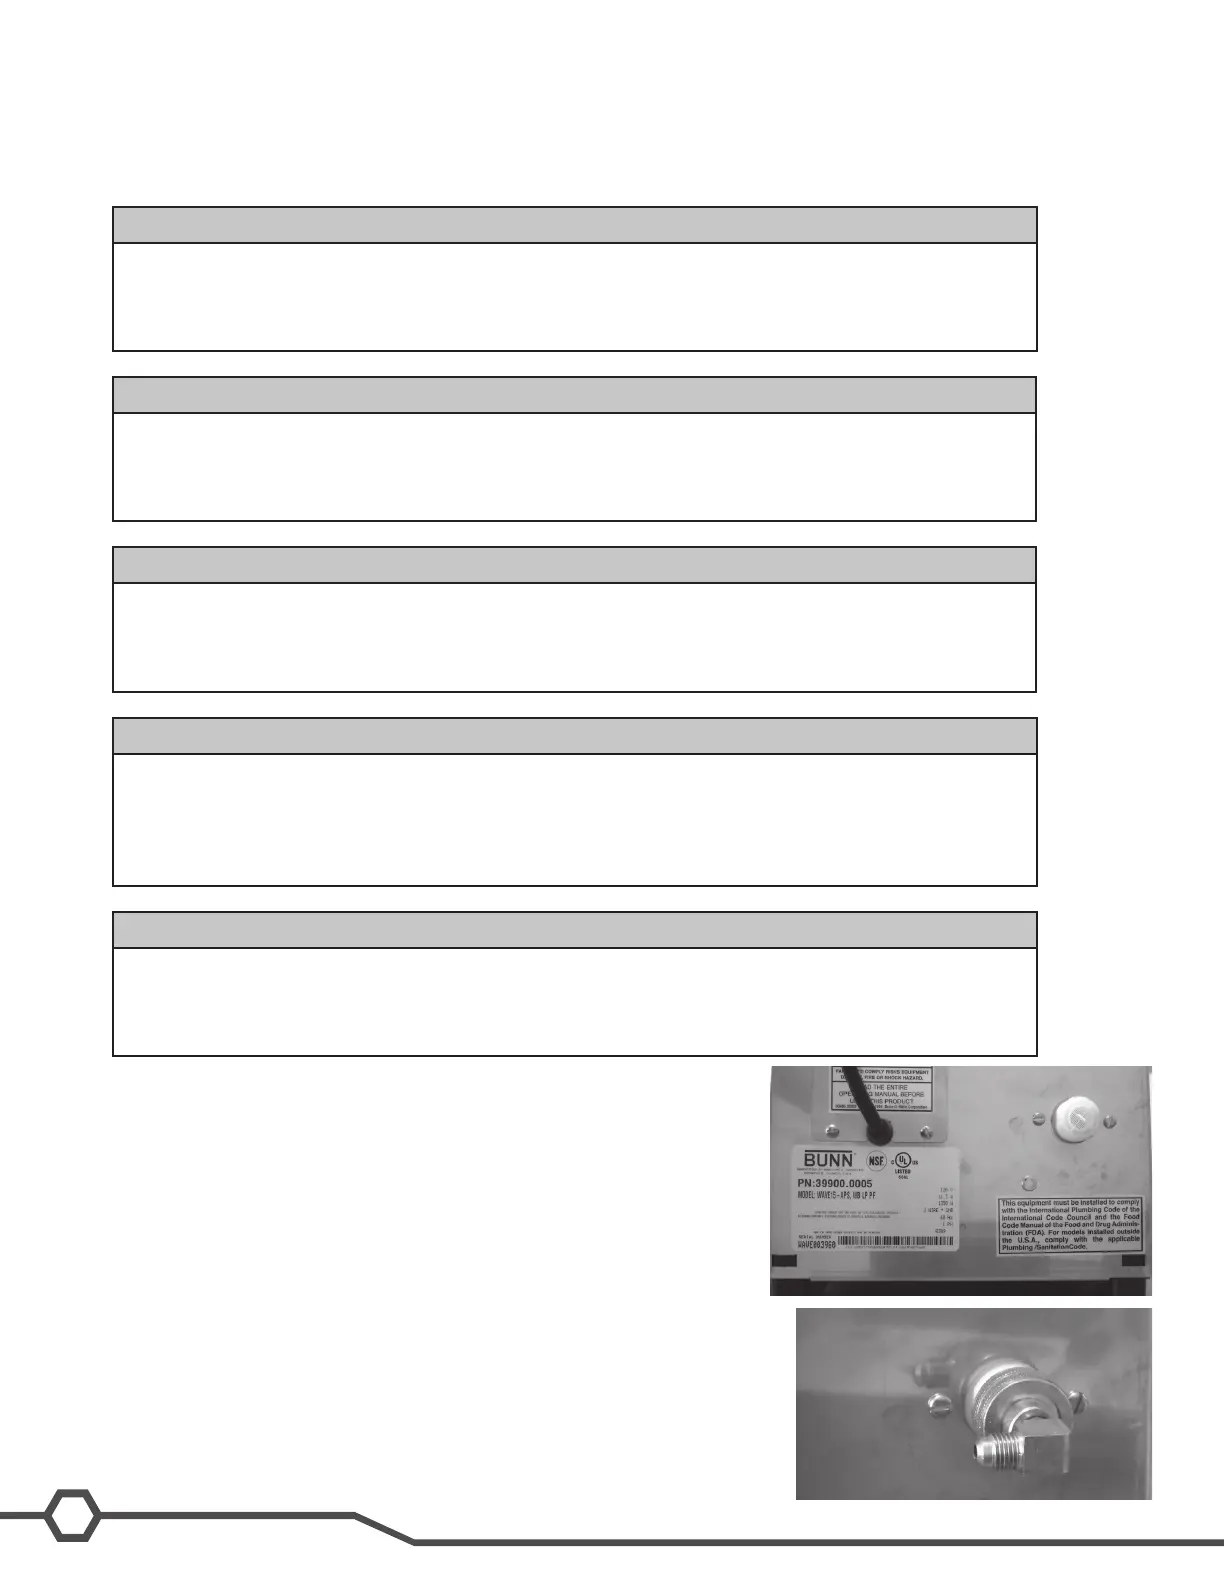
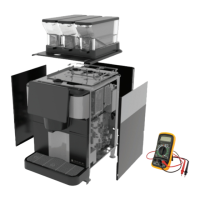
Location of the Serial Number
The machine’s serial number is located on the data plate which is
adhered to the rear panel below the control board access panel. The
complete serial number will need to be documented on all work orders
and warranty tags.
Water Supply Install
Step 1:Removetheshippingcapfromthettingontherearofthebrewer
Step 2:Installthe.75-11.5NHto¼”areadapterontherearofthebrewer;
be sure to use the included rubber washer.
Step 3: Flush the water line.
Step 4:Attachthewaterlinetothe¼”arettingonthebackofthema-
chine.
Step 5: Turn on the water supply