Bunn-O-Matic Corporation
5
Electrical Install
Anelectricianmustprovideelectricalserviceasspeciedinconformancewithalllocal,state,andfederalelectrical
codes.
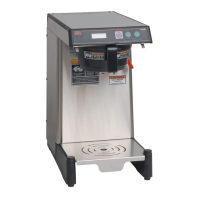
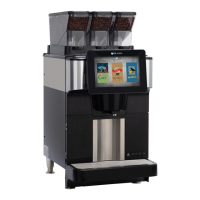
The SmartWAVE
®
brewerisavailableaseithera120VACor120/208-120/240VACconguredunit.Ensuretheloca-
tion has the appropriate electrical requirements for the brewer being installed. Always refer to the brewer’s data plate
forelectricalspecications.
For 120VAC Brewers:
Step 1: Plug brewer into the power source.
For 120/208VAC or 120/240VAC Brewers:
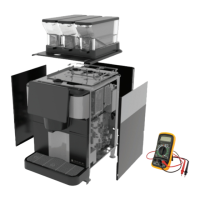
Step 1: Remove the terminal block access panel on the rear of the brewer.
Step 2: Feed the power cord through the strain relief.
Step 3: Connect the wire ends to the terminal block and the ground wire to the chassis ground.
Step 4: Tighten the strain relief and reinstall the access panel.
Step 5: Install the cord cap onto the opposite end of the power cord.
Step 6: Connect the brewer to the power source.
Step 7: Turn the main power switch on.
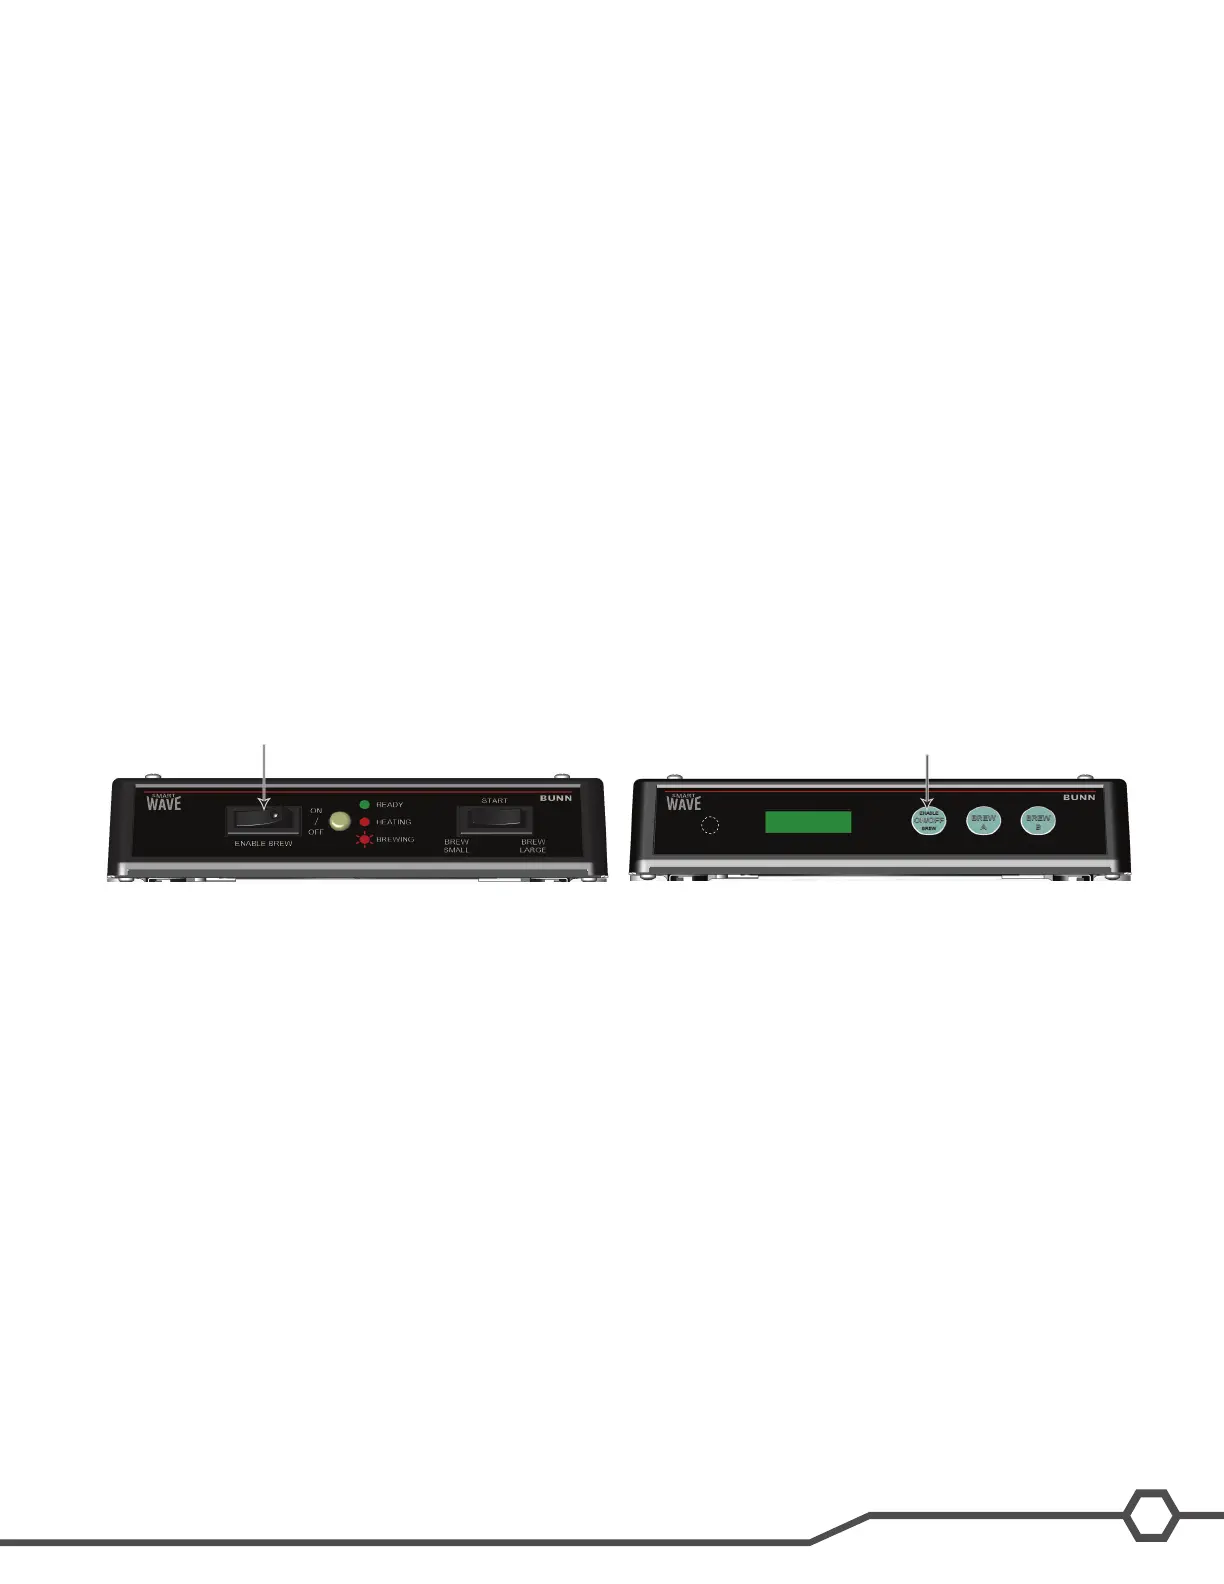
Initial Start-Up
After the brewer is connected to the power source or turned on (depending on model) press the ENABLE BREW
ON/OFFswitch.Waterwillbegintoowintothetankandstopwhenthetankisfull.Somewatermaydripfromthe
sprayhead due to expansion.
Afterthetankllsthemachinewillautomaticallybegintheheatingcycle.Thiswilltakeapproximately20minutes.
Once the water temperature has reached the programmed temperature READY will scroll across the screen (green
light on Silver series).
Enable Brew
Enable Brew