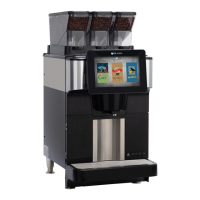
Bunn-O-Matic Corporation
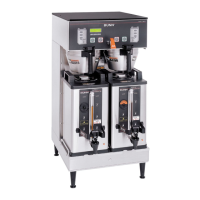
9
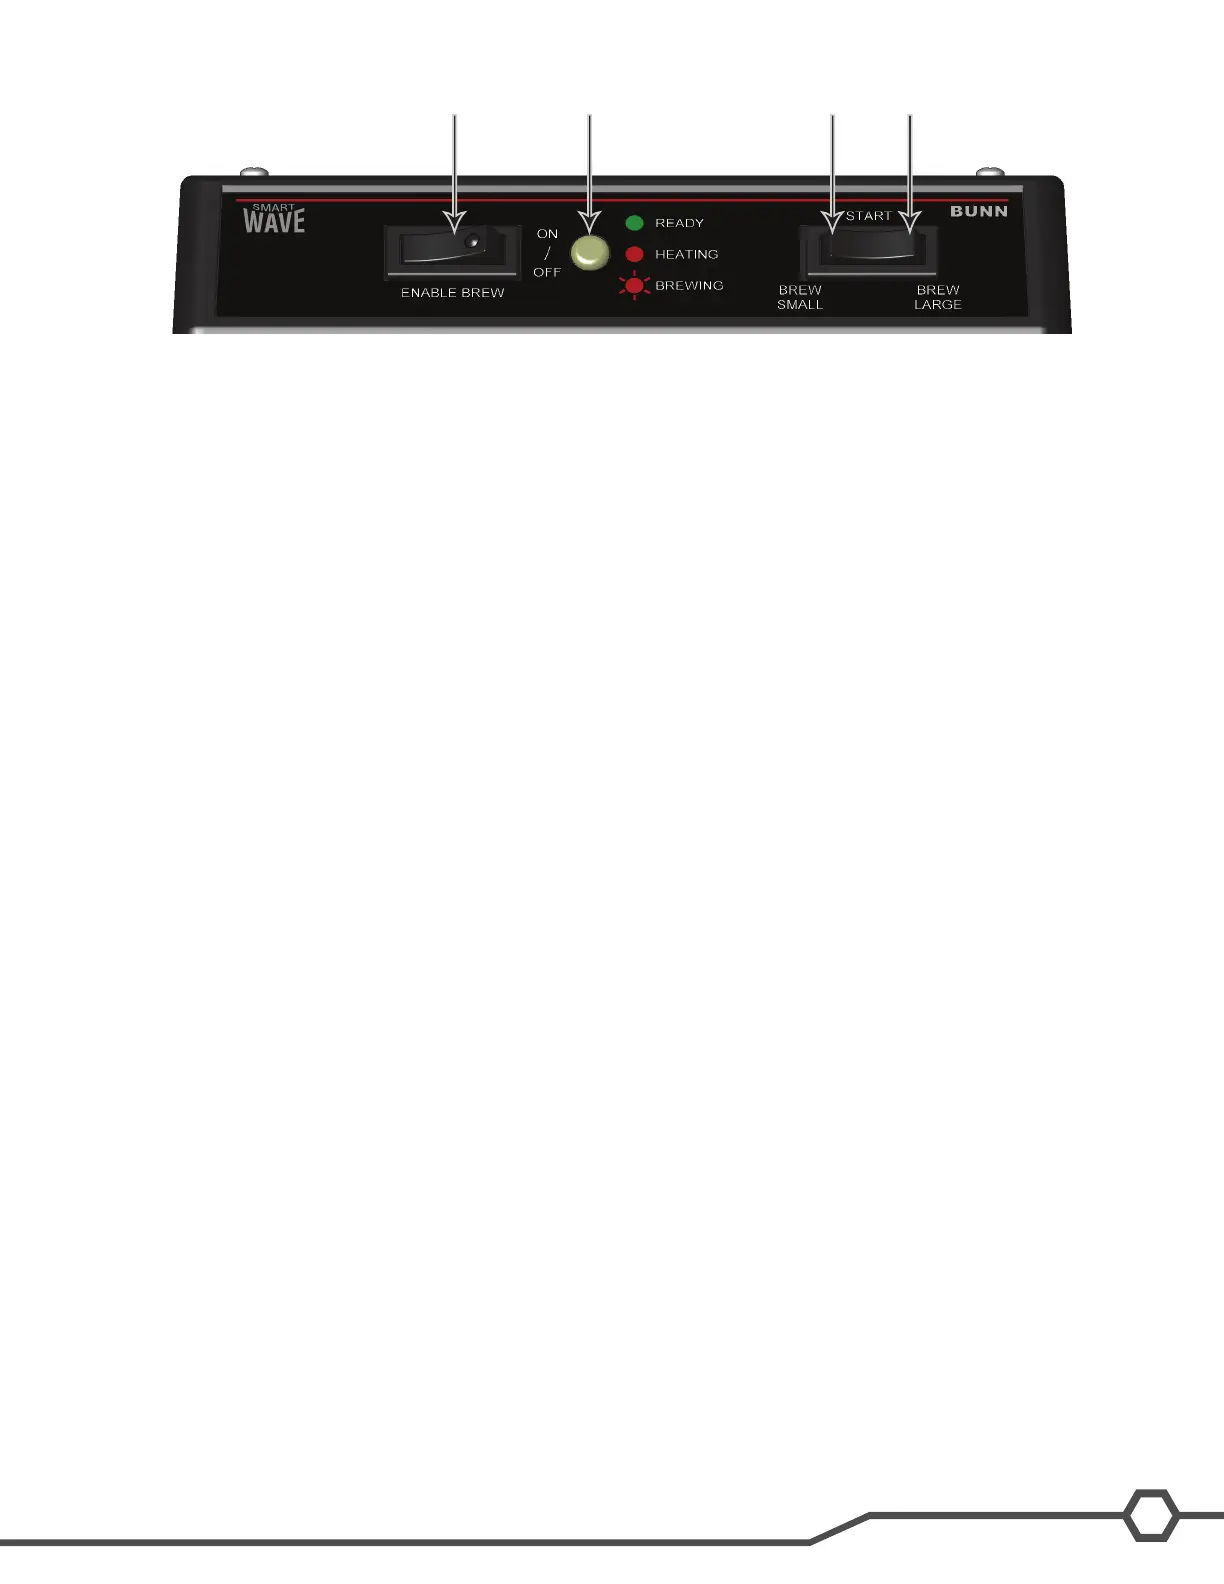
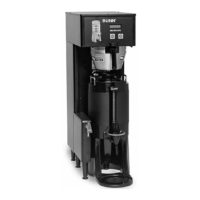
1 Enable Brew On/Off Switch
2 Small Brew Switch
3 Large Brew Switch
4 Status Indicator (LED)
Step 1: Place an empty funnel in the funnel rails and an empty server beneath the funnel.
Step 2: Press the ENABLE BREW ON/OFF switch placing it in the ON position.
Step 3:PressandholdthesmallbrewstartswitchuntiltheLEDindicatoralternatelyashesred/green(approximate-
ly 15 seconds). Release the switch.
Step 4: Allow the cycle to continue until the desired amount of water is dispensed and then press the ENABLE
BREW ON/OFF to turn OFF the brewer.
The brewer is now set to dispense this amount of water for each small brew cycle. To increase the amount of water,
place an empty funnel in the funnel rails and an empty server beneath the funnel. Press the ENABLE BREW ON/
OFF switch ON. Press and hold the small BREW switch until you hear the solenoid click three times (approximately
10 seconds), then release the switch. Momentarily press and release the small BREW switch once for each ounce of
watertobeaddedtothesettingandallowthebrewcycletonish.
To decrease the amount of water for each brew cycle, place an empty funnel in the funnel rails and an empty server
beneath the funnel. Press the ON/OFF” switch ON. Momentarily press and release the small BREW switch once for
each ounce of water to be removed from the setting. Press and hold the small BREW switch until you hear the sole-
noidclickthreetimes(approximately10seconds),thenreleasetheswitchandallowthecycletonish.
Note: Repeat the steps above to set the large batch by using the large brew switch.
Optional Pulse Brew Setup
Note: Set small and large batches separately. Brewer has 4 preset pulse brew routines to choose from. Factory de-
fault is 1 with 4 being the maximum time.
Step 1:Withthemachineoff,pressthesmallorlargeswitchfor10seconds.RedLEDwillashtoindicatecurrent
setting(1–4).
Step 2:Pressthesameswitchthenumberoftimes(1–4)forthedesiredsetting.After5secondstheredLEDwill
resumeashingtheselectednumber.
When no switches are pressed for 30 seconds, the mode will exit. Or the mode may be exited by pressing the EN-
ABLE BREW ON/OFF switch. Repeat above procedure with the other brew switch.
Note: No other additional settings are available on the Silver Series.
Restore Factory Defaults
Step 1: Unplug the brewer.
Step 2: Press the ENABLE BREW ON/OFF in the On position and plug the brewer into the power source.
Step 3: Press the ENABLE BREW ON/OFF switch for 10 seconds. During those 10 seconds, the red LED will be on
steady.After10secondsthegreenLEDwillbeginashingrapidlyfor5seconds.Duringthose5seconds,release
and again momentarily press the ENABLE BREW ON/OFF switch again to restore default settings. The LED will
alternate rapidly Red and Green for a few seconds indicating the restore has been accomplished.
1 2 34