25
Installation
8.3.1 Installation of the valve body
Welded bodies
→ Weldvalvebodyinpipelinesystem.
Other body versions
→ Connectbodytopipeline.
8.3.2 Install actuator (welded body)
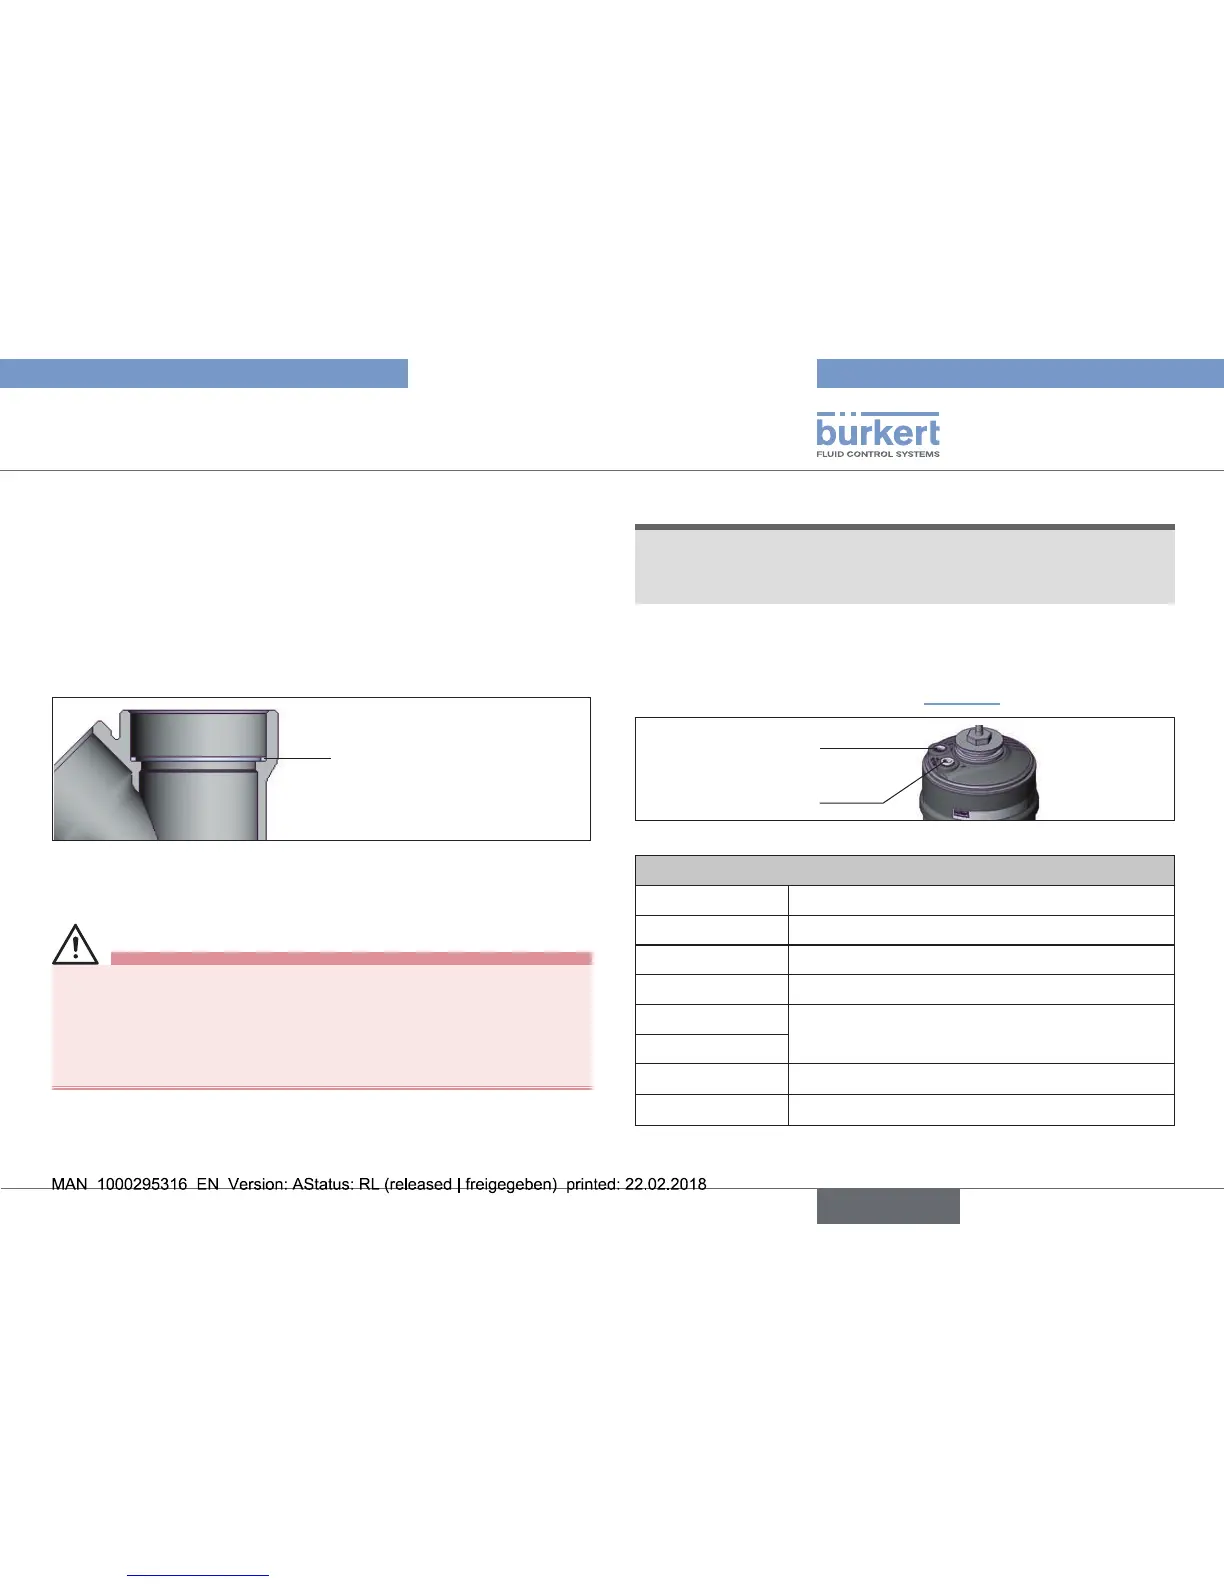
Seal
Fig. 18: Seal
→ Checkthesealandifrequired,replaceit.
WARNING!
Danger if incorrect lubricants used!
Unsuitablelubricantmaycontaminatethemedium.Inoxygen
applicationsthereisariskofanexplosion!
▶ Inspecicapplications,e.g.oxygenoranalysisapplications,
useappropriatelyauthorizedlubricantsonly.
→ Greasenipplethreadbeforere-installingtheactuator(e.g.
withKlüberpasteUH196-402fromKlüber).
NOTE!
Damage to the seat seal or the seat contour!
▶ Wheninstallingtheactuator,ensurethatthevalveisinopen
position.
→ ControlfunctionApressurizethepilotairport1withcom-
pressedair(5bar):valveopens.
→ Screwactuatorintothevalvebody.
Observetighteningtorque(see“Tab.16”).
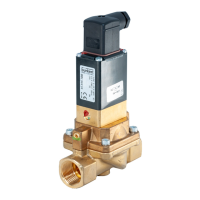
1
2
Pilotairport
Fig. 19: Connections
Tightening torques of valve body / nipples
DN Tightening torque [Nm]
15 45 ±3
20 50 ±3
25 60 ±3
32
65 ±3
40
50 70 ±3
65 100 ±3
Tab. 16: Tightening torques of valve body / nipples