Accessing Installation Menu
1. Press “MENU” button on the remote control and
select Installation by using “ ” or “ ” button.
2. Press “OK” button and the Installation screen
will be displayed.
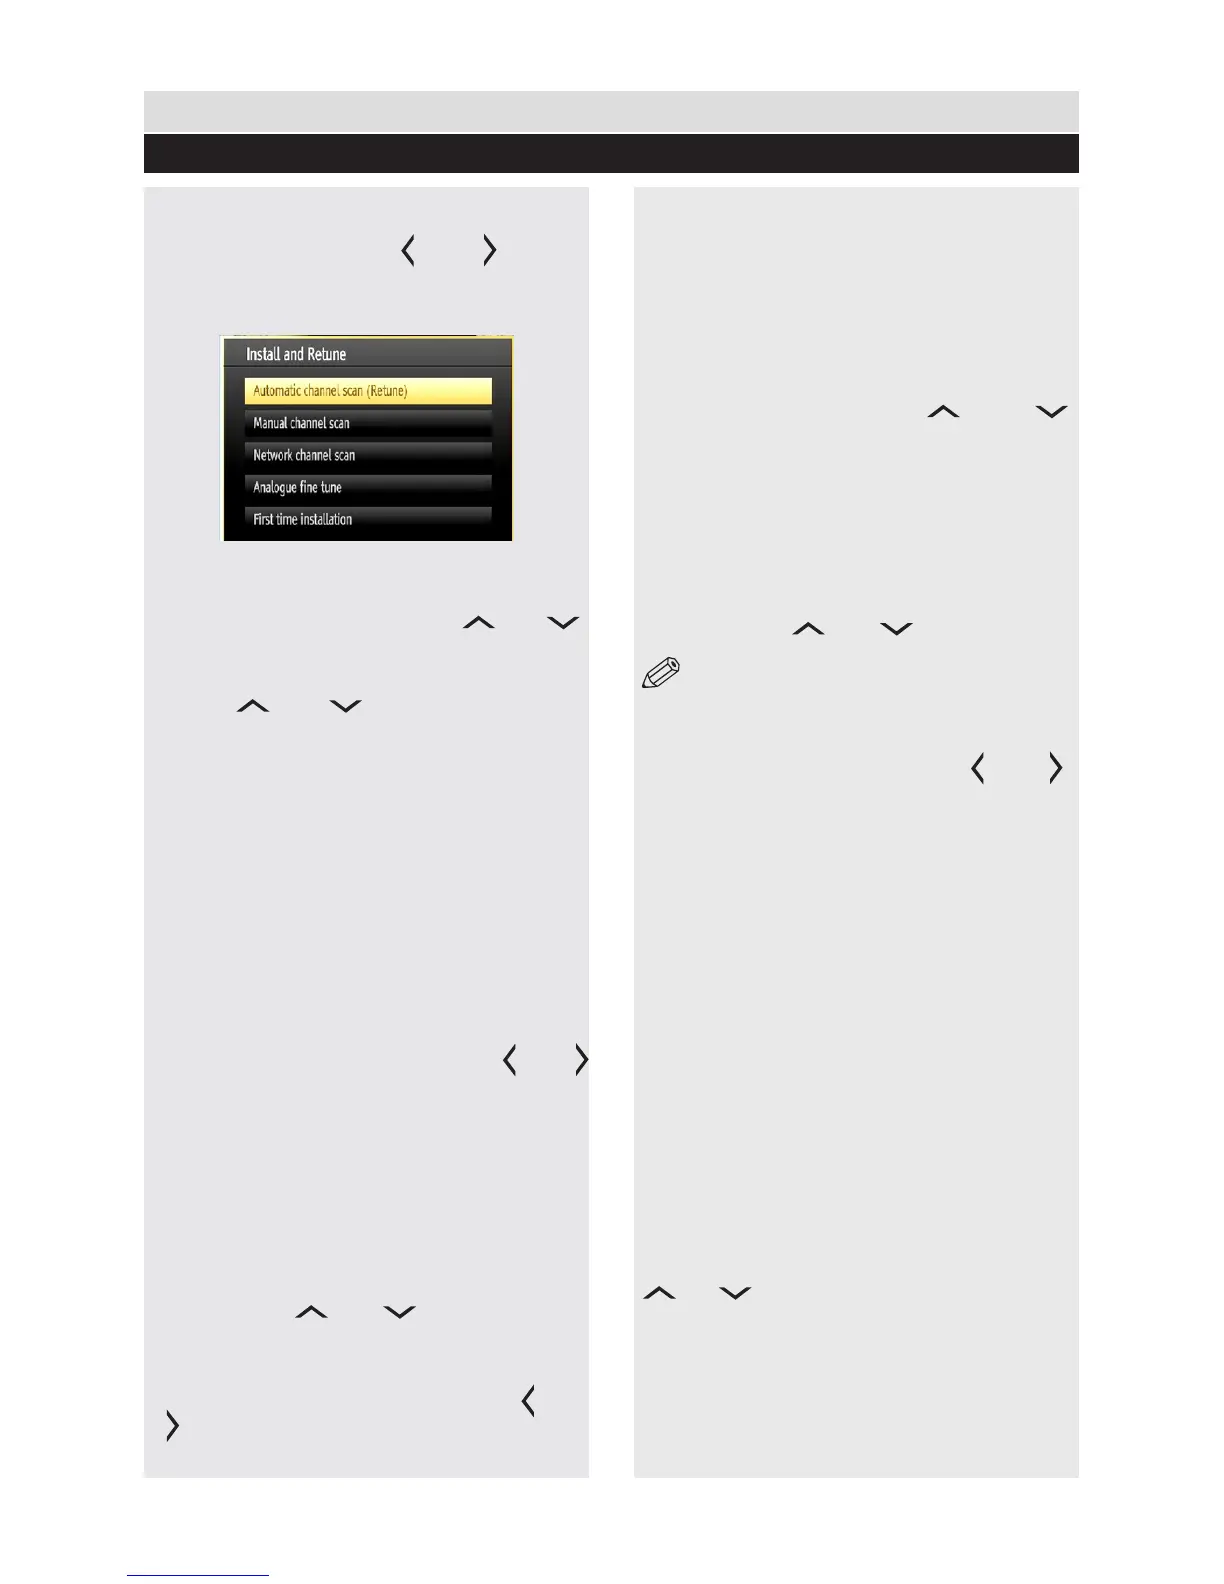
Automatic Channel Scan (Retune)
1. In the Installation menu, select “Automatic
Channel Scan (Retune)” by using “ ” or “ ”
button and press OK button .
2. Options will be displayed. You can select options
by using “ ” or “ ” and OK buttons.
Menu Operations
Digital Aerial: Searches and stores aerial DVB stations.
Digital Cable: Searches and stores cable DVB stations.
Analogue: Searches and stores analogue stations
Digital Aerial & Analogue: Searches and stores
aerial DVB and analogue stations.
Digital Cable & Analogue: Searches and stores
cable DVB and analogue stations.
3. Whenever you select an automatic search type
and press OK button, a conrmation screen will
appear on the screen. To start installation process,
select Yes, to cancel select No by using “ ” or “
” and “OK” button.
4. After auto channel scan type is set and
selected and conrmed, installation process will
start and progress bar will move along. If desired,
press “MENU” button to cancel process. In such
a case, located channels are not stored.
Manual Channel Scan
1. In the Installation menu, select “Manual Channel
Scan” by using “ ” or “ ” button and press
OK button.
2. Manual Scan options screen will be displayed.
Select the desired “Search Type” using “ ” or
“ ” button. Manual search options will change
accordingly.
3. Enter the multiplex (for digital manual search),
frequency, polarization, symbol rate, network
channel scan, satellite options (for satellite
manual search) or frequency number (for
analogue manual search) using the numeric
buttons and press OK button to start search.
Network Channel Scan
1. Select Network Channel Scan from the
installation menu by using “ ” or “ ”
and press OK button. 2. Network Channel Scan
selection screen will be displayed. Select Digital
Aerial or Digital Cable and press OK button to
continue. Refer to the Initial Installation section
for more information on the process.
Analogue Fine Tune
1. Select “Analogue Fine Tune” from the Installation
menu by using “ ” or “ ” and OK buttons.
Analogue ne tune screen will be displayed.
NOTE: Analogue Fine Tune feature will not be
available if there are no analogue channels, digital
channels and external sources stored.
2. Press OK button to proceed. Use “ ” or “ ”
button to set Fine Tune. When nished, press OK
button again.
First Time Installation
Deletes all stored channels and settings, resets TV
to factory settings and starts rst time installation.
1. Select First Time Installation option and press
OK button if you would like to reset the TV.
2. A warning screen will be displayed. Select YES
and press OK to continue. All prestored channels
and settings will be deleted in such a case.
3. The TV will reset after a short time and
language selection menu will be displayed.
4. Follow the steps in the Initial set up section.
Clear Service List
(*) This setting is visible only when the Country option
is set to Denmark, Sweden, Norway or Finland.
1. Use this setting to clear channels stored. Press
“ ” or “ ” button to select Clear Service List
and then press OK.
2. An OSD message will be displayed on the
screen. Press OK to cancel or select Yes to
delete all of the stored channels.
General TV Operation
Insallation Controls
37