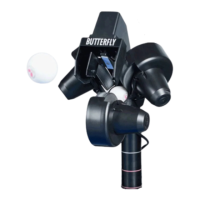
25
taking it off, check and remember how much of the shaft is protruding past the wheel. Pull the wheel
off the motor shaft. Replace with a new wheel. Slip the wheel onto the motor shaft until the position of
the original wheel is reached. Tighten the setscrew.
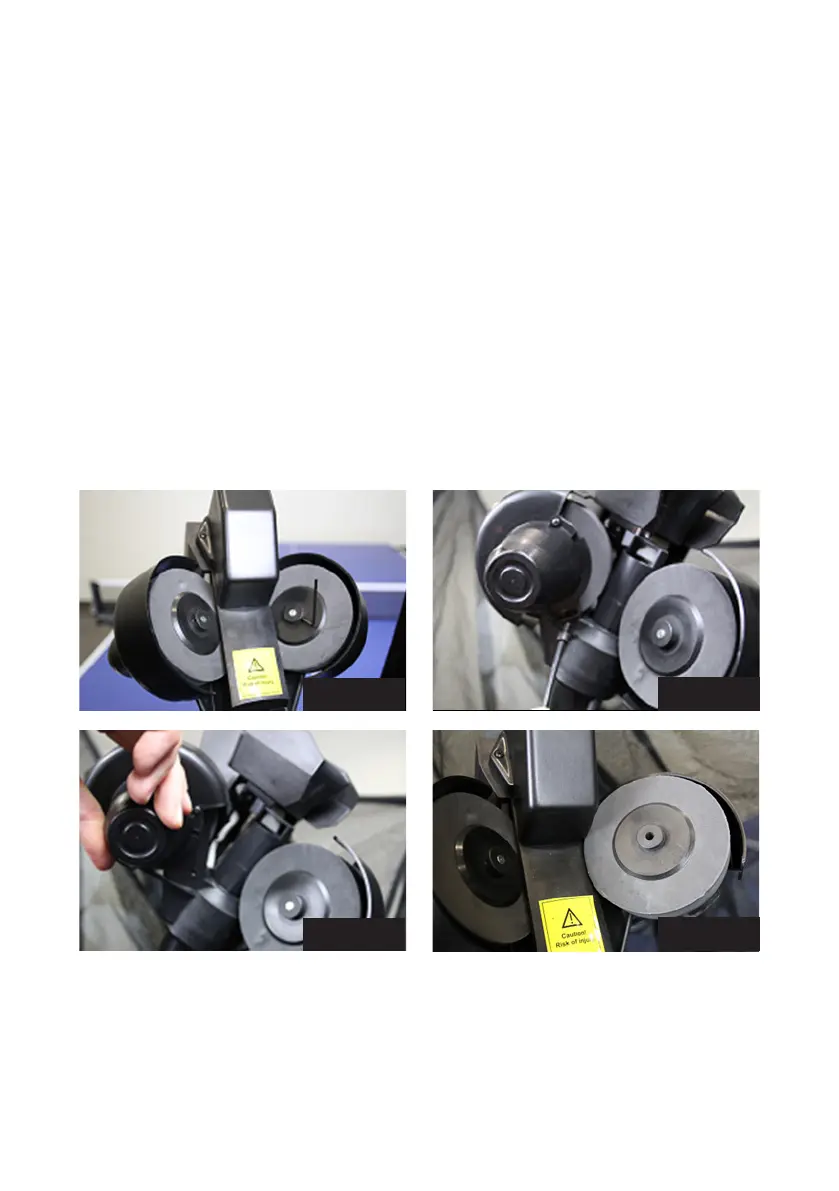
For the upper motors, the procedure is a little bit different. Begin by removing the two #1 Phillips
screws on the Motor Covers and pull the covers off. Next, remove the 4 mm hex adjustment screws
(see Photo 34C). Grab ahold of each wheel, and pivot it away from the Ball Tube (see Photos 35C & 35D).
Loosen the 2 mm setscrew, remove the old wheel, and push the new wheel on the motor shaft. Tighten
the 2 mm setscrew. Pivot the wheels back down into their original positions. Fasten the Motor Covers
back in place. Replace and tighten the 4 mm hex screw.
Even if only one of the upper wheels has been damaged or worn out, we recommend replacing both
upper wheels at the same time for best ball throw accuracy. After replacing wheels, adjust the wheel
clearance as described in the previous section. Then manually spin each wheel to be sure it is not
rubbing on any surface. While spinning the wheel, move the Deflector Plate back and forth to make sure
the wheel is not rubbing on it. If any rubbing is observed, loosen the 2 mm setscrew and slightly move the
wheel’s position on the shaft until the wheel no longer rubs. If moving the wheel’s position on the motor
shaft does not prevent the rubbing, then you will have to loosen the 4 mm hex screw and move the wheel
away from the Ball Tube. Lastly, tighten the setscrew securely. Before using the robot, do a Head Reset.
Photo 35A
Photo 35B
Photo 35C
Photo 35D
Ball Jams
Your robot is equipped with a special system to detect and react to problems in the ball channel. When
the system detects a problem, it will attempt to automatically clear the ball jam by turning the Ball Feed
Motor and the wheels forward and backward several times.