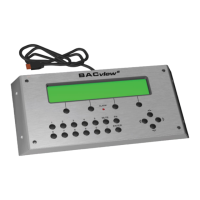
The BACview®6 device
BACview® CARRIER CORPORATION ©2021
Installation and User Guide All rights reserved
14
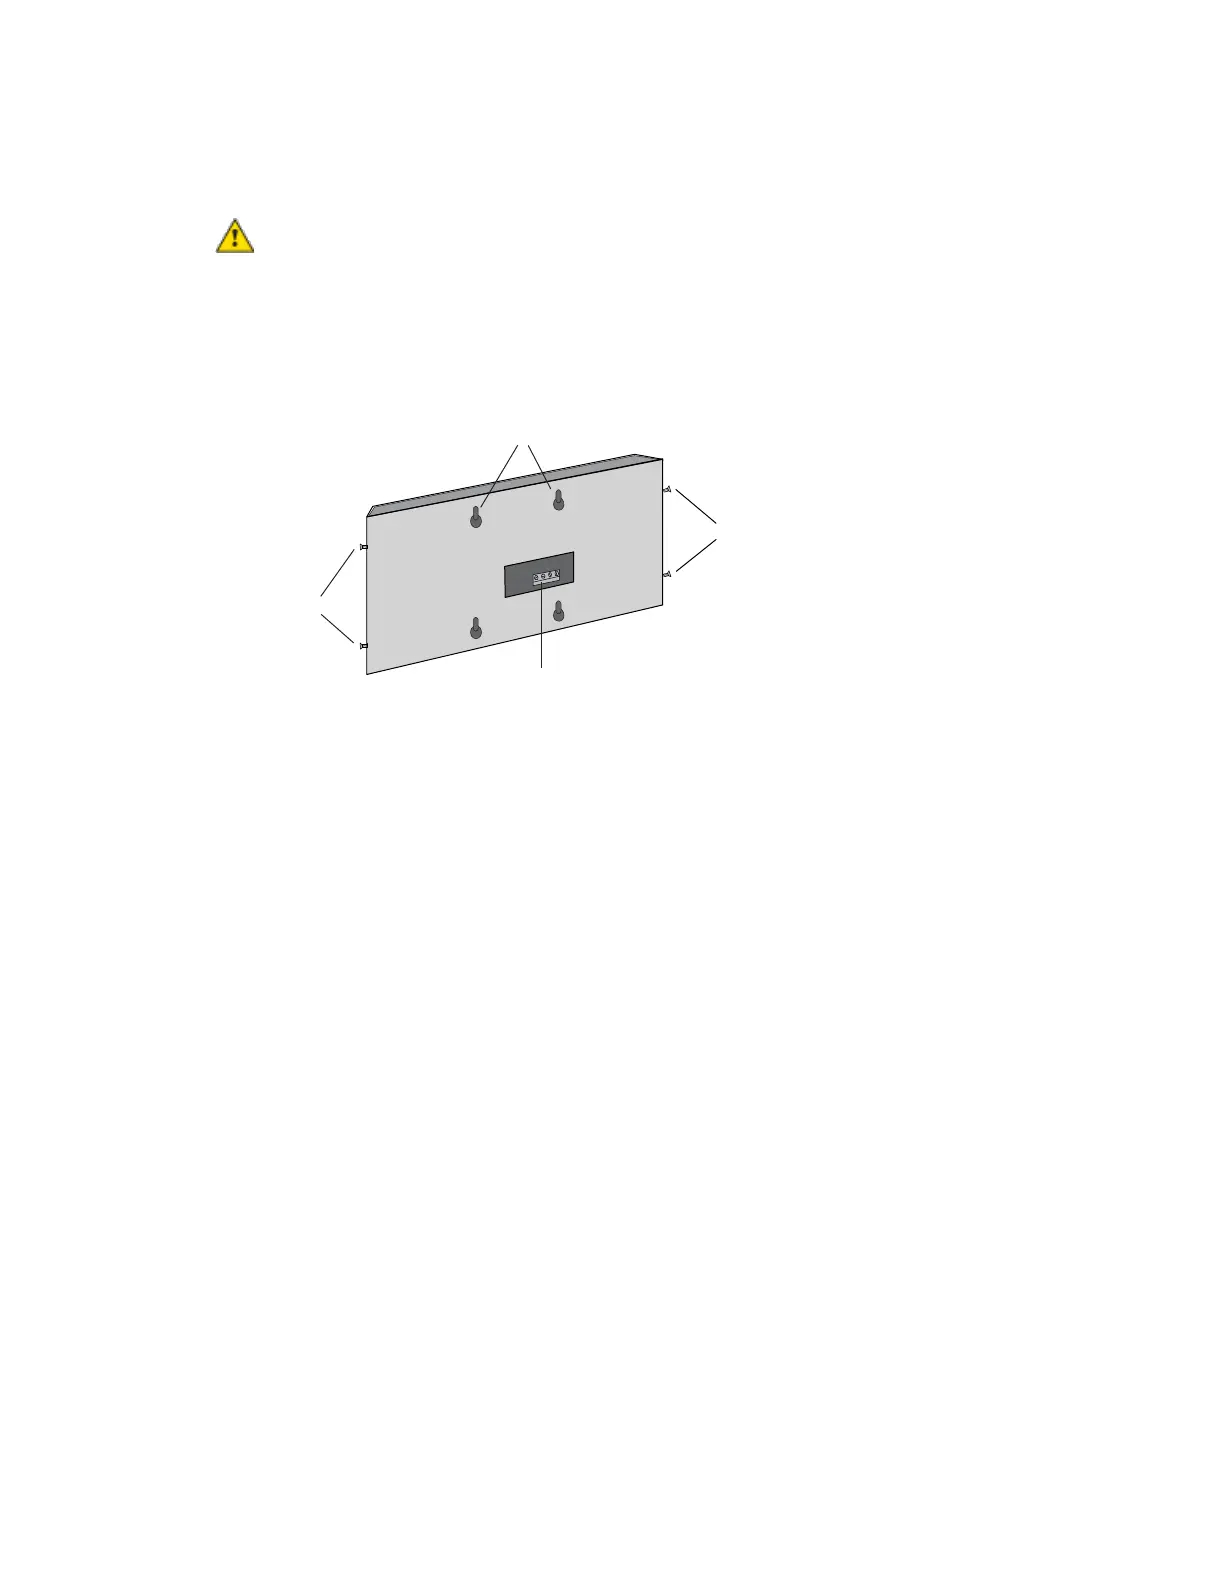
To mount
CAUTION The BACview®
6
device is powered by a Class 2 power source. Properly isolate the BACview®
6
device from non-Class 2 circuits in the same control panel.
1 Remove the 4 screws on the sides of the device to remove the rear mounting plate.
2 Using the rear mounting plate as a template, drill 4 holes in the surface where you are mounting the
BACview® device, then insert 4 screws in the holes.
3 If mounting the BACview® device on a panel door, use the cutout in the rear mounting plate as a template to
cut a hole in the panel door for the cable to pass through.
4 Reattach the rear mounting plate.
5 Wire the BACview® device to the controller. See Wiring the BACview® device (page 15).
6 Hang the BACview device on the 4 mounting screws.
NOTE If mounting above the controller or on a wall, pull the cable out to the side of the BACview device
without bending or pinching the cable beneath it.