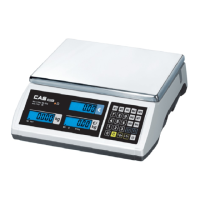
14 Servicing and Parts Replacement
55
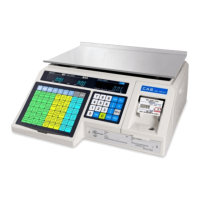
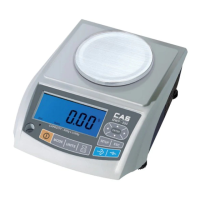
14.9 Keyboard Replacement
Make sure th
unplugged.
keyboard screws on top of the
upper case.
B. Remove the keyboard grounding screw on
the Main PCB.
C. Unplug the keyboard cable from J7 on the
Main PCB.
3. Reattach a new keyboard, reassembling in reverse order.
14
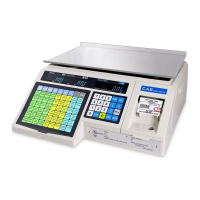
. Follow steps 1, 2, & 3 from 0 14.9 Keyboard Replacement.
. Remove all 15 screws from the Keyboard PCB.
. You can now replace any switch that is not working. Remember that each switch has 4 pins
ldered to the keyboard PCB.
. You may also replace any of the Keyboard Under-lays being careful not to loose or misalign any of
e Key Knobs.
. Once done, reassemble in reverse order. Be very careful not to over tighten the keyboard PCB
rews.
at the Main Power switch is OFF & that the scale is
1. Remove the platter from the platform & all labels& backing
paper from the printer.
2. Remove the keyboard:
A. Remove the 2
.10 Keyboard Servicing
1
2
3
so
4
th
5
cs

 Loading...