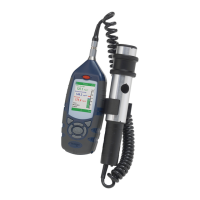
CEL-712 Microdust Pro Real-time Dust Monitor
28 Casella Measurement
The instrument’s Calibration screens have yellow bars at the top and bottom.
Access these screens by selecting the Calibration icon from the
Settings screen.
Setting for Zero
Refer to Figure 14 for the steps to set the instrument zero.
Prior to making measurements it is important to purge the probe with clean air
and perform a ‘Zero’ adjustment. Fine dust particles trapped within the probe
assembly may take a considerable time to settle, even when the sample
chamber entrance holes are covered by the collar.
To purge the probe with clean air slide the collar over the probe inlet, leaving a
small gap (1-3mm) to restrict entry of particulate into sample chamber and
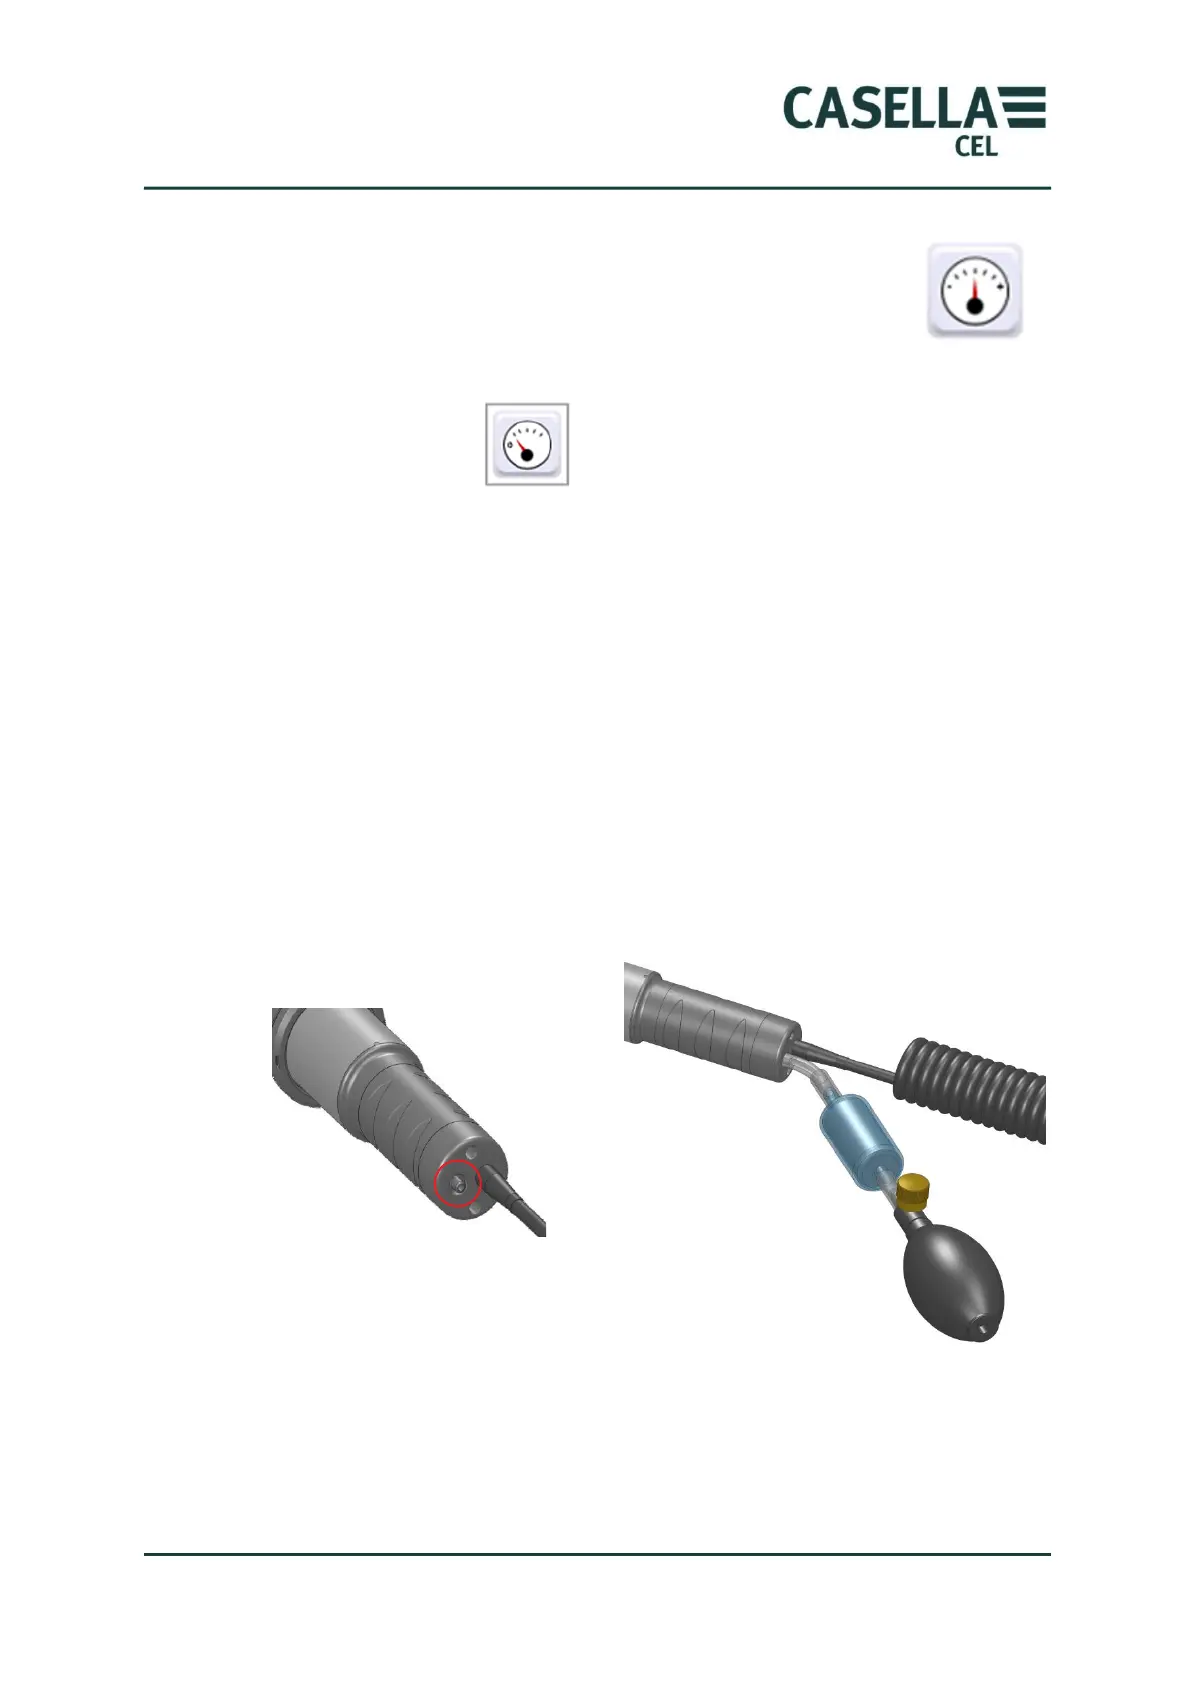
from which the purge air can escape. Attach the purge bellows to the probe’s
purge inlet at the location shown in Figure 13 (remove the protective rubber
cap, ensure you retain it safely and refit once the purging and Zero settings
are complete)
Figure 13 Probe Purge inlet and Fitting of Purge Bellows
Squeeze and release the purge bellow 5 or 6 times over a 10 second period. This
action injects clean air into the chamber and removes possible contamination
that might have settled on the optical components inside the probe. When you
perform this operation, you might see the indicated concentration increase, and
then decrease towards zero.