31 Menu operation
User Mode
Settings
(Continued)
• Rename User Mode
Select to rename the customized picture modes (User 1 or User 2). The new
name can be up to 9 characters including English letters (A-Z, a-z), digits
(0-9), and space (_).
1. Go to PICTURE > Picture Mode.
2. Press / to select User 1 or User 2.
3. Press to highlight User Mode Settings, and press ENTER. The User
Mode Settings page is displayed.
4. Press to highlight Rename User Mode and press ENTER. The
Rename User Mode page is displayed.
5. Use / / / to select desired characters.
6. When done, press ESC to exit.
Brightness
The higher the value, the brighter the image. Adjust this control so the black
areas of the image appear just as black and that detail in the dark areas is
visible.
Contrast
The higher the value, the greater the contrast. Use this to set the peak white
level after you have previously adjusted the Brightness setting to suit your
selected input and viewing environment.
Color
Lower setting produces less saturated colors. If the setting is too high, colors
on the image will be overpowering, which makes the image unrealistic.
Tint
The higher the value, the more greenish the picture becomes. The lower the
value, the more reddish the picture becomes.
Sharpness The higher the value, the sharper the picture becomes.
Advanced
• Select Gamma
Gamma refers to the relationship between input source and picture
brightness.
• 1.6/1.8/2.0/2.1: Select these values according to your preference.
• 2.2/2.3: Increases the average brightness of the picture. Best for a lit
environment, meeting room or family room.
• 2.4/2.5: Best for viewing movies in a dark environment.
• 2.6/2.8: Best for viewing movies which are mostly composed of dark
scenes.
High Brightness
Low Contrast
Low Brightness
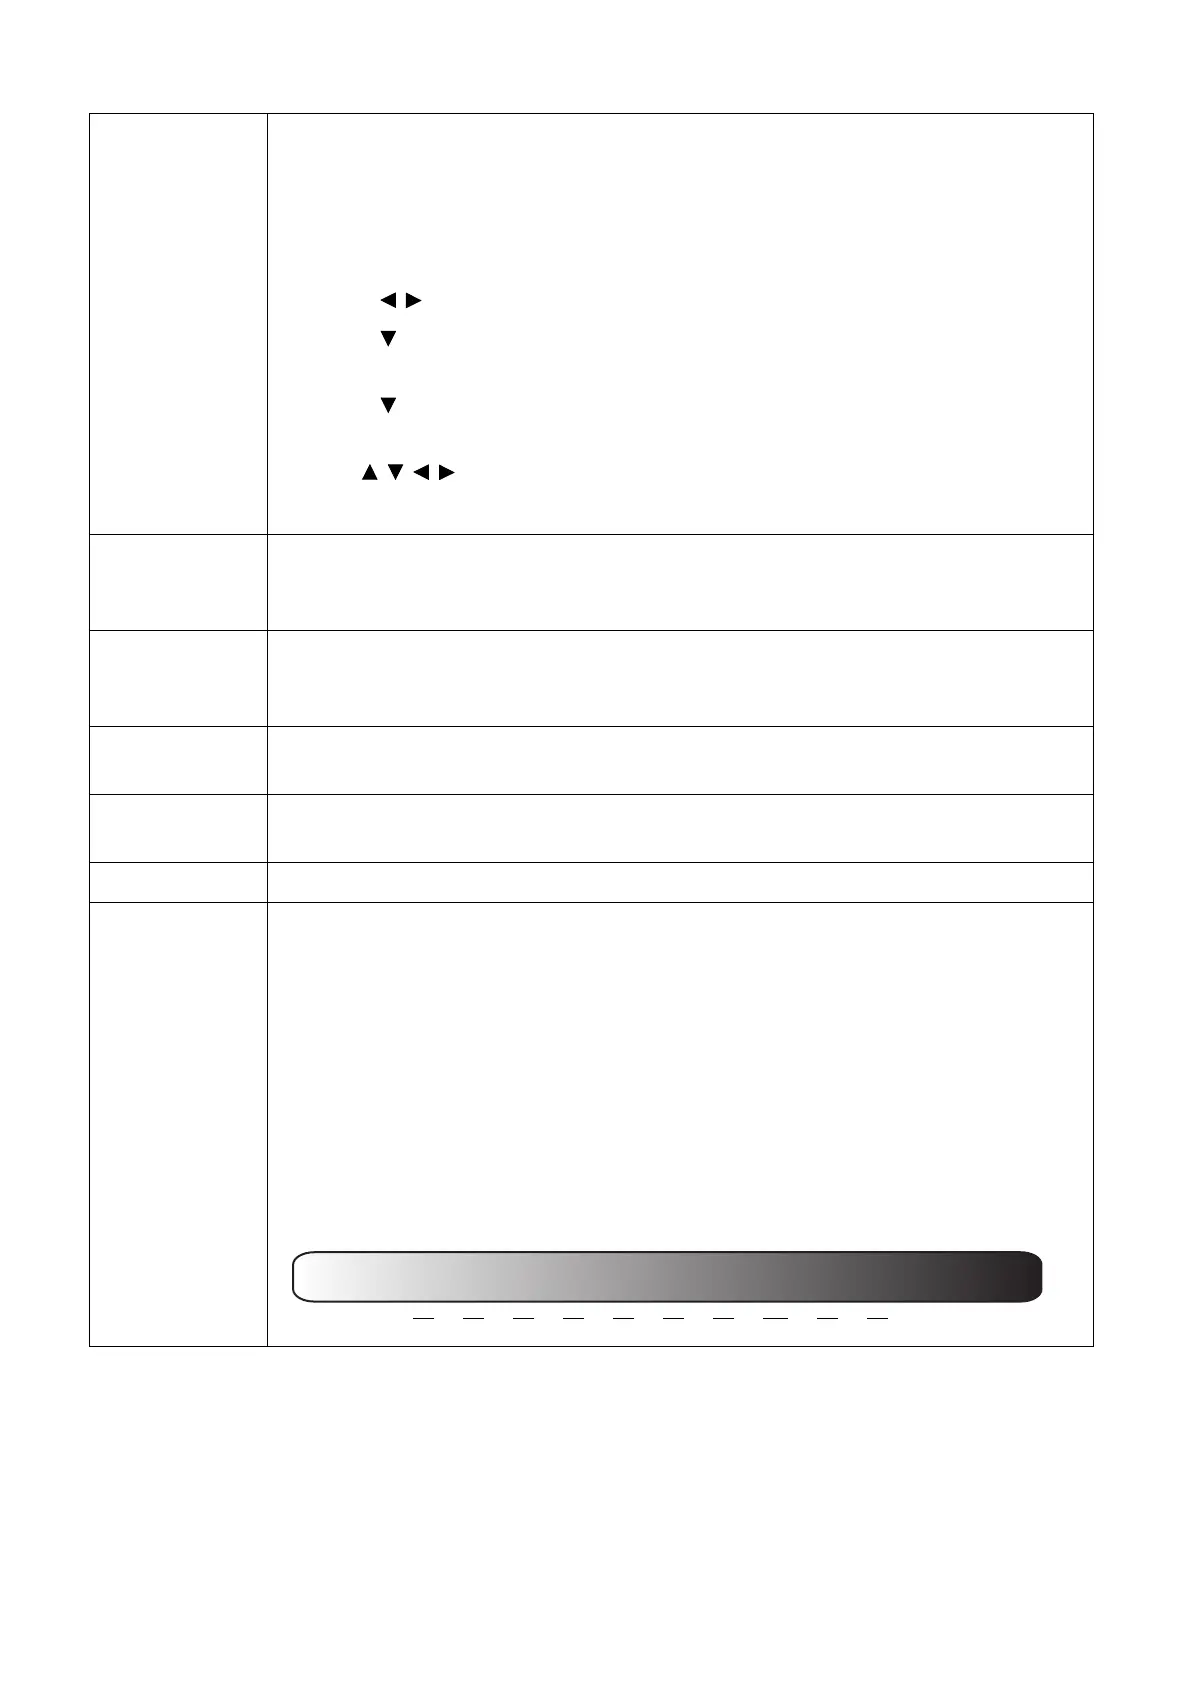
High Contrast
1.6 1.8 2.0 2.1 2.2 2.3 2.4 2.5 2.6 2.8
 Loading...