15System Installation
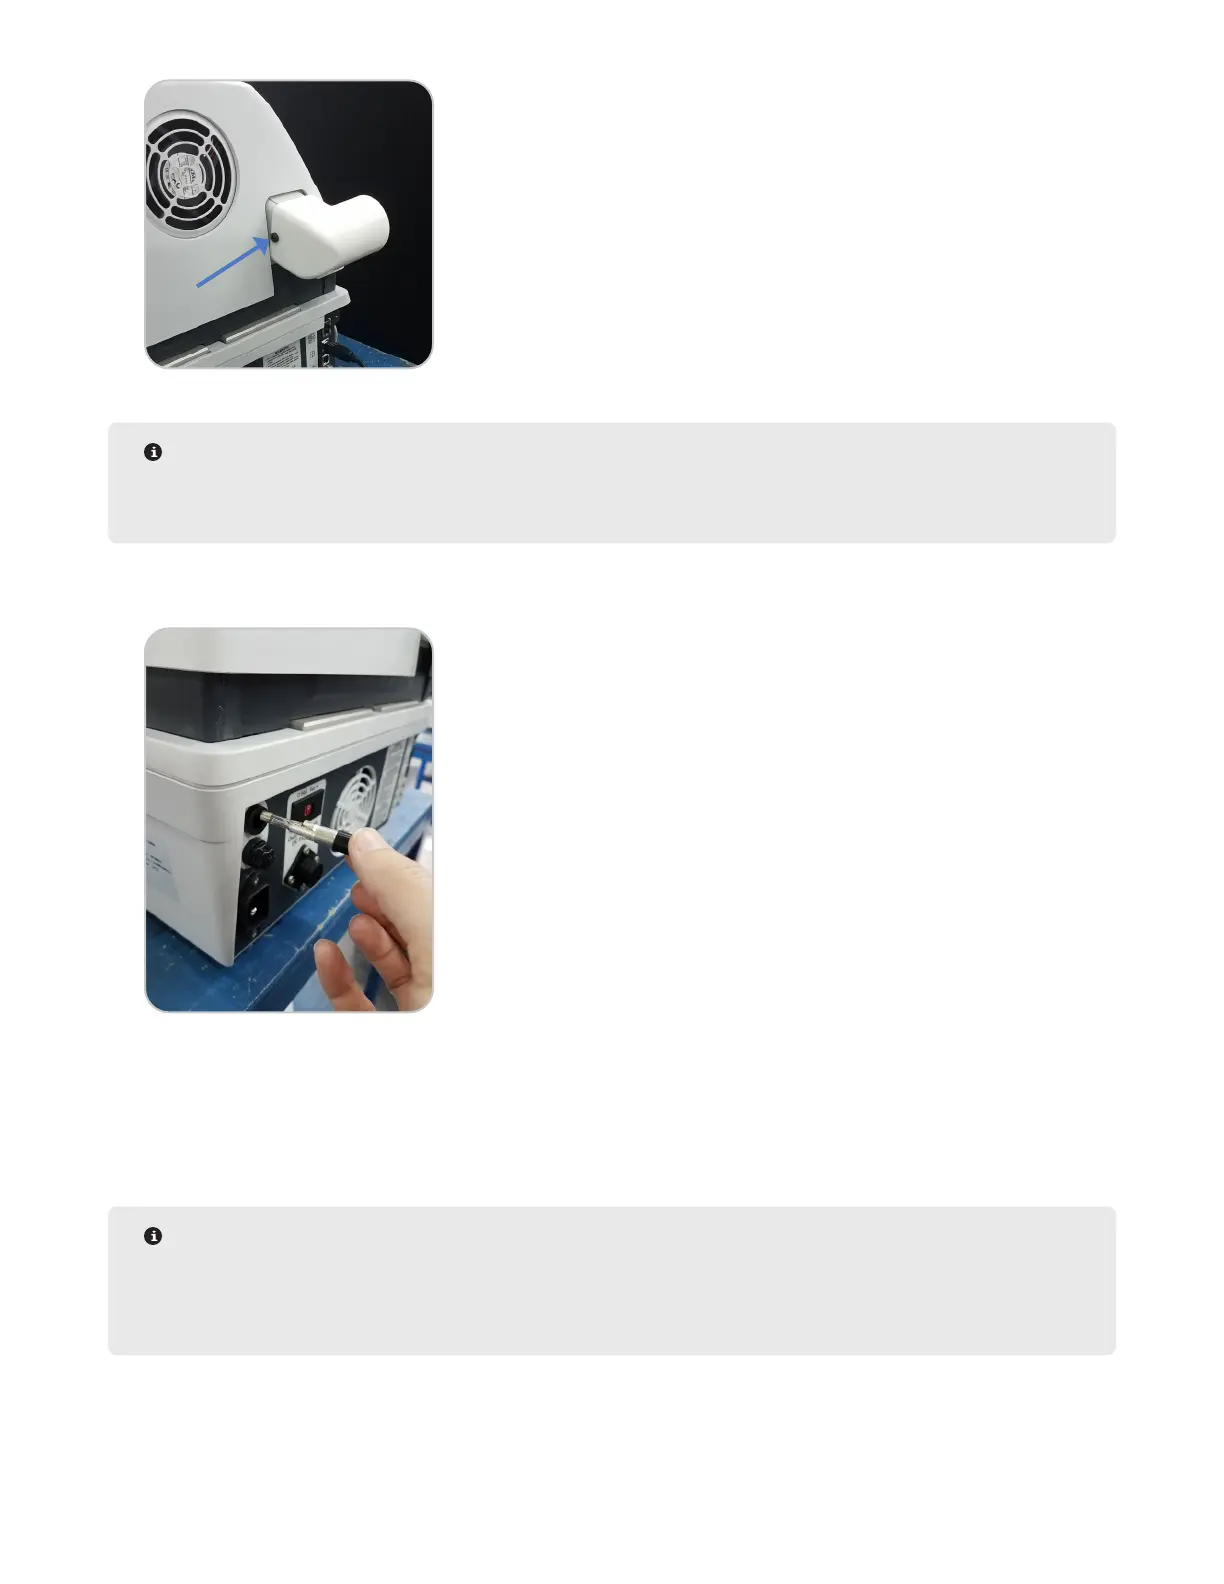
NOTE
If using an exhaust hose for safe ventilation of volatiles, connect the hose to the exhaust elbow prior to
attaching the elbow to the instrument.
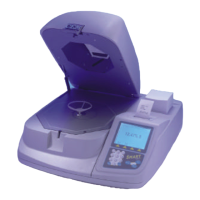
7. Remove the two (2) fuse holders from the back of the instrument. Install the supplied fuses (15A for 100-
120V or 10A for 200-240V) into the fuse holders and install the holders into the instrument.
8. Plug the power cord into the instrument and the dedicated electrical receptacle.
9. Connect any cables required for an external balance or transmitting data to a LIMS network or other external
database. (Directions to properly transmit data are addressed in this manual.)
10. Position the instrument on the workbench facing forward.
11. Locate the power switch on the right side of the instrument and position it in the ON position.
NOTE
CEM Corporation recommends that the power cord be connected to a dedicated AC power outlet and that
the power switch remains in the ON position at all times. After 15 minutes of idle time, the SMART 6
assumes a “sleep” mode.
12. Once the SMART 6 completes the initial powering, the instrument Home Screen will be displayed.
13. System Users can be set up at this time. See the “Users” section of this manual for instructions on creating/