14
on page 12) for which this alarm will be
defined. Press
to validate and
to go to
the next field.
5. For each of the fields of the same line, use
the
key to enter and exit from the edit mode
and
to change fields. In the edit mode,
is used to change the value in question;
is used to move from digit in digit.
For each alarm to be defined, select:
- The target of the alarm (Vrms, Arms, VPST,
Vcf, Acf, Hz, Akf, Vthd, Athd, W, VAR, VA,
DPF, PF, Tan, Vh, Ah, or VAh - see the table
of abbreviations on page 9).
Note: VAh is meaningful only in the single-
phase context.
- The order of the harmonic concerned (for Vh,
Ah, and VAh only).
- The direction of the alarm (> or < for Hz,
Vrms and Arms).
- The alarm triggering threshold (possible
adjustment of the power of 10 of the unit for
W, VAR, and VA).
- The minimum duration of overshoot of the
threshold for validation of the alarm (in
minutes, seconds, or, for Vrms and Arms
only, in hundredths of a second).
- Activation (ON) or deactivation (OFF) of the
alarm.
6. Return to the Configuration menu using .
Example 1: this alarm line is read as follows:
Hysteresis 1%
3 ON Arms <0010A 01s
The hysteresis is 1%. The alarm can be triggered
(On). During an alarm campaign ( ), alarm no. 3
will be triggered if the RMS current (Arms) is less
than 10 A (<0010A). The alarm will be stopped
when the current exceeds 10.1 A (10 A + 1%
hysteresis). The alarm will be recorded in the alarms
log if it lasts 1 second or more (01 s).
Example 2: this alarm line is read as follows:
Hysteresis 1%
1 ON Vh 2 >10.0% 10s
The hysteresis is 1%. The alarm can be triggered
(On). During an alarm campaign ( ), alarm no. 1
will be triggered if the voltage level of harmonic 2
(Vh 2) exceeds 10% (>10.0%). The alarm will be
stopped as soon as the voltage level of harmonic 2
falls back below 9.9% (10% - 1%). The alarm will be
recorded in the alarms log if it lasts 10 seconds or
more (10 s).
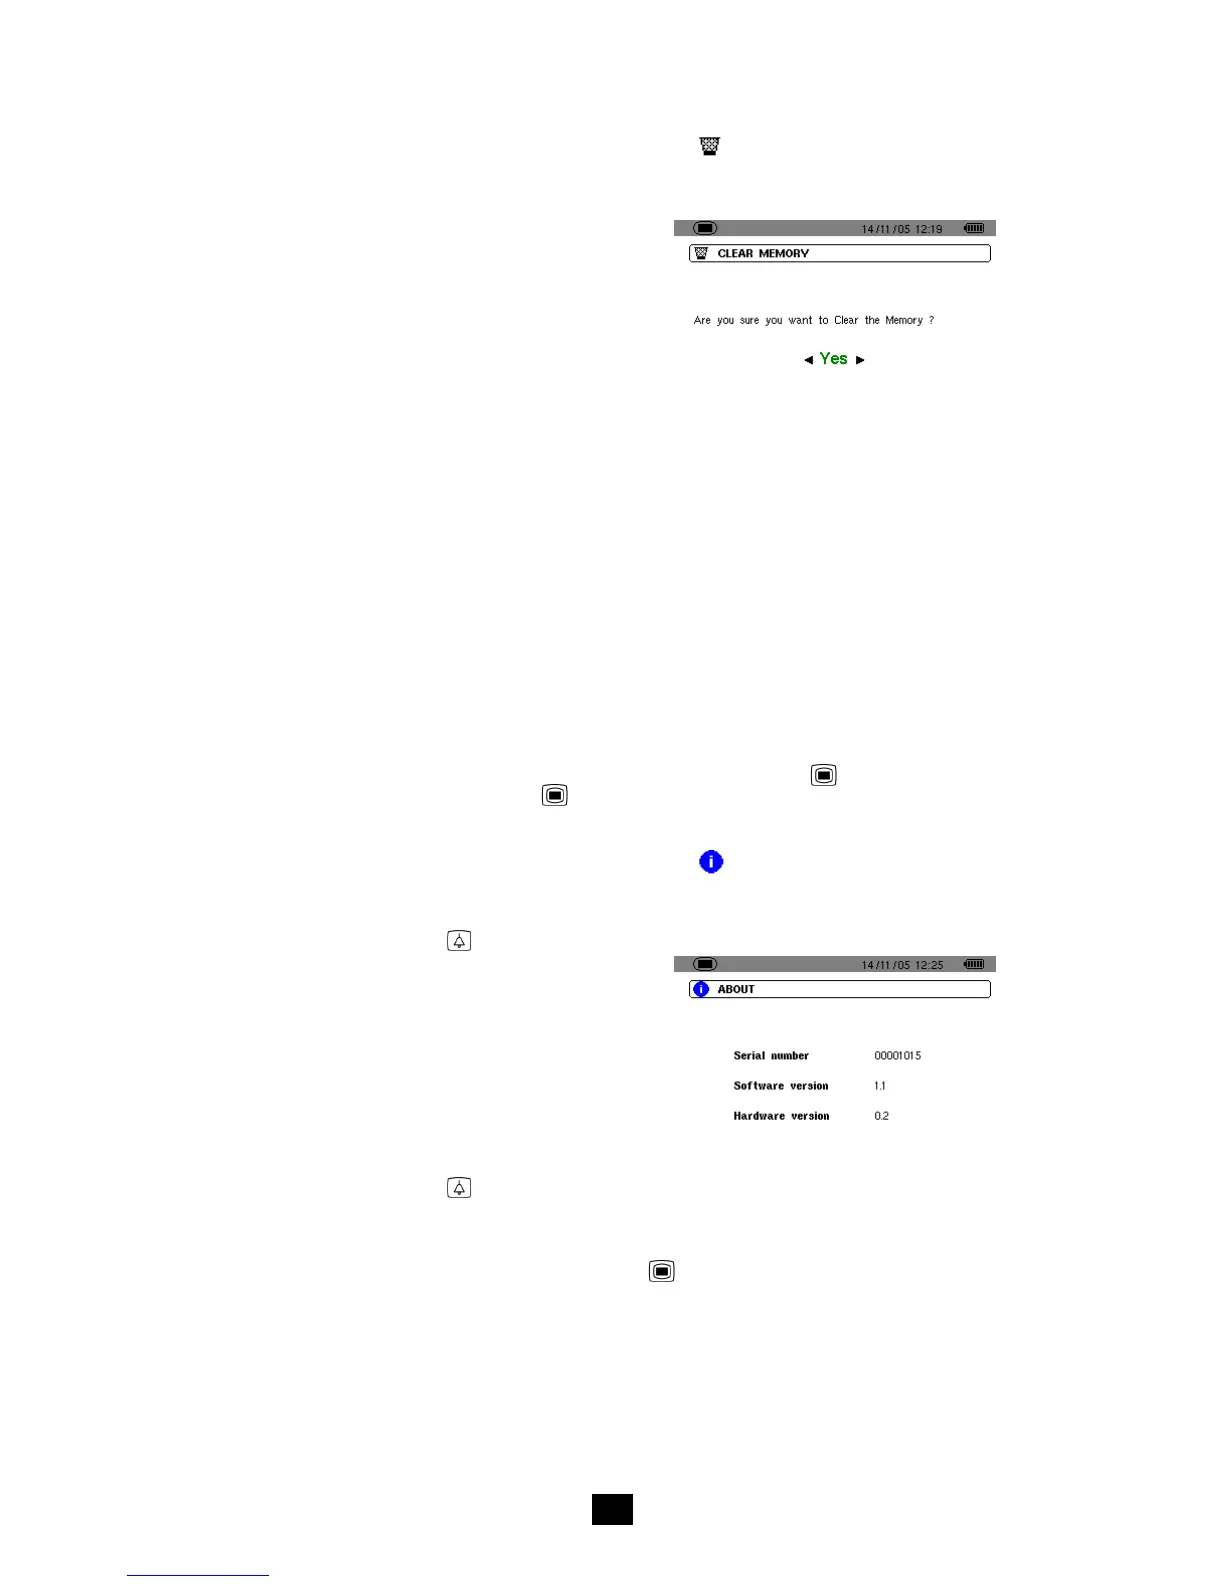
4.11 Erasure of data
Erase all data of the user (configuration, alarms
detected, screen grabs, recordings).
SUEF
Figure 15: The Erasure of data menu.
1. Using the
or
key, select Yes to erase the
data or No to exit.
2. Press
. If, in the preceding point, the choice
was:
- No, you return to the Parameterising menu.
- Yes, the message Data being erased is
displayed. The instrument then switches
itself off automatically. When it is next
started, the menus are in English; the C.A
8230 contains no information (factory
configuration).
Note: pressing the
key returns you to the
Configuration menu.
4.12 Information
This screen displays the serial number of the
instrument, the software version, and the hardware
version.
INFO
Figure 16: The Information menu.
Return to the Configuration menu by pressing or
.

 Loading...