Installation 2-21
3916 Service Delivery Switch Hardware Installation and Start-up Manual
009-3226-001 Standard Revision E
Copyright
©
2013-2015 Ciena
®
Corporation July 2015
Procedure 2-6
Installing the Mounting Brackets in a Wall Mount
Installation
The 3916 comes with a 19-inch mounting bracket. This bracket can be used
for wall mount applications.
Hardware required to attach the mounting bracket to the wall is customer
supplied. Ensure that the reinforced mounting surface is capable of
supporting at least 5 pounds.
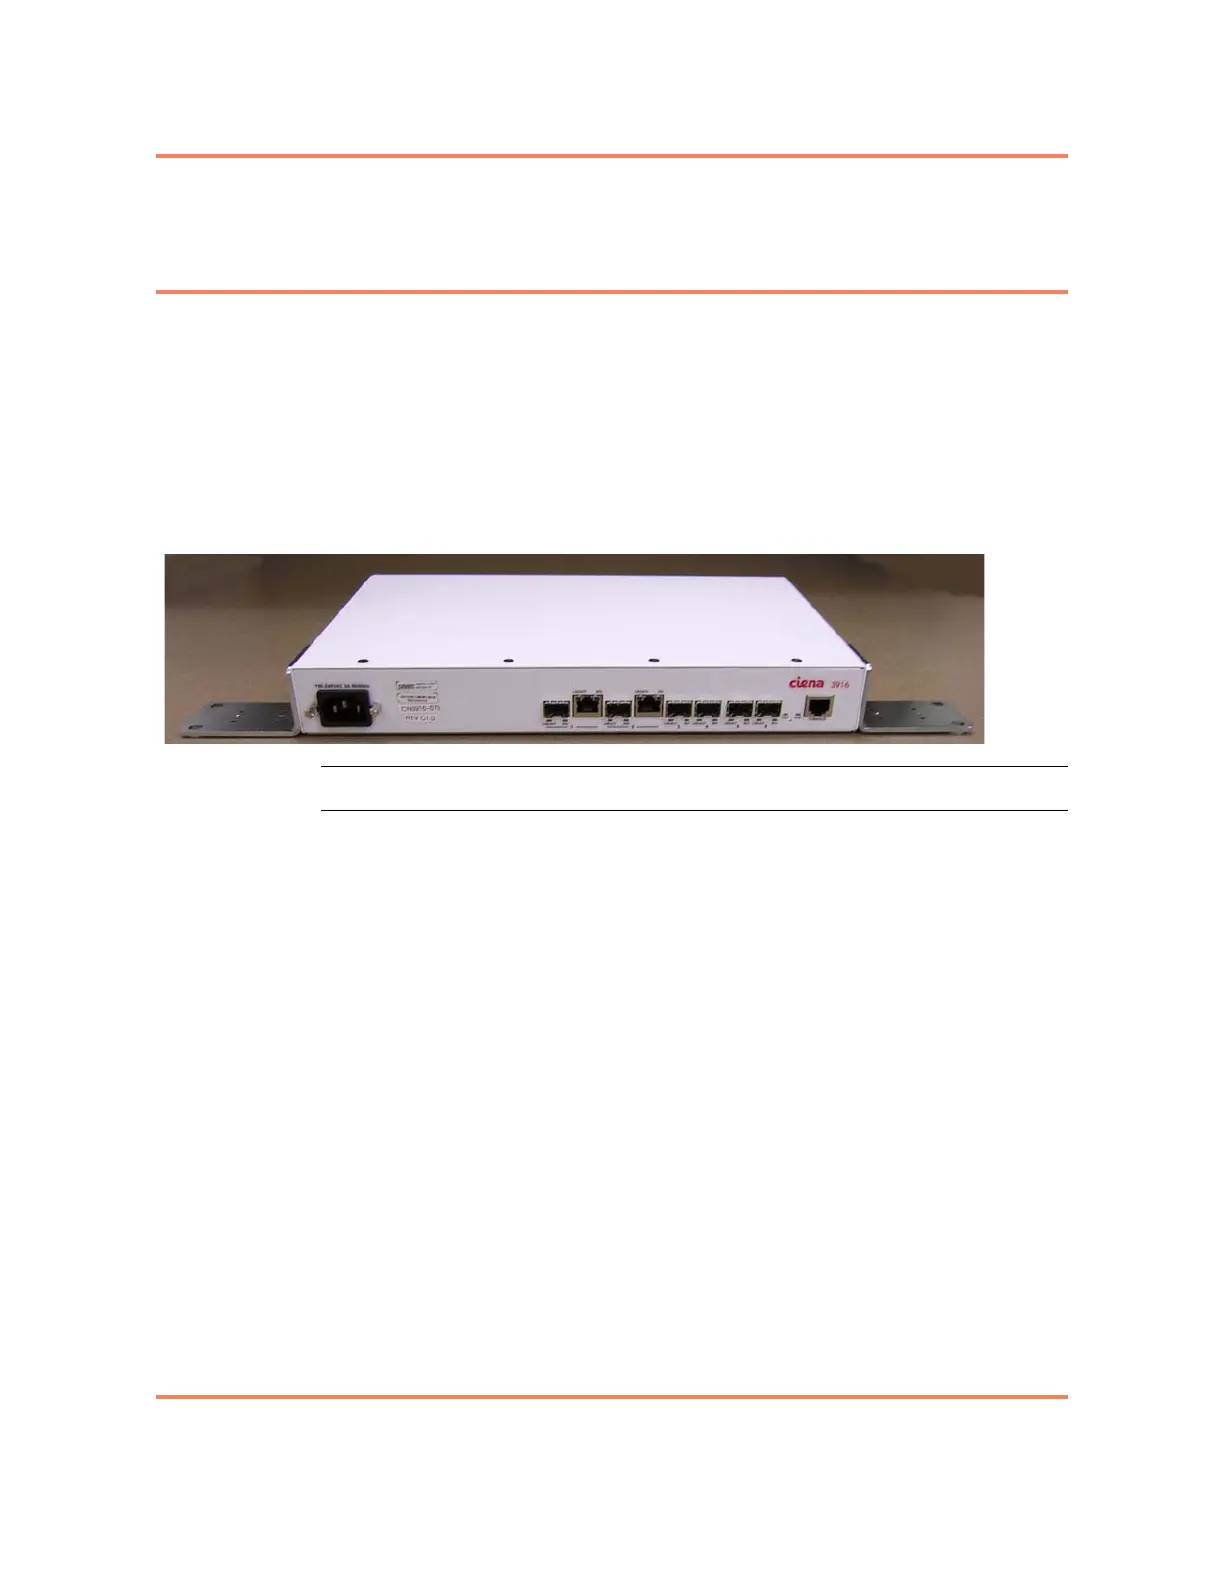
Figure 2-5
Installed Mounting Brackets - Wall Mount Orientation (3916 AC Standard system shown)
Step Action
1 Determine the wall mount orientation. Position the 3916 so that the fans on
the right side of the chassis are located at the bottom of the unit. There are
two installation options available:
• Facing left — orient the brackets so that they are flush with the top of the
chassis. The top of the chassis will be mounted against the wall.
• Facing right — orient the brackets so that they are flush with the bottom
of the chassis. The bottom of the chassis will be mounted against the
wall. See Figure 2-5.
Note: Any other orientation requires that the unit be installed on and above
a non-combustible surface.
2 Orient the bracket so that the face of the bracket is flush with the bottom or
top of the chassis as determined in step 1.
3 Using a Phillips screwdriver, attach the bracket to the side of the chassis
using 2 of the provided screws.
4 Repeat step 2 and step 3 to install the second bracket.
You have installed the mounting brackets on the 3916. You are now
ready to proceed with Mounting the Chassis and Installing the
Supplemental Ground. See “Mounting the Chassis and Installing
Supplemental Ground in a Wall Mount Installation” on page 2-25.