2-30 Installation
3916 Service Delivery Switch Hardware Installation and Start-up Manual
009-3226-001 Standard Revision E
Copyright
©
2013-2015 Ciena
®
Corporation July 2015
Procedure 2-12
Installing an AC Power Cable in a Standard Chassis
system
The following procedure explains how to install the AC power cable in a 3916
AC Standard or 3916 Dual AC Standard system.
Note: If you have a mini chassis system, see “Installing an AC Power
Cable in a Mini Chassis system” on page 2-32 instead.
Step Action
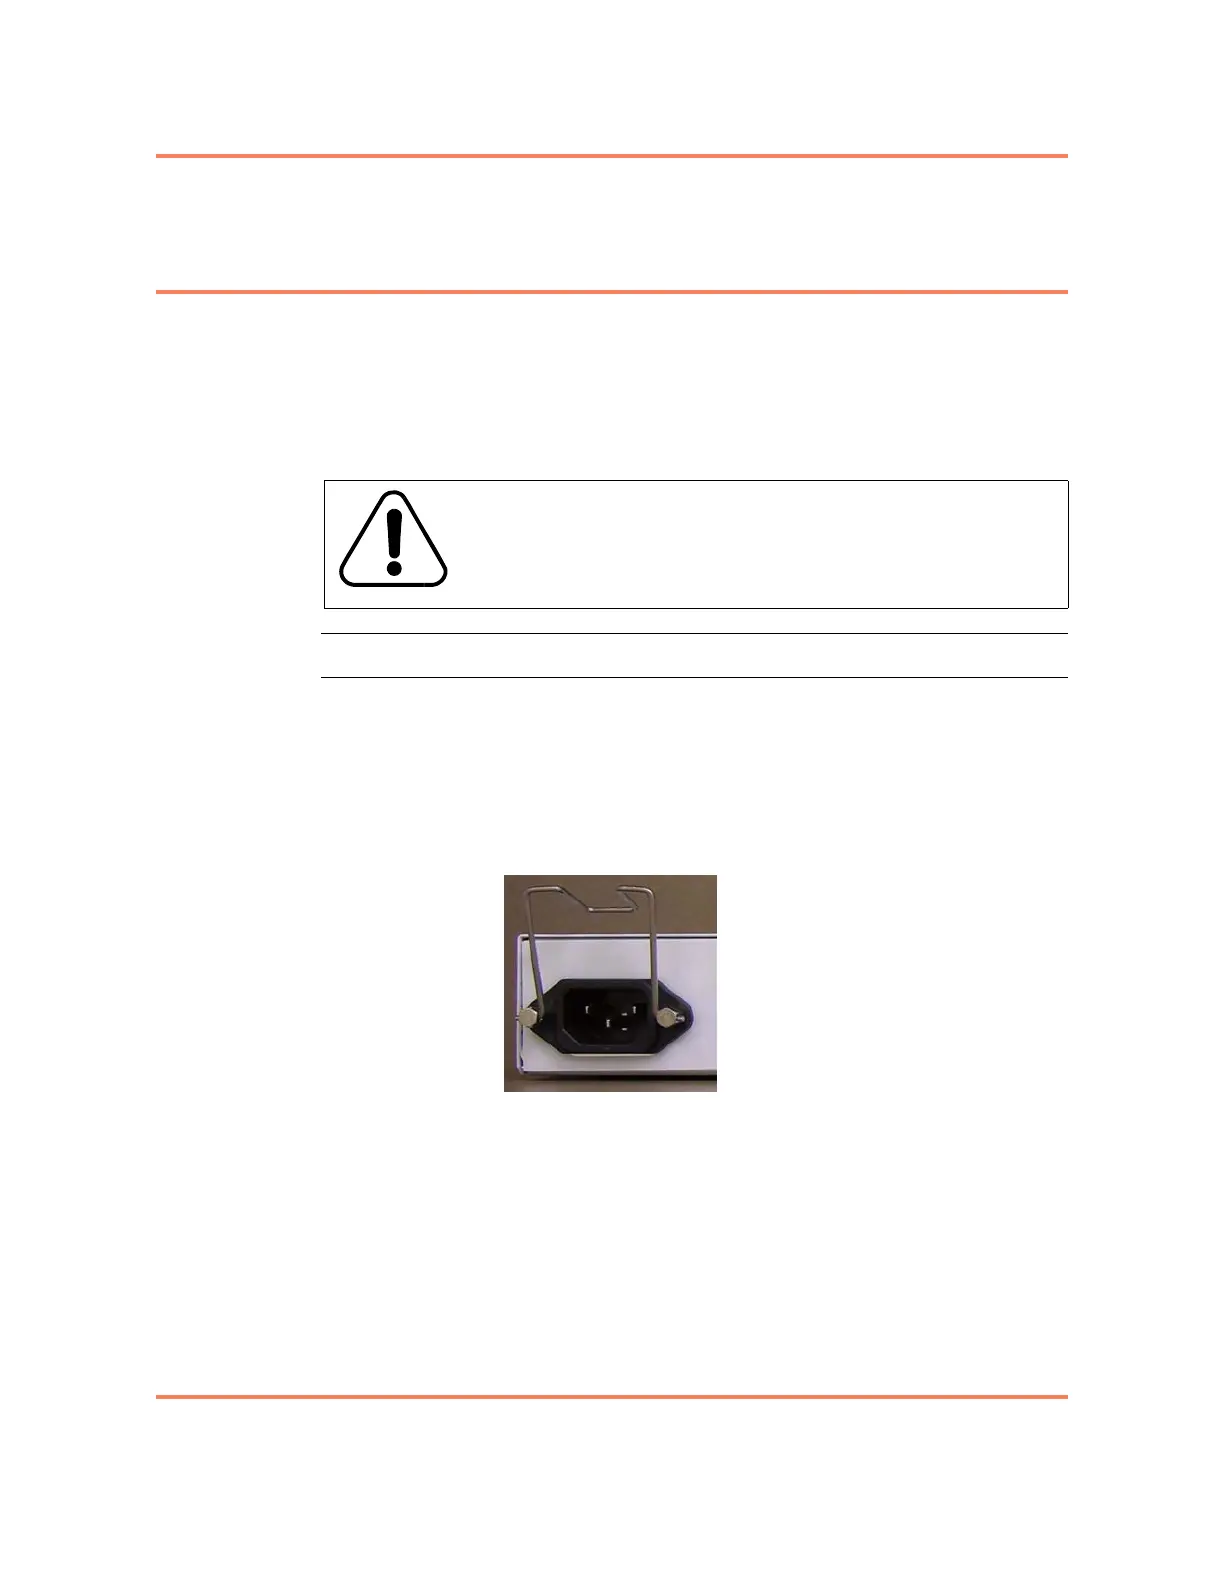
1 Install the power cord retention clip by pinching it slightly and threading the
wire posts through the two nuts on either side of the power receptacle.
2 Position the installed power cord retention clip so that it is folded upward. See
Figure 2-7.
Figure 2-7
AC Power Receptacle with installed Power Cord Retention Clip
3 Plug the AC power cord into the receptacle on the front of the chassis. Snap
the bail lock latch down over the boot of the cable to lock the cable into place.
Note: After it is installed, the power cord will be dressed to the left. It is not
appropriate to dress the power cord to the right, across the front of the
3916
chassis.
4 Dress the power cable to the left, through the cable support bracket at the left
of the chassis.
5 Plug the other end of the power cord into a power source.
The 3916 will turn on.
WARNING
For pluggable equipment, the socket outlet shall be installed
near the equipment and be easily accessible.