• 48-port T1 RJ45 patch panel (part number DCC4884/25T1-S)
• 16-port E1 BNC patch panel (part number DCC16BNC/25T1-S)
The patch panels are available from Optical Cable Corporation (http://www.occfiber.com). To order a patch
panel, contact the Sales and Marketing Support staff at Optical Cable Corporation:
• 800-622-7711 (toll-free in the U.S.A.)
• 540-265-0690 (outside the U.S.A.)
Installing Patch Panel
To install the brackets on the rear of the patch panel, perform these steps:
Procedure
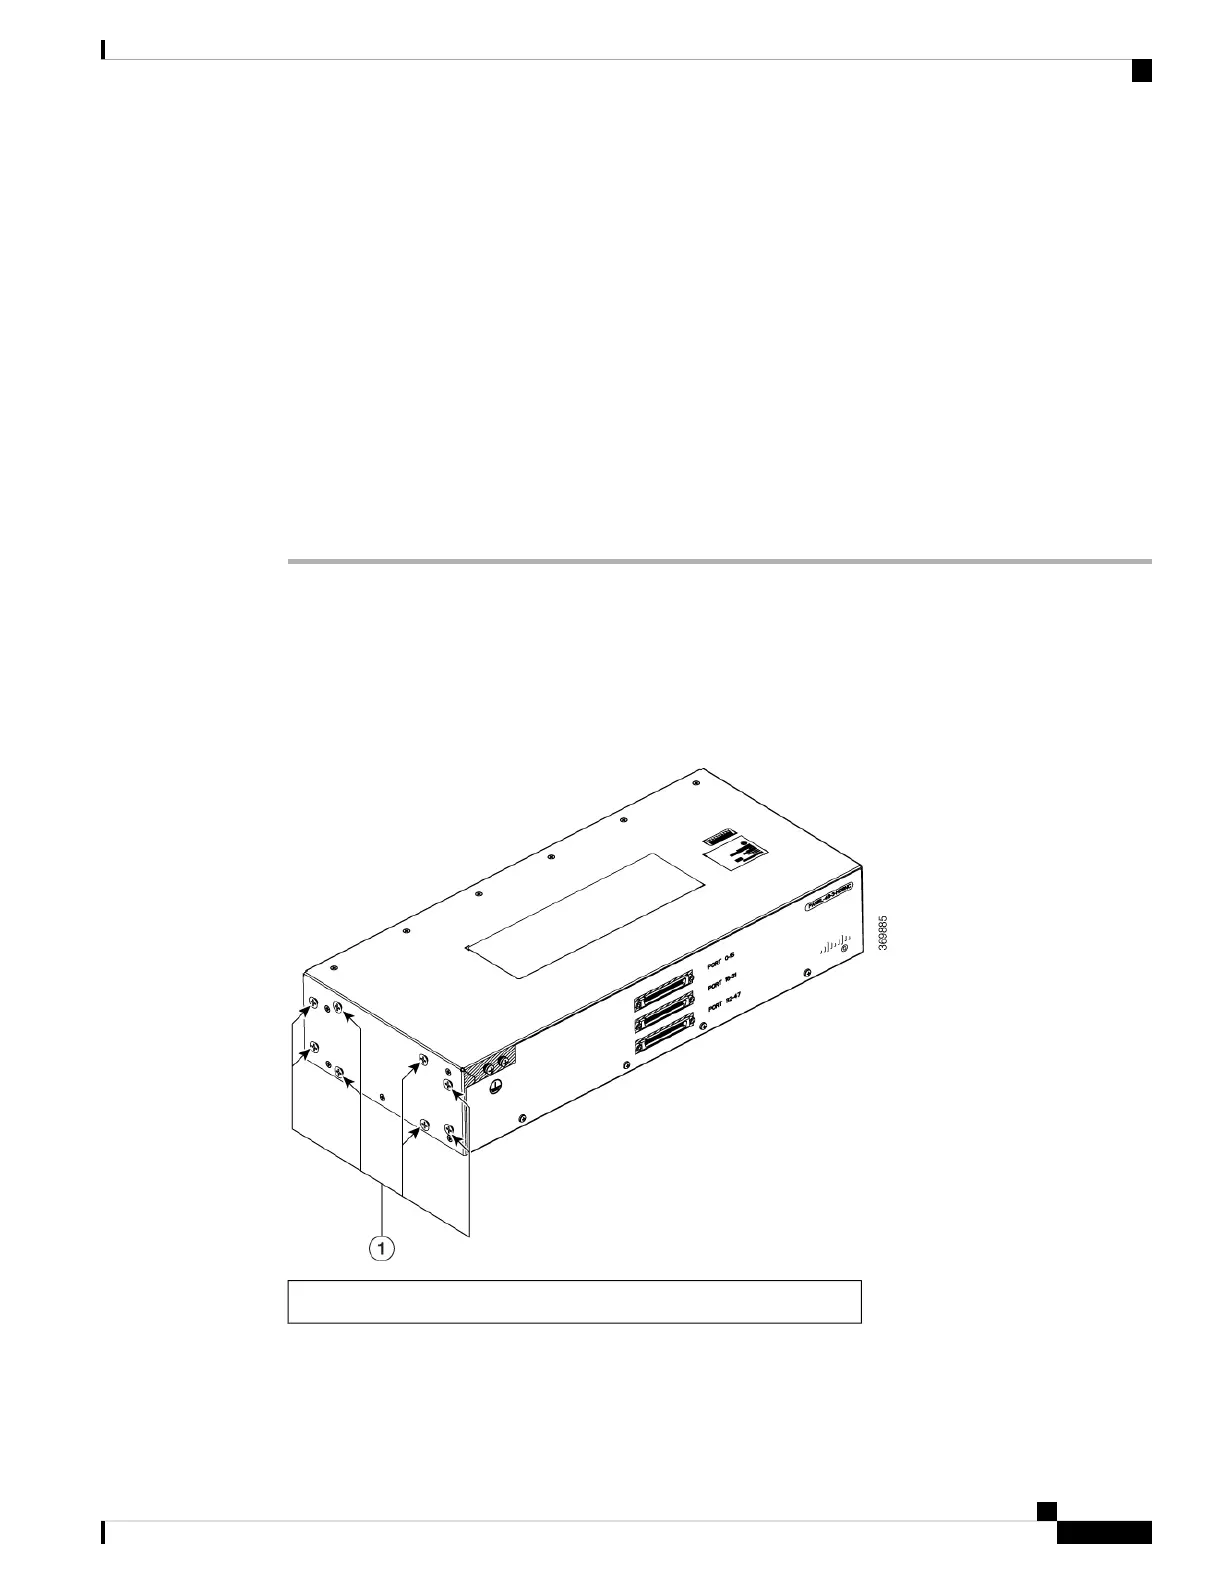
Step 1 Remove the larger (M4) rack mount screws (as indicated in the Rack Mount Screws figure below) from both
sides. To secure the brackets, follow the instructions in Step-3.
Step 2 Remove the patch panel rack-mount brackets from the accessory kit and position them beside the patch panel.
Step 3 Position the brackets against the patch panel sides, and align with the screw holes. Secure the rack mount
bracket to patch panel using a torque of 13.2 in.-lb (1.5 N-m) see the figure below.
Figure 36: Rack Mount Screws
(1) Rack mount screws to secure rack mount brackets on both the sides.
Installing the Cisco ASR 907 Router
59
Installing the Cisco ASR 907 Router
Installing Patch Panel
 Loading...


