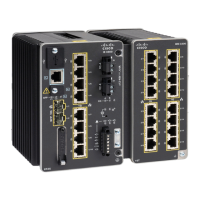
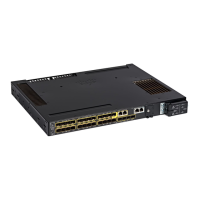
Switch2
If you use 23-inch brackets or ETSI brackets, you can insert the rubber plugs for IP-30 compliance.
Before installing the 23-inch or ETSI brackets, insert the rubber plugs in the same holes as shown in
this section.
Note
Step 1 Identify your bracket mounting position.
Step 2 Install the brackets on both sides of the switch, as described in the section Attach Brackets for 19-Inch Racks, on page
17.
Step 3 Note the holes on the switch that you will not use for mounting.
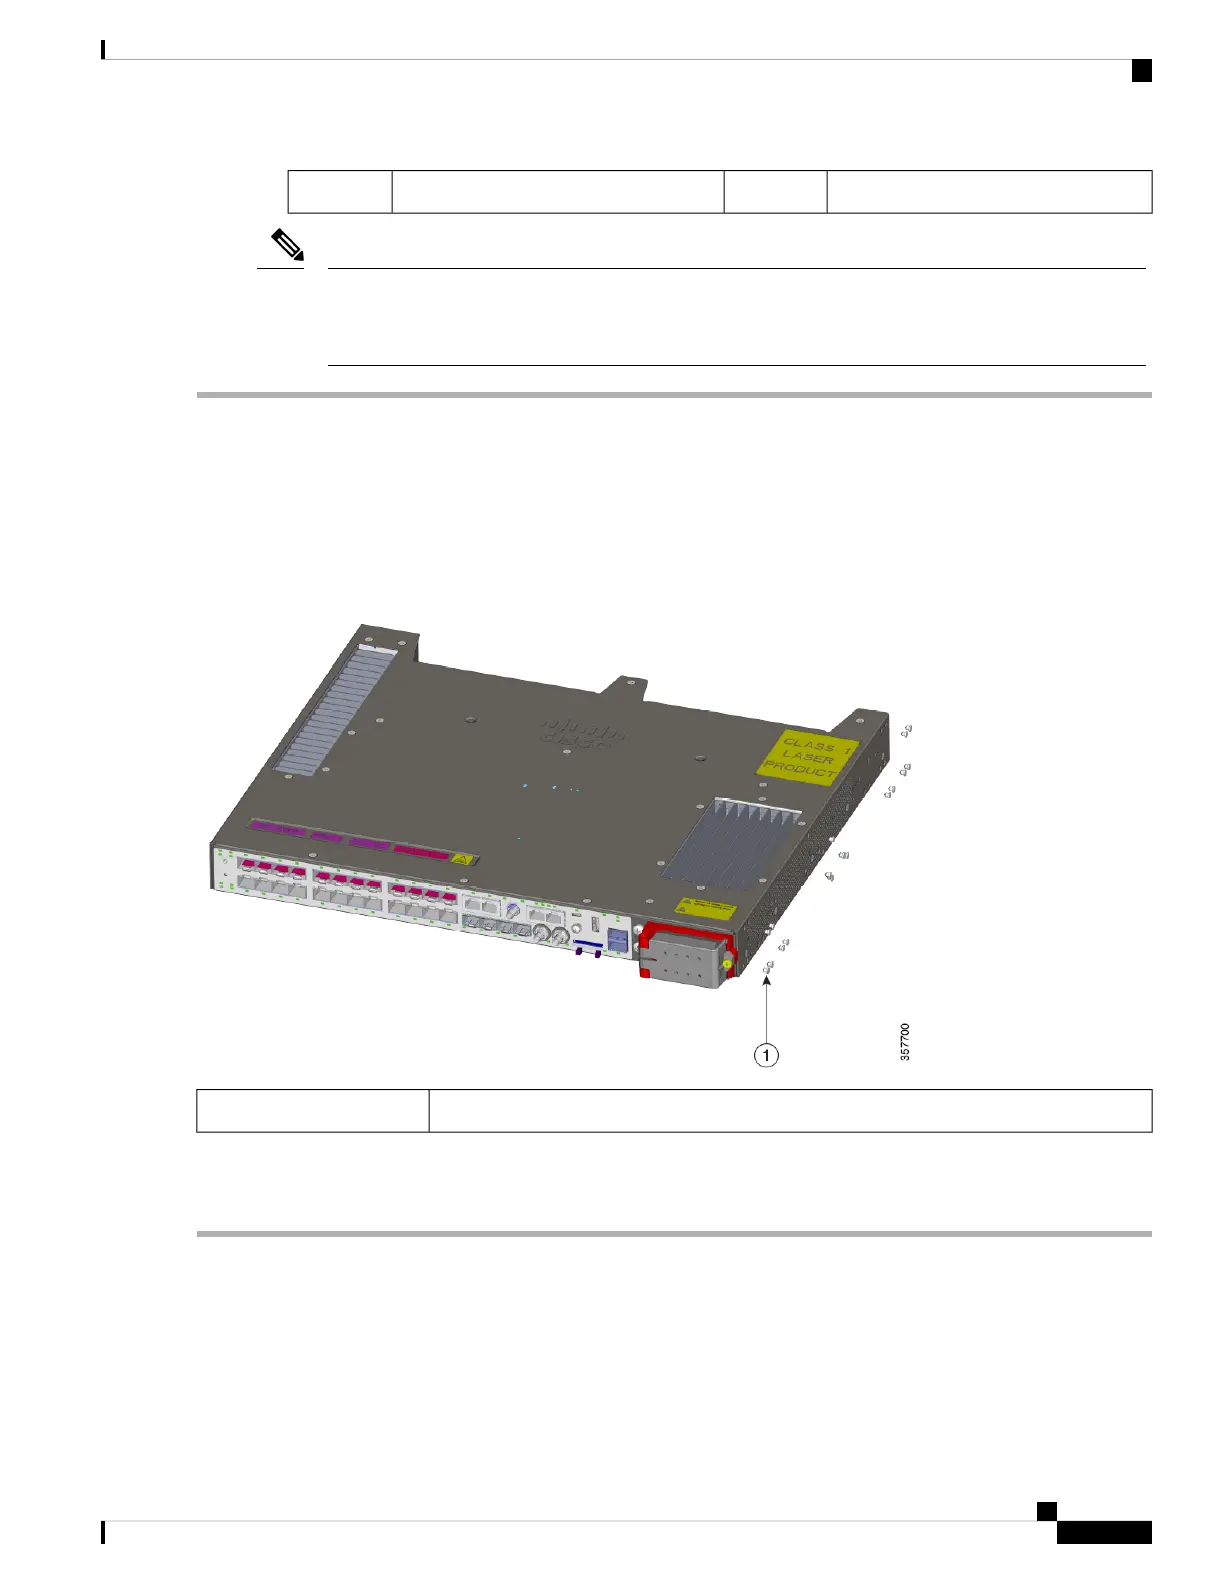
The following illustration shows the location of holes on the switch.
Figure 9: Switch Hole Locations
Rubber plug1
Step 4 Insert the rubber plugs in the appropriate holes on both sides of the switch, as shown in the first illustration in this section.
Step 5 Use a screwdriver or pen to push in the rubber plugs completely.
What to do next
Complete the steps in the section Rack-Mount the Switch, on page 22.
Cisco Catalyst IE9300 Rugged Series Switch Hardware Installation Guide
19
Switch Installation
Attach Brackets for 19-Inch Racks for IP-30 Compliance (Optional)