www.cisco.com
6
Cisco IP Video Phone E20 Administrator guide
D143 30.12 Administrator guide Cisco IP Video Phone E20, TE4.1 November 2011.
All contents are Copyright © 2010–2011, Cisco Systems, Inc. All rights reserved.
Deploying the E20
There are four ways of deploying the E20:
• By use of automatic provisioning.
• By use of the keypad.
• By logging into the unit from a remote PC.
• By use of Provisioning.
Automatic provisioning
When you start the E20 the rst time you will be prompted to choose the language to
be used in the menus and dialog boxes.
Once the language has been selected, the E20 will congure the correct language and
a provisioning assistant will pop up.
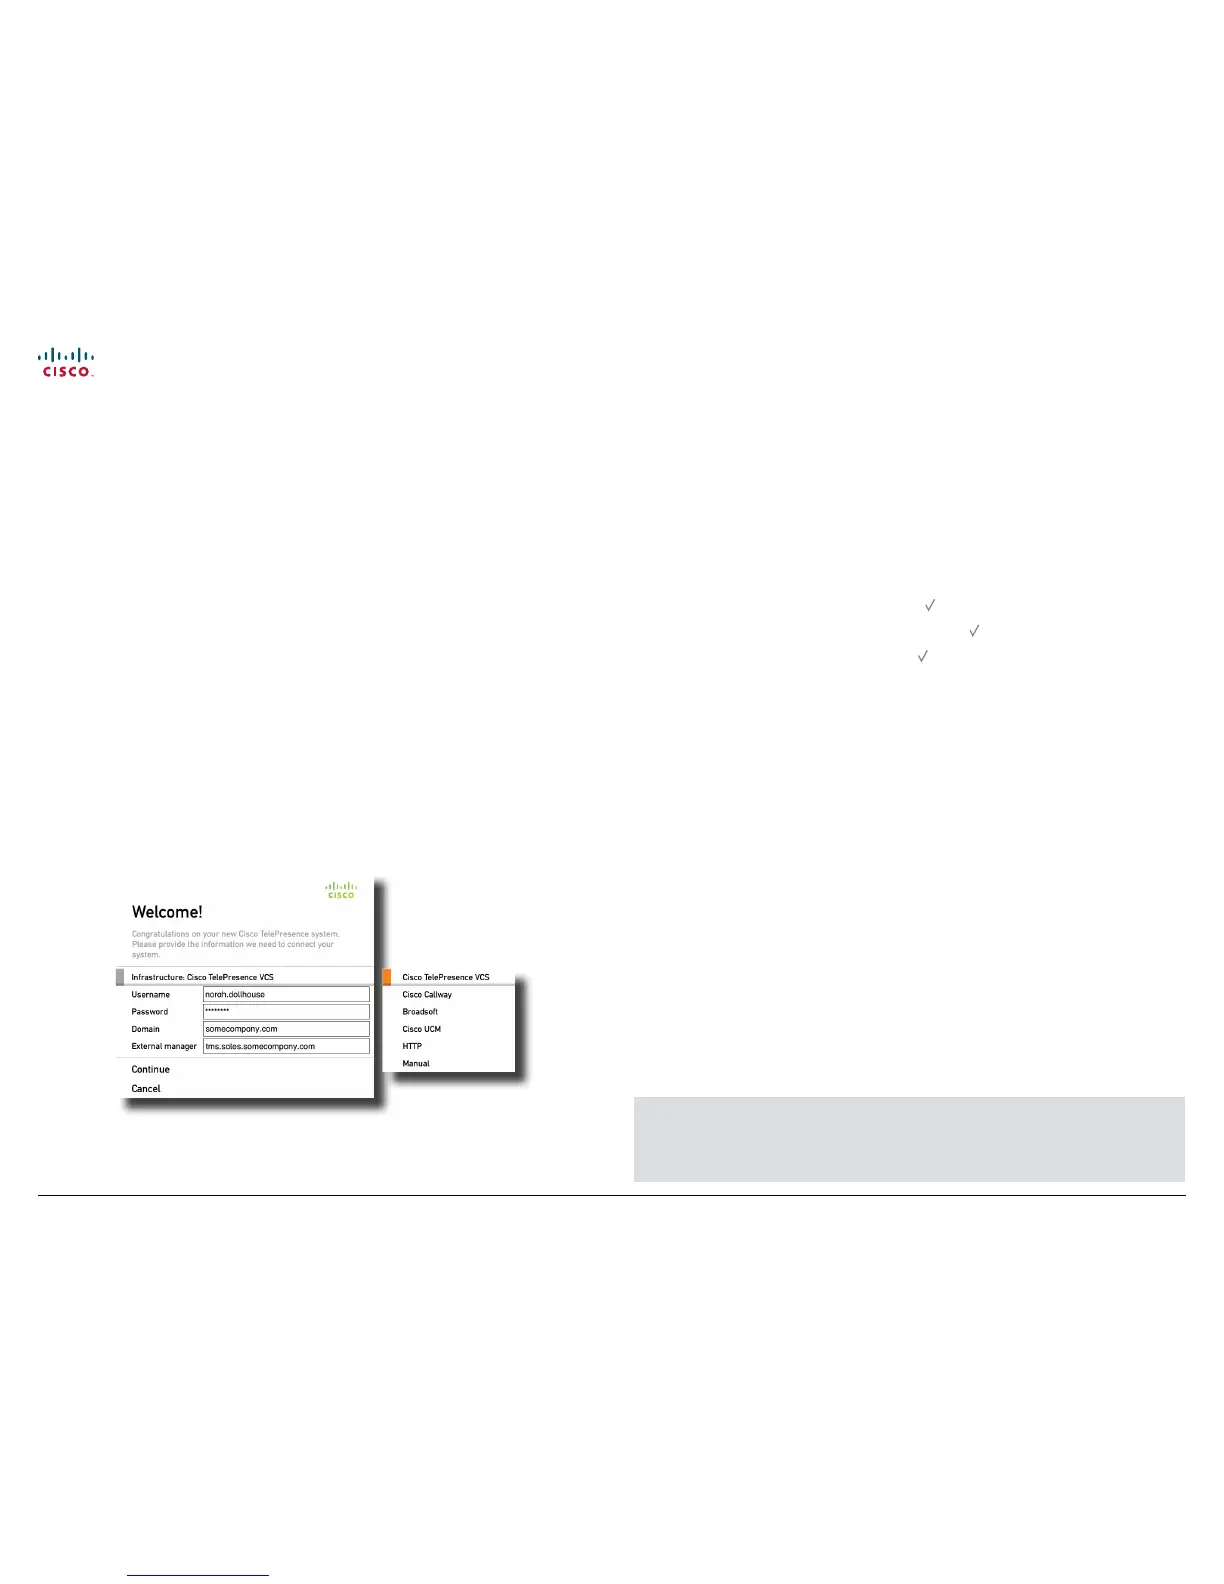
The wizard will help you congure the E20 with the correct parameters. Observe that
Cisco has dened a set of DHCP options. The E20 will pick up these settings if they
have been set by your network administrator.
The wizard supports dierent provisioning or conguration schemes. The Cisco VCS
(TMS 12.5) is the default scheme and is the recommended provisioning scheme for
the E20. The other schemes will only allow the E20 to be easily congured using a core
set of conguration parameters. The E20 supports VCS, Broadsoft, Cisco Callway,
Cisco UCM and HTTP. Callway is a subscription based service. Contact your Callway
representative for more on this. Depending on the infrastructure you will be prompted
to supply information like username and passwords.
Once you have completed the elds and selected the register button, the E20 will
contact the external manager and try to provision the device. You will be notied
whether the registration process succeeds or fails. Note that even if provisioning
or registration fails the system may keep trying in the background
In case of failure to connect successfully, you may rectify the parameters and try again. If
you don’t have provisioning set up in your network you can choose Manual to congure
basic SIP settings manually. You can run the Startup wizard later using the menu.
The nal step of the wizard will be to adjust the camera. Note that camera adjustment is
optional at this stage—you may choose to do this later.
Using the keypad to congure the E20
1. Navigate from the Home menu to the Menu tab. Use the Down arrow key to
navigate down to Advanced settings. Press .
2. Navigate down to System conguration and press
.
3. Navigate to SystemUnit > Name and press
.
Select a name that is unique to avoid conicts. We recommend that you use your
name or initials, eg. AliceWonderland. This name will be seen as you by the others.
4. In most cases DHCP will be used for assignment, this is the default setting.
To set to static, go one step back and up to IP Settings > IP Assignment. Set to
Static. Enter the IP address, Subnet Mask and Gateway IP address.
5. To set provisional parameters go to Provisioning > External manager.
In most cases when you change settings in the Provisioning submenu, the E20 will
send a provisioning request to the external manager. More on this can be found in the
“Auto provisioning” on page 8.
6. In case you are not going to use an external manager, there are things that need to be
congured manually:
a. To be able to dial, you need to congure the SIP settings. In the
NetworkServices > SIP, set SIP Mode to O before doing anything else.
b. Go to SIP > Prole1. Set Default Transport to Auto (which is the same as
default), Proxy1 Discovery to Manual, You must also enter the IP address of the
Proxy (Proxy is your PBX/VCS or OCS) and you must enter the URI of your E20. Set
the SIP Mode back to On.
c. If your SIP Server / PBX uses user authorization you need to supply a user-id and
password. This is done in SIP > Prole1 > Authentication 1.
d. You may want to use a TMS phonebook. If you have this and no entries are
displayed after conguring, you must make sure that your unit is registered in TMS
and that a phonebook is assigned to your system.
Your E20 comes with no default administrator password set! This means that
anyone with network access to the E20 can easily log onto the device with SSH.
We strongly recommend that you set up an administrator password by using the
menu in Settings > Advanced > Change password.