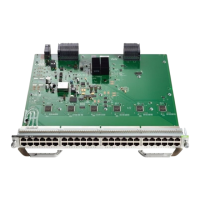
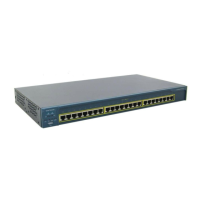
Cisco HWIC-4ESW and HWIC-D-9ESW EtherSwitch Interface Cards
How to Configure EtherSwitch HWICs
6
Book Title
Configuring VLANs
This section describes how to configure VLANs on the switch and contains the following sections:
• Adding a VLAN Instance, page 6
• Deleting a VLAN Instance from the Database, page 8
Adding a VLAN Instance
A total of 15 VLANs can be supported by an EtherSwitch HWIC.
Follow the steps below to configure a Fast Ethernet interface as Layer 2 access.
SUMMARY STEPS
1. enable
2. vlan database
3. vlan vlan_id
4. exit
DETAILED STEPS
Verifying the VLAN Configuration
You can verify the VLAN configuration in VLAN database mode.
Use the show command in VLAN database mode to verify the VLAN configuration, as shown below:
Router(vlan)# show
VLAN ISL Id: 1
Name: default
Command Purpose
Step 1
enable
Example:
Router> enable
Enables privileged EXEC mode.
• Enter your password if prompted.
Step 2
vlan database
Example:
Router# vlan database
Enters VLAN configuration mode.
Step 3
vlan vlan_id
Example:
Router(vlan)# vlan 1
Adds an Ethernet VLAN.
Step 4
exit
Example:
Router(vlan)# exit
Updates the VLAN database, propagates it throughout the
administrative domain, and returns to privileged EXEC mode.

 Loading...

