An Overview of Cisco IP Communicator
Cisco IP Communicator User Guide 13
Tips
• You can right-click on the Cisco IP Communicator interface to view and configure settings, choose
skins, and enable screen-only mode. See the “Using the Right-Click Menu” section on page 16.
• The default skin (Figure 2) and the optional skin (Figure 1) use the same set of button icons.
However, button shapes and locations may differ by skin.
• For a complete list of shortcuts, see the “Using Keyboard Shortcuts” section on page 15.
• See the “Phone Screen Features” section on page 14 for information about how calls and lines are
displayed on the Cisco IP Communicator phone screen.
11
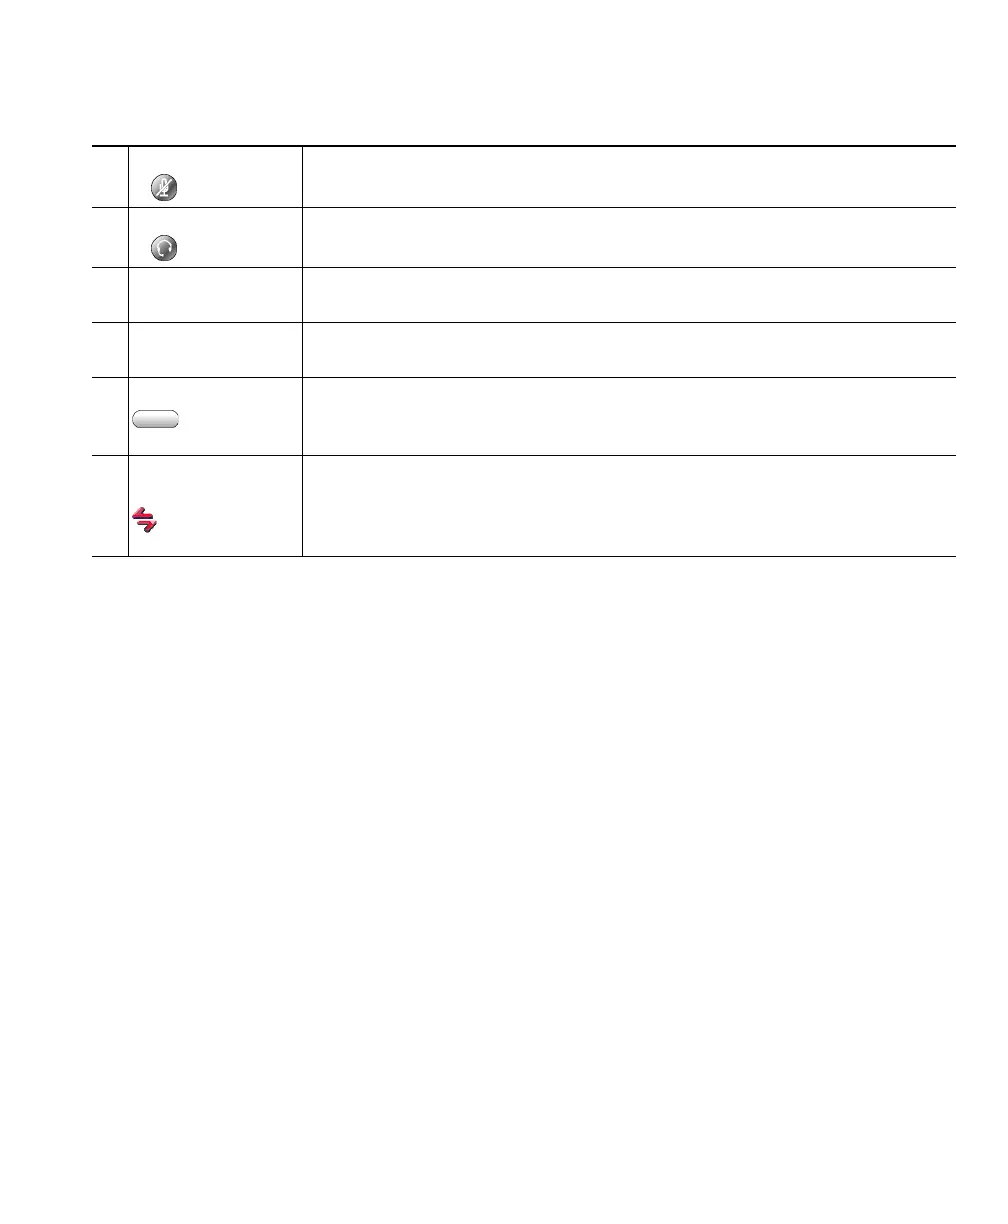
Mute button Toggles the Mute feature on or off. (Ctrl + T is the keyboard shortcut.) See
the “Using Mute” section on page 24.
12
Headset button Toggles headset mode on or off. (Ctrl + H is the keyboard shortcut.) See the
“Using Headsets and Other Audio Devices” section on page 46.
13
Navigation button Allows you to scroll through menus and highlight items. (Not available on
the optional skin.) Alternately, use the arrow keys on your computer.
14
Keypad Allows you to enter numbers and letters, and choose menu items. (Not
available on the optional skin.) Alternately, use your computer keyboard.
15
Softkey buttons Each activates a softkey. You can click softkey labels (instead of buttons) to
activate softkeys, as well. (F2 - F6 are the keyboard shortcuts.) See the
“Using Cisco IP Communicator to Handle Calls” section on page 19.
16
Voice message and
ring indicator
Indicates an incoming call and new voice message. If you are using the
optional skin, the message waiting indicator is the Cisco IP Communicator
icon in the left corner of the interface (as shown). See the “Using Voice
Messaging, Call Logs, and Directories” section on page 51.
Table 1 Buttons and other components, as illustrated in Figure 2