Before you begin
Make sure that you have marked the correct cage nut and rail locations on the rack by using the illustrations
of the rack installation templates. See Rail Installation Templates, on page 12.
Step 1 Adjust the length of the rail by sliding the ends of the rail back and forth until they match the depth of the rack.
Step 2 At the front of the rack, use the front installation template to position the two locator pegs on the rail with the corresponding
location in the rack. See Front Install Template, on page 13.
The locator pegs will hold the rail in the rack so that you don't have to hold the rail in place.
Step 3 At the rear of the rack, use the rear installation template to position the two locator pegs on the rail with the corresponding
location in the rack. See Rear Install Template, on page 13.
Step 4 Repeat the previous steps to install the other rack rail.
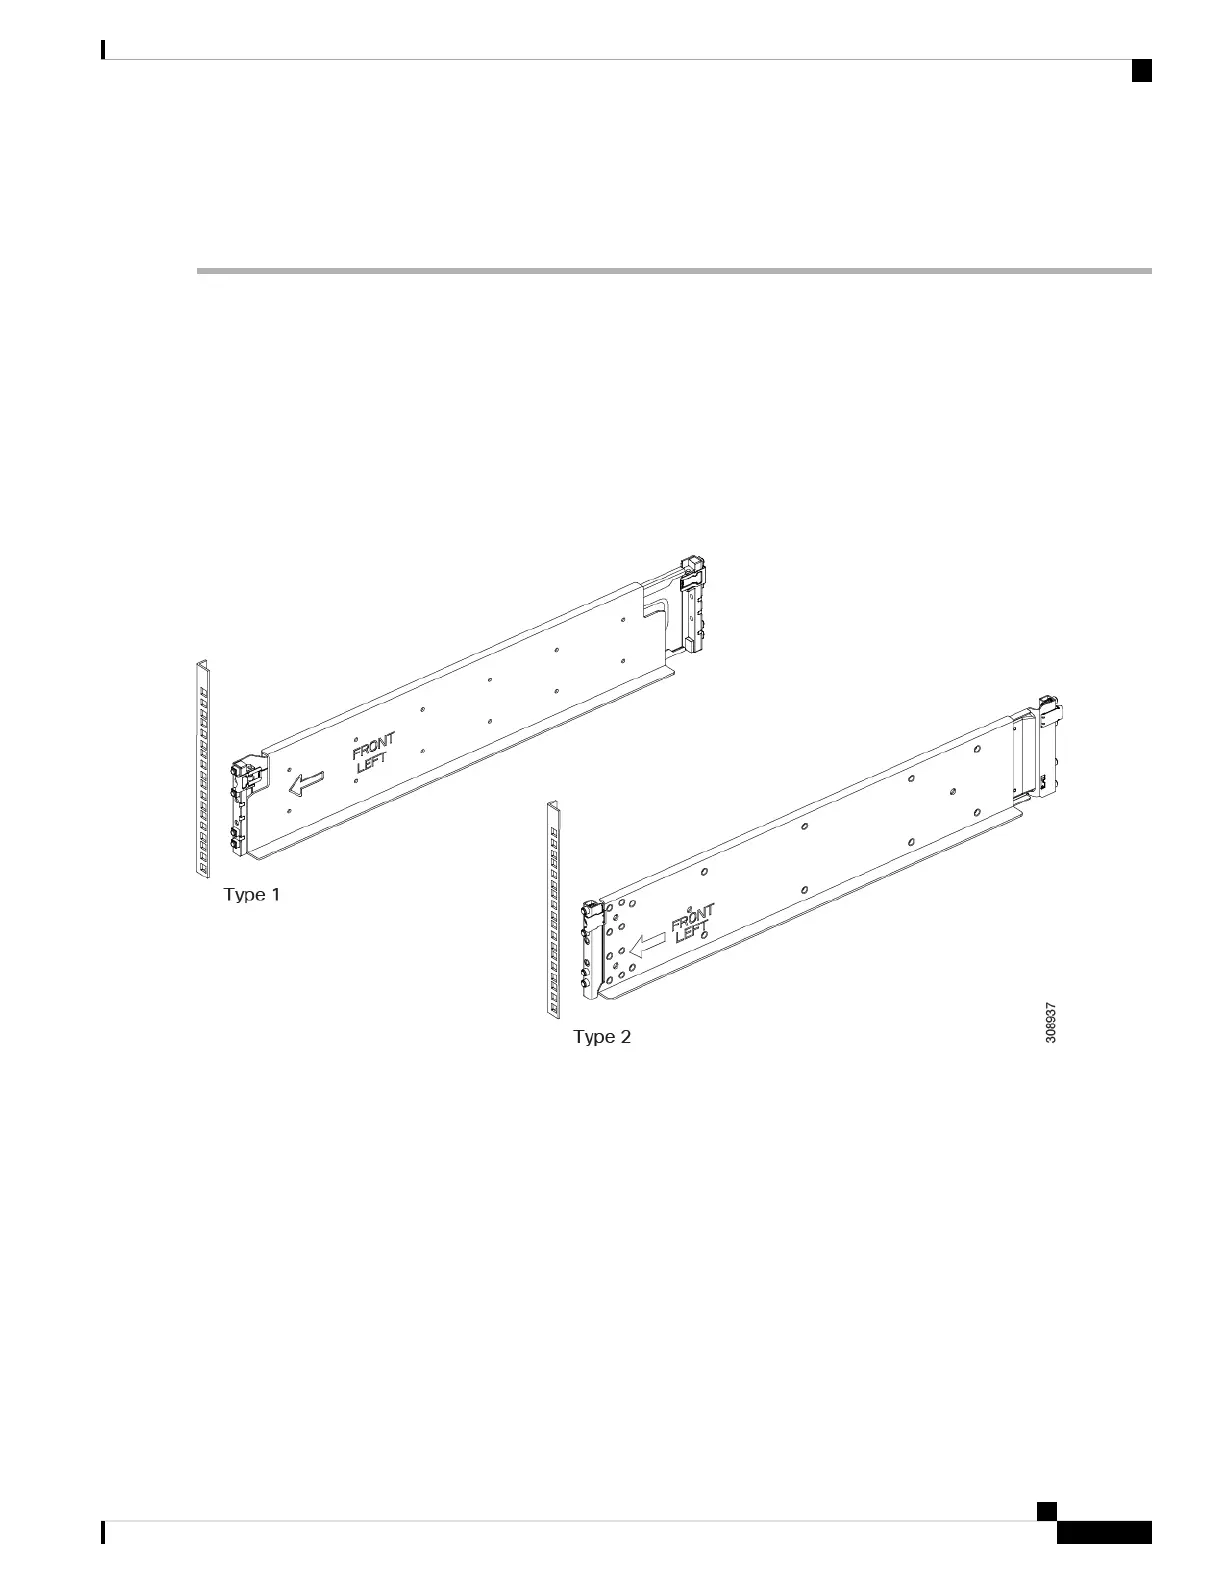
Figure 5: Install Rails into Front of the Rack
Step 5 (Optional) Use a tape measure and level to verify that the rack rails are horizontal and at the same height.
Step 6 At the front of the rack, refer to the template, then insert a screw in each front rail to secure each rail to the rack at the
correct location.
Installation
21
Installation
Installing the Rails, Square-Hole Rack
 Loading...


