32
Chapter 2 Printer Operation
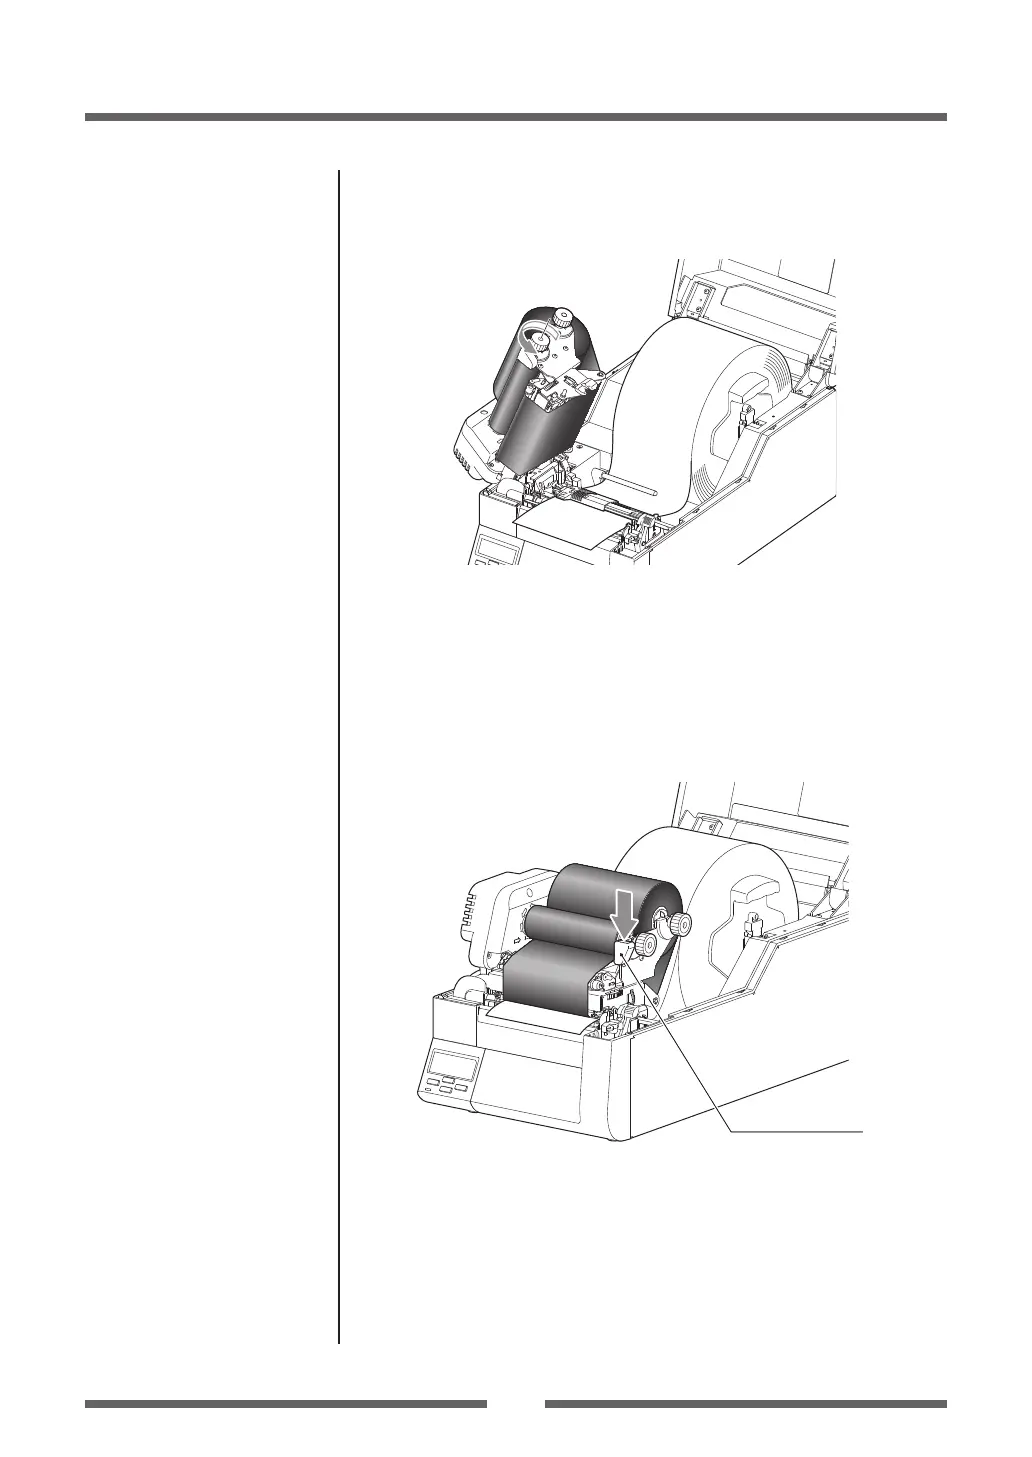
5. Set the ribbon holder on which the paper core has been set
in the ribbon drive unit, then rotate it in the direction shown
by the arrow to remove slack and wrinkles from the ribbon.
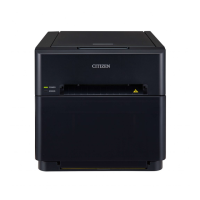
6. Push the head close knob to lower and lock the head unit.
Be sure to always push the head close knob to lock the
head unit. If the ribbon is wrinkled, push the Feed key until
the wrinkles disappear. If the wrinkles do not disappear or
if it slips, perform ribbon balance adjustment and ribbon
tension adjustment. See “Chapter 3 Printer Adjustments” for
these adjustment methods.
Head close knob
Ribbon Tension Adjustment
(p.61)
Ribbon Balance Adjustment
(p.63)
Setting the Ribbon