66
E9000
HANDPIECES
B
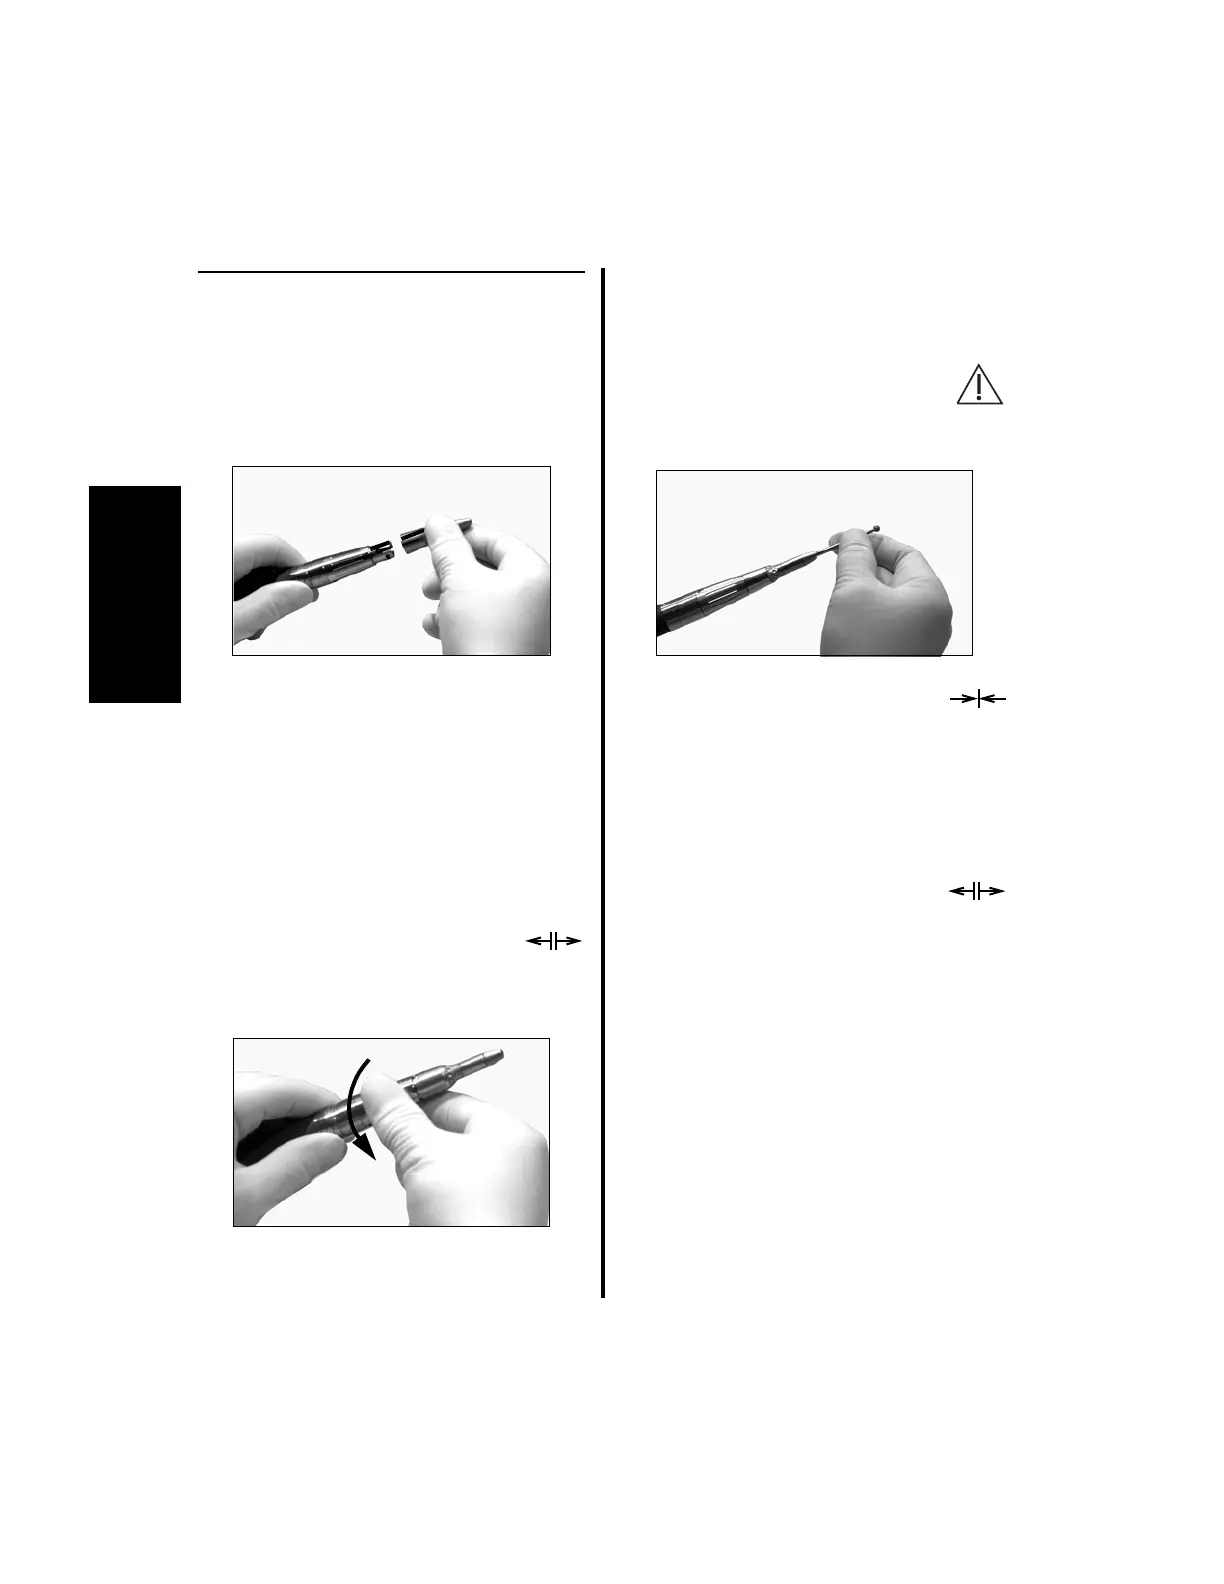
3.2.2 Bur Guard Attachment
1. To attach the bur guard:
(a) Align the etch mark on the guard with
the etch mark on the handpiece guard
collet.
(b) Looking at the nose of the handpiece,
hold the swivel sleeve and push the
guard completely inward. Twist
clockwise and release. The guard is
now locked into place.
2. Select the proper bur for the guard being
used.
3. To install the bur:
(a) Rotate the keyless chuck
counterclockwise until the
collet screws are aligned with the
“unlock” icon.
(b) Completely insert the bur. The safety
line on the bur shank, if marked, must
be hidden by the guard.
Warning: Ensure the safe-line mark
on the bur, where indicated, is not
showing. Damage or injury may
result.
(c) Rotate the keyless chuck clock-
wise until the collet screws are
aligned with the “lock” icon.
(d) Pull on the bur to ensure it is locked in
place.
4. To remove the bur:
(a) Rotate the keyless chuck
counterclockwise until the
collet screws are aligned with the
“unlock” icon.
(b) Pull the bur out of the collet.
5. To remove the guard:
(a) Push the guard inward. Twist the guard
counterclockwise and remove.