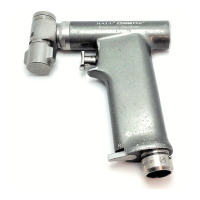
90
MICROCHOICE
HANDPIECES
C
(b) Place the thumb lever in the “FWD”
(forward) position.
(c) Drive the wire or pin by squeezing the
Advancement Lever and
simultaneously depressing the trigger.
3. To reposition the handpiece on the wire or
pin:
(a) Release the trigger to stop rotation.
(b) Release the Advancement Lever and
push it forward.
(c) Slide the handpiece along the wire or
pin.
4. Follow step 2 to further drive the wire or
pin.
5. To remove threaded wires from patient:
(a) Insert the wire into the front of the
attachment (see step 1).
(b) Place the handpiece in the “REV”
(reverse) position.
(c) Simultaneously squeeze the
Advancement Lever and depress the
trigger.
6. The Wire Guard (5053-123) may be
attached to the back of the handpiece to
keep long wires or pins from bending, and
for user protection.
NOTE: The wire or pin will not slip out of
the attachment unless the Advancement
Lever is pushed forward.
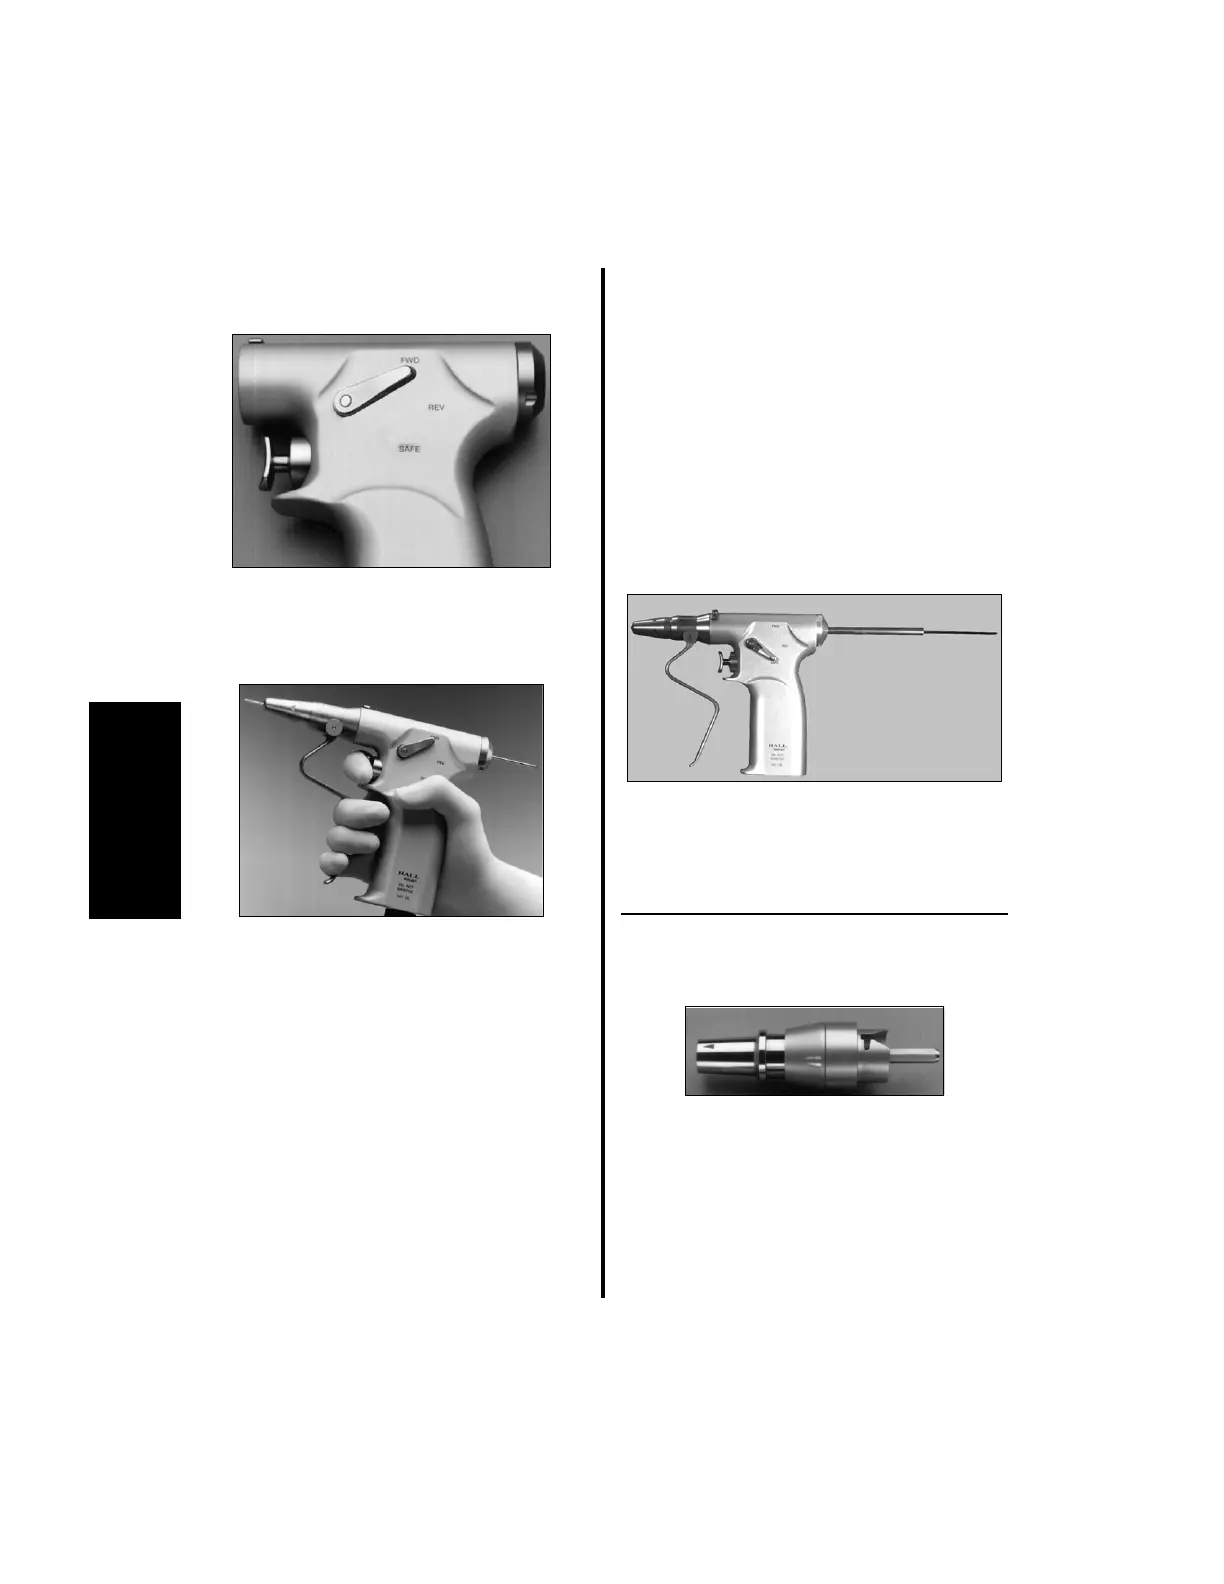
3.6.3 Universal Drill Attachment
(5020-029)
Specifications:
Max. Operating:
Speed: 1,000 rpm, forward or reverse
Settings: 10 to 100% in 10% increments