46 47
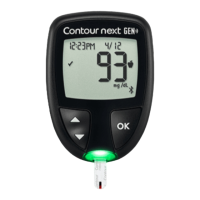
Contour
®
next blood glucose monitoring system
FEATURES
39 -1 00
100
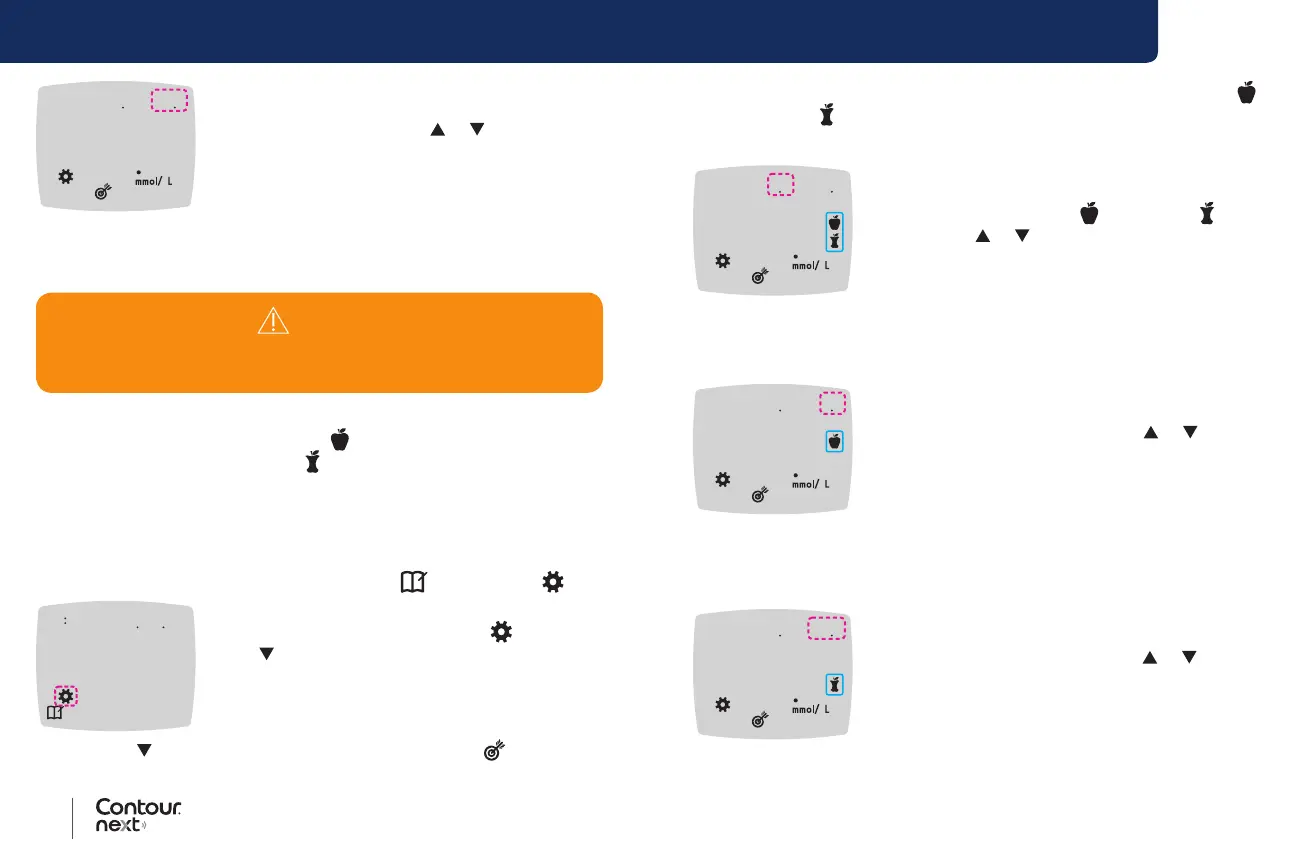
7. To change the blinking High end of the Overall
Target Range, press the
or button.
8. To set the High end, press the OK button.
The meter returns to the Home screen.
Change Individual Target Ranges
When the Meal Marker feature is On, you have 2 Target Ranges on your
meter: a Before Meal Target Range
(which is the same as Fasting)
and an After Meal Target Range
. When the Meal Marker feature is
O, there is only 1 Overall Target Range.
You can change these ranges in Settings in your meter and in the
Contour Diabetes app.
1. Press and hold the OK button until the meter turns on.
The Home screen has 2 options: Logbook
and Settings .
10 45 26 718
2. To highlight the Settings symbol , press
the button.
3. When the Settings symbol is blinking, press
the OK button to enter Settings.
4. Press the
button repeatedly until the Target symbol is blinking,
then press the OK button. The meter displays the Low Target screen.
WARNING
Discuss your Target Range settings with your health care
professional.
NOTE: There is only one Low target number for both the Before Meal
and After Meal
Target Ranges.
Change Low for Both Target Ranges
39 -72
39
5. To change the blinking Low for both Target
Ranges (Before Meal
, After Meal ),
press the or button.
6. To set the Low end of both Target Ranges,
press the OK button.
The meter displays the Before Meal High
Target screen.
Change Before Meal Target Range
39 -72
72
7. To change the blinking High end of the Before
Meal Target Range, press the
or button.
8. To set the High end, press the OK button.
The meter displays the After Meal High
Target screen.
NOTE: The Before Meal Target Range is also the Target Range for a
blood glucose reading marked as Fasting.
Change After Meal Target Range
39 -1 00
100
9. To change the blinking High end of the After
Meal Target Range, press the or button.
10. To set the High end, press the OK button.
The meter returns to the Home screen.