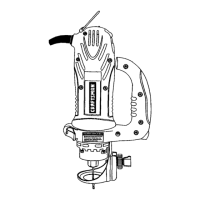
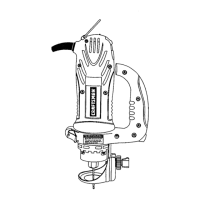
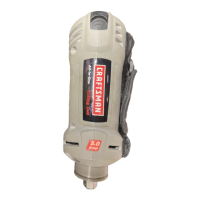
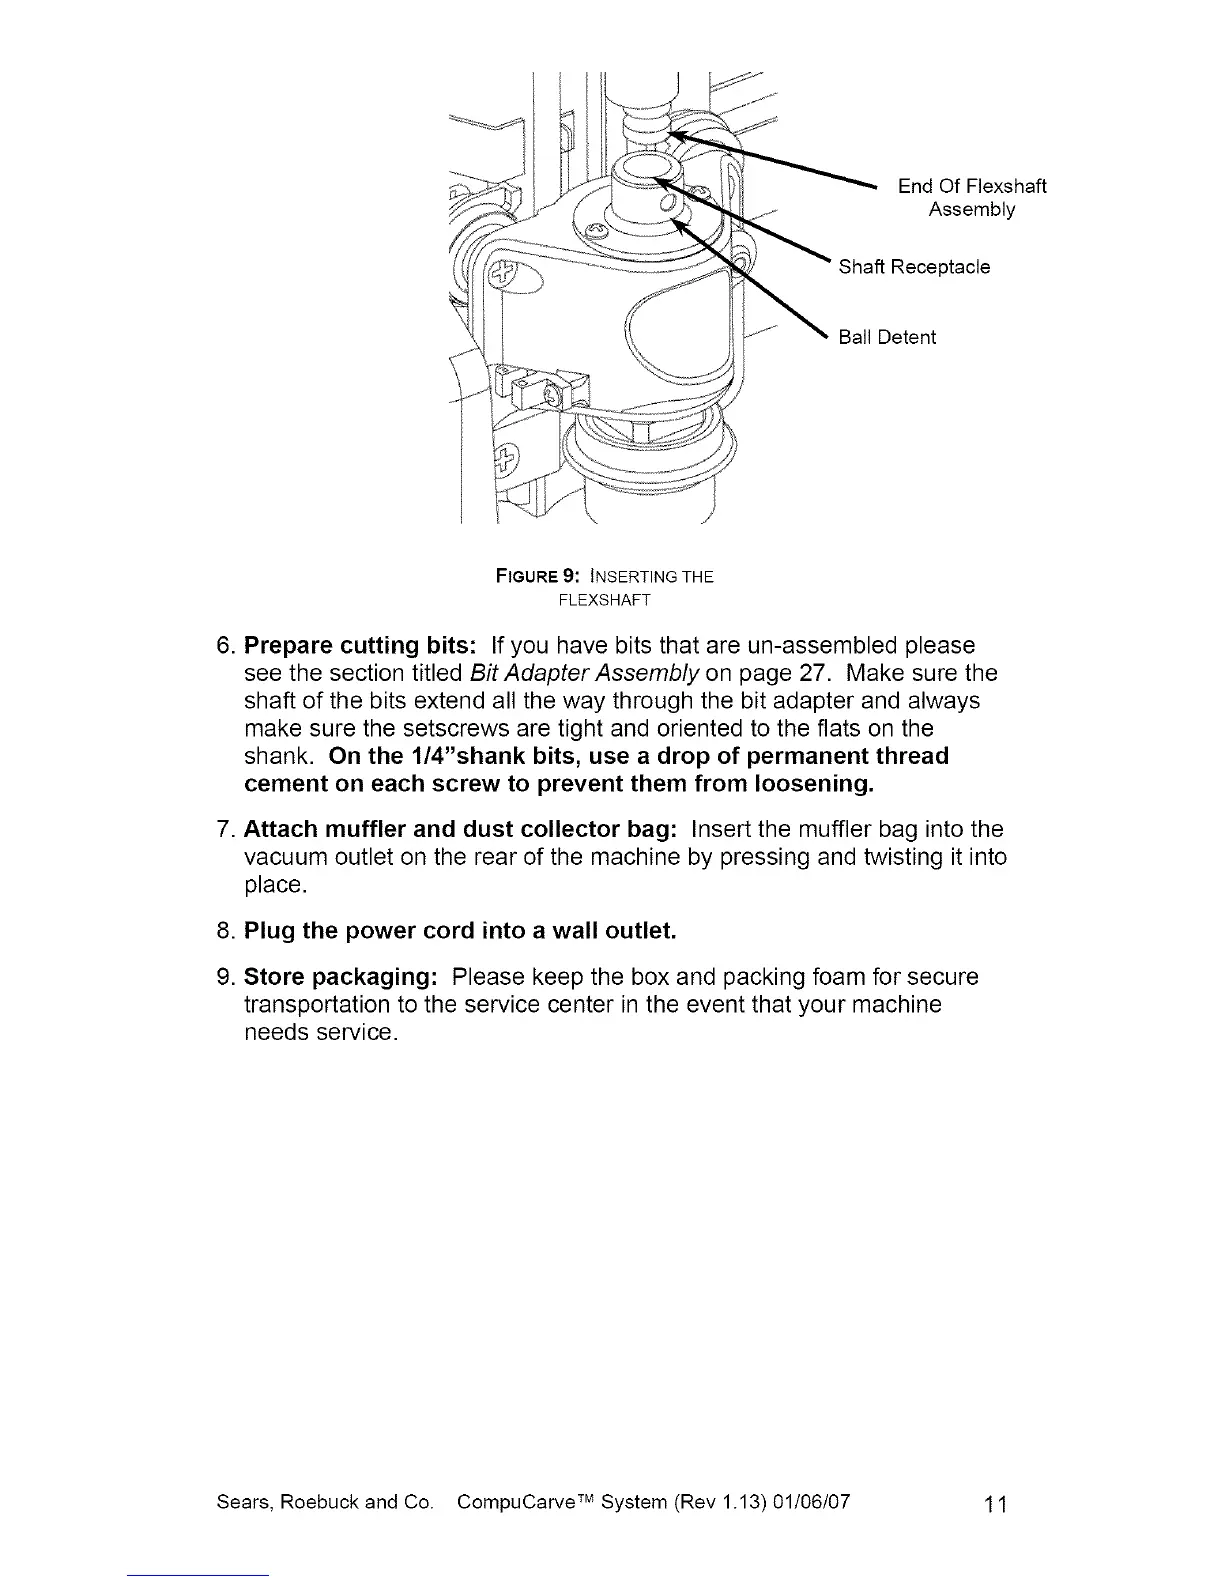
End Of Flexshaft
Assembly
Shaft Receptacle
Ball Detent
FIGURE 9" INSERTING THE
FLEXSHAFT
6. Prepare cutting bits: If you have bits that are un-assembled please
see the section titled Bit Adapter Assembly on page 27. Make sure the
shaft of the bits extend all the way through the bit adapter and always
make sure the setscrews are tight and oriented to the flats on the
shank. On the 1/4"shank bits, use a drop of permanent thread
cement on each screw to prevent them from loosening.
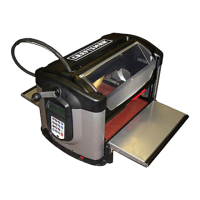
7. Attach muffler and dust collector bag: Insert the muffler bag into the
vacuum outlet on the rear of the machine by pressing and twisting it into
place.
8. Plug the power cord into a wall outlet.
9. Store packaging: Please keep the box and packing foam for secure
transportation to the service center in the event that your machine
needs service.
Sears, Roebuck and Co. CompuCarve TM System (Rev 1.13) 01/06/07 11
 Loading...