Troubleshooting the Board Sensor
If the board sensor error cannot be resolved by cleaning the sensor as
in the above steps you can further troubleshoot the problem. To check
the status of the board edge sensor, go to the Main Menu-Options-
Sensor Check menu (Item 7). Use the arrow keys to find Board Sensor
on the bottom line of the display and press ENTER. Do the following
checks:
O
O
Load a board lower the head and check the reading displayed on
the LCD. The correct reading should be in the range of 150 to 170.
Check the reading displayed on the LCD when the sensor is not
over a board. The correct reading should be less then 10 and
ideally 0.
Raise the head, so that you can place your hand underneath the
board sensor. Use your hand to drive the Board Sensor reading to
go greater than 50. Quickly remove your hand from under the
sensor. You should see the reading drop immediately to the no
board reading. The correct reading should be less then 10 and
ideally 0.
If any of the checks fail, ensure the sensor is clear of dust and recheck.
If the operation does not improve, contact CompuCarve.
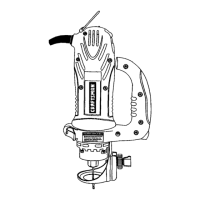
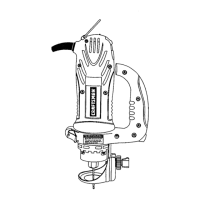
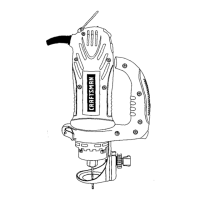
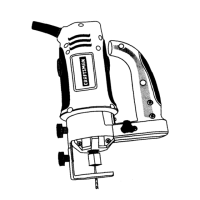
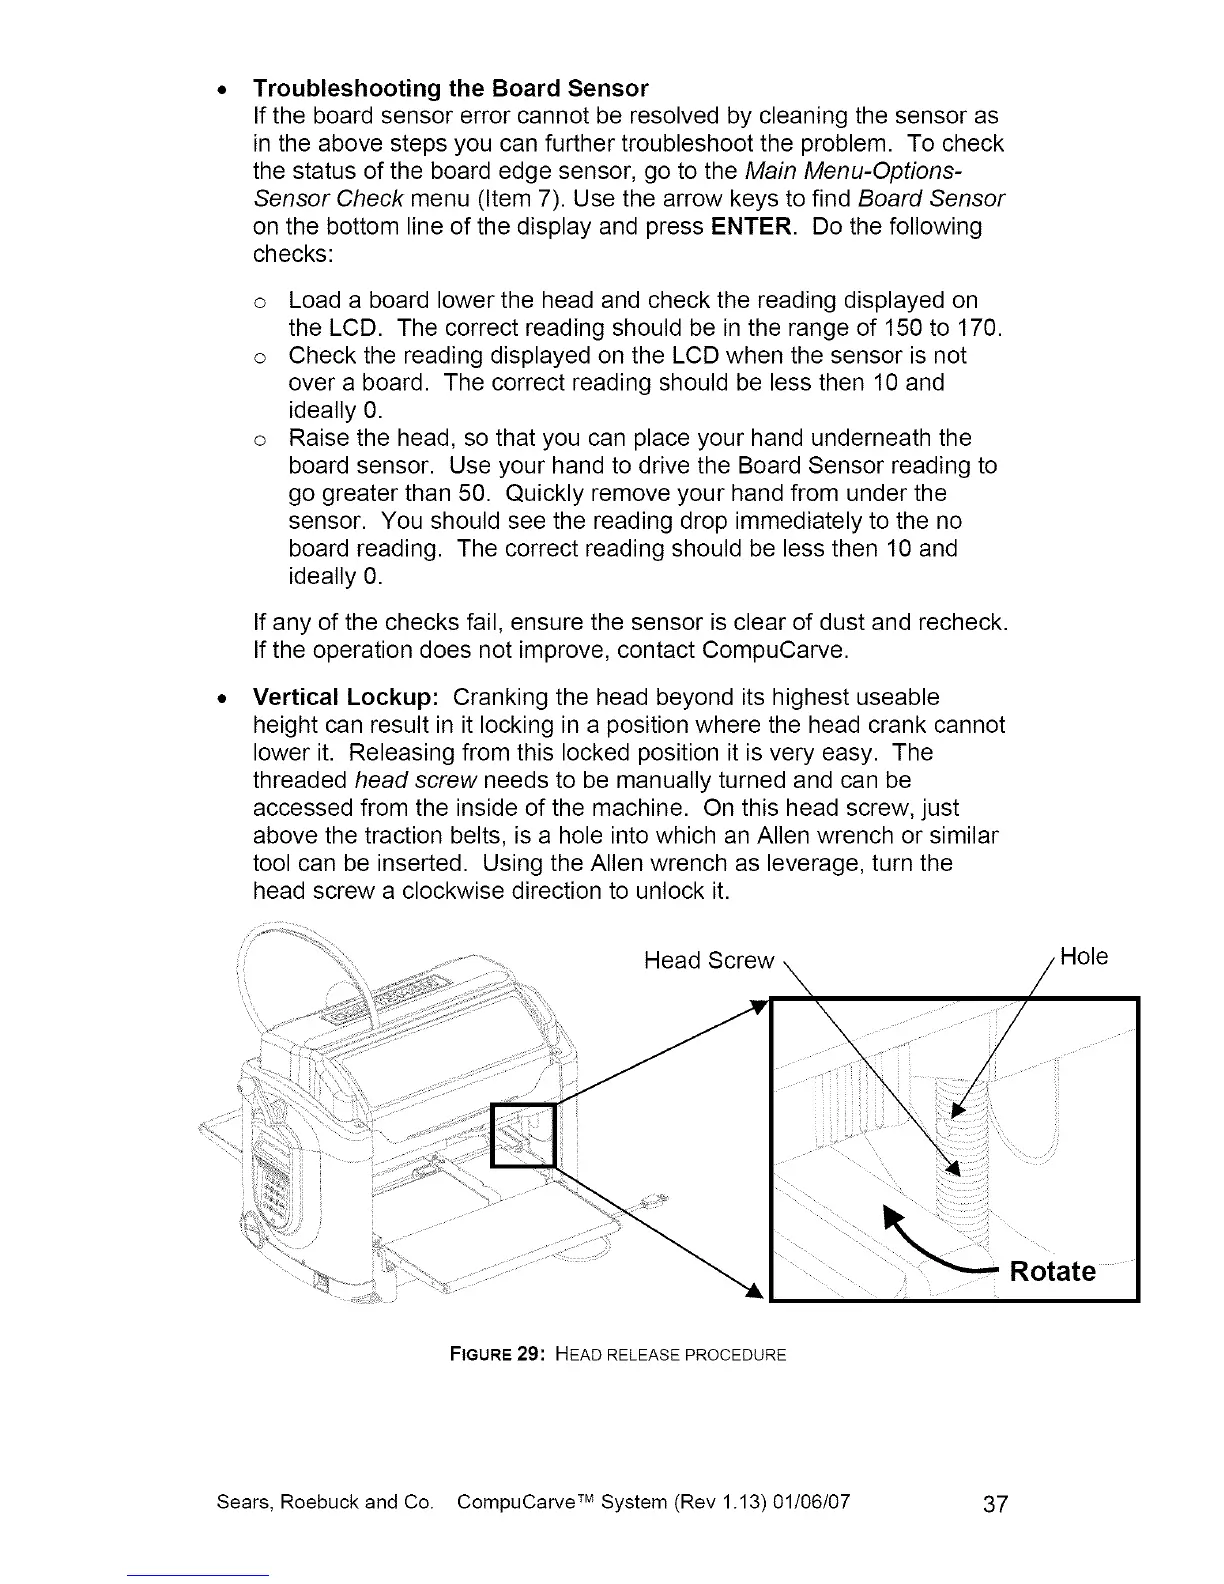
Vertical Lockup: Cranking the head beyond its highest useable
height can result in it locking in a position where the head crank cannot
lower it. Releasing from this locked position it is very easy. The
threaded head screw needs to be manually turned and can be
accessed from the inside of the machine. On this head screw, just
above the traction belts, is a hole into which an Allen wrench or similar
tool can be inserted. Using the Allen wrench as leverage, turn the
head screw a clockwise direction to unlock it.
Head Screw
Hole
i!_i_iiii
Rotate
i
i
FIGURE29: HEAD RELEASE PROCEDURE
Sears, Roebuck and Co. CompuCarve TM System (Rev 1.13) 01/06/07 37
 Loading...