28
4.Enter either 1 or 2 for appropriate selection
5.Using the numeric key pad enter the time , , ,
6.Enter either 1 or 2 for appropriate selection
7.The display will scroll to the next timer to set
8.Repeat steps 1 through 7 until all seven days of the week have the timer set for their appropriate time to turn ON and
time to turn OFF.
The oven is now programmed for automatic timing. When in the timing mode DO NOT use the ON/OFF
switch to turn the oven ON and OFF, the switch must remain in the ON position for timing mode operation.
When the timer cycles the oven OFF the display will read “TIMING”. When the timer cycles the oven ON
again the operational status display will resume.
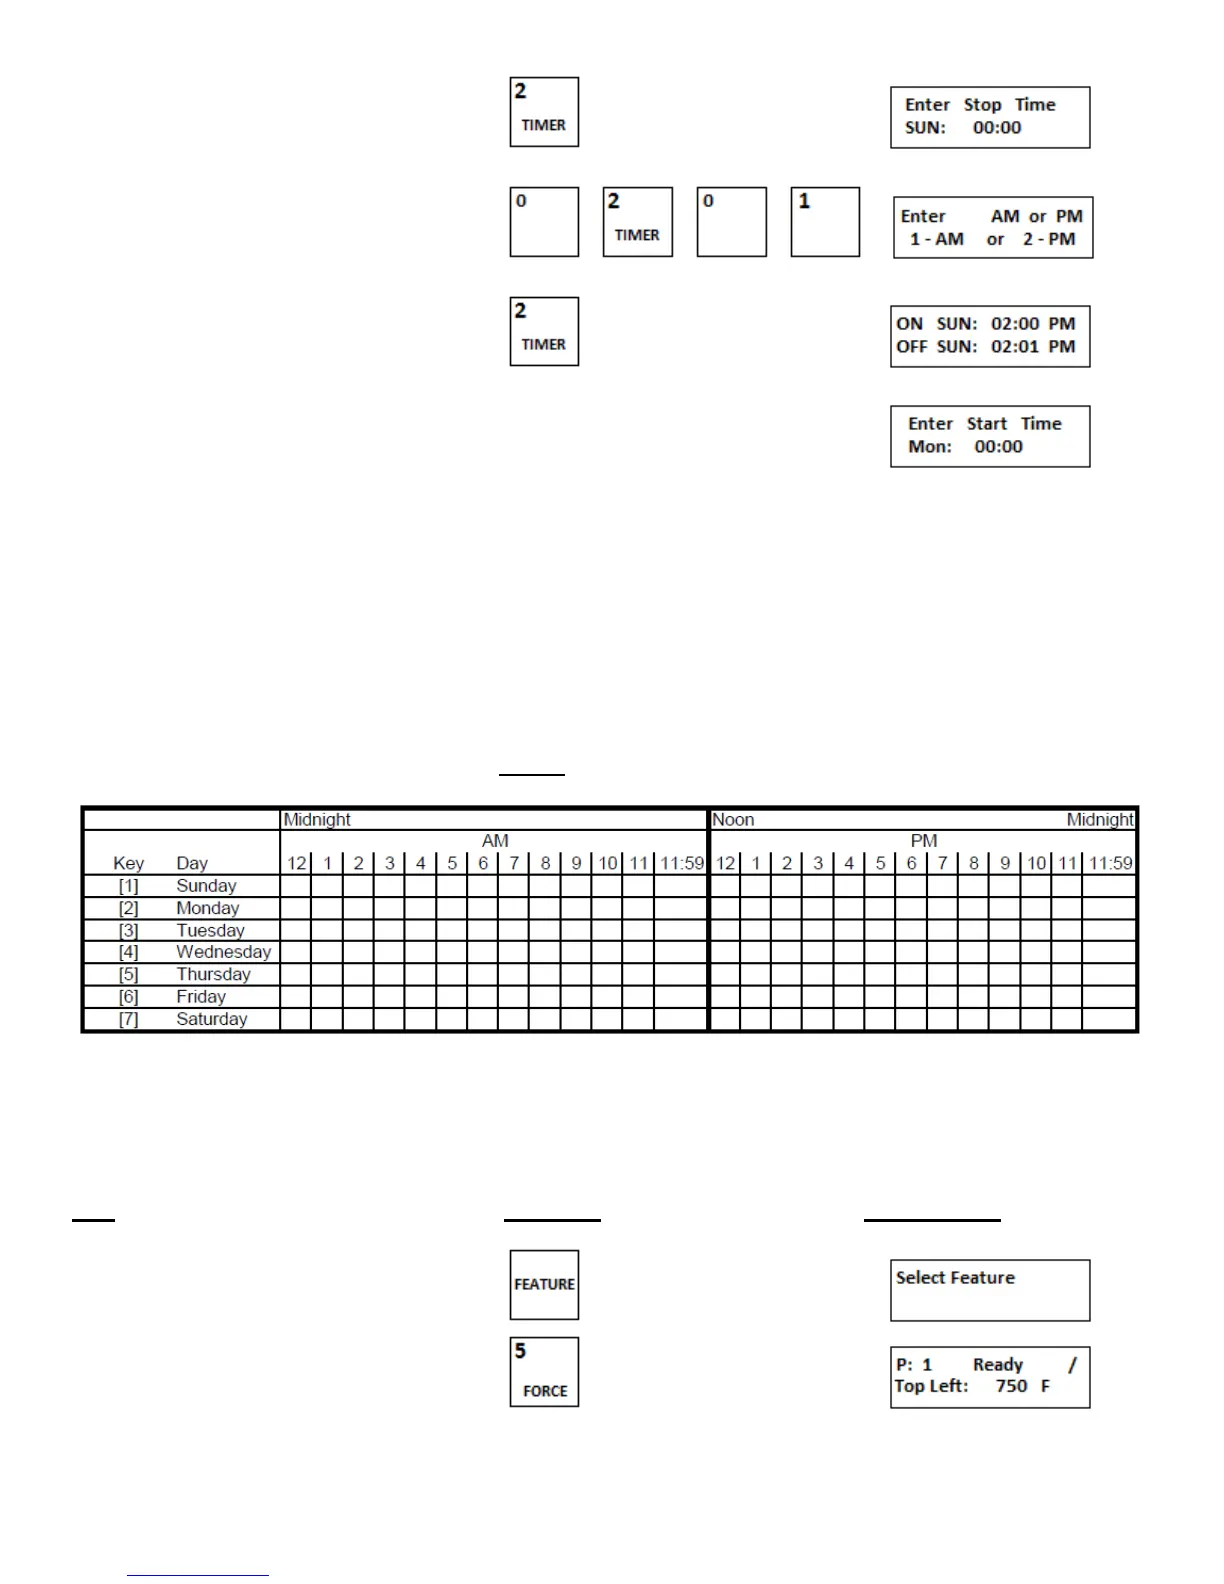
As stated earlier, the timer program only allows for on ON and OFF cycle per 24 hour day, midnight to
midnight. When choosing an ON and OFF time use the following chart. When the chosen times are plotted
it can be determined if there is a time conflict. The chart also provides a reference while the timers are
being set. Important: OFF times cannot fall into the AM hours of the next day.
Figure 3-6
f. Force out of automatic timing
The FORCE feature allows the user to remove the oven from automatic timing mode and turn it ON without changing the
timer settings. When in normal operation mode FORCE has no effect.
Step Press Key Display Reads
1.Press FEATURE key
2.Press FORCE key