BODY/CHASSIS
21
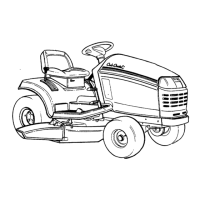
5. Remove the nuts from the under side of the foot
rests. See Figure 4.16.
6. Remove the brake and drive pedals.
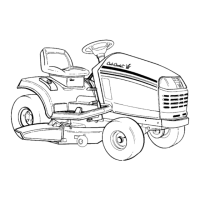
7. Remove the screw from the center of the fender.
See Figure 4.17.
8. Remove the fuel cap.
9. Standing behind the tractor, lift the fender up till it
clears the studs for the seat.
Figure 4.16
Remove these nuts
Figure 4.17
Remove this screw
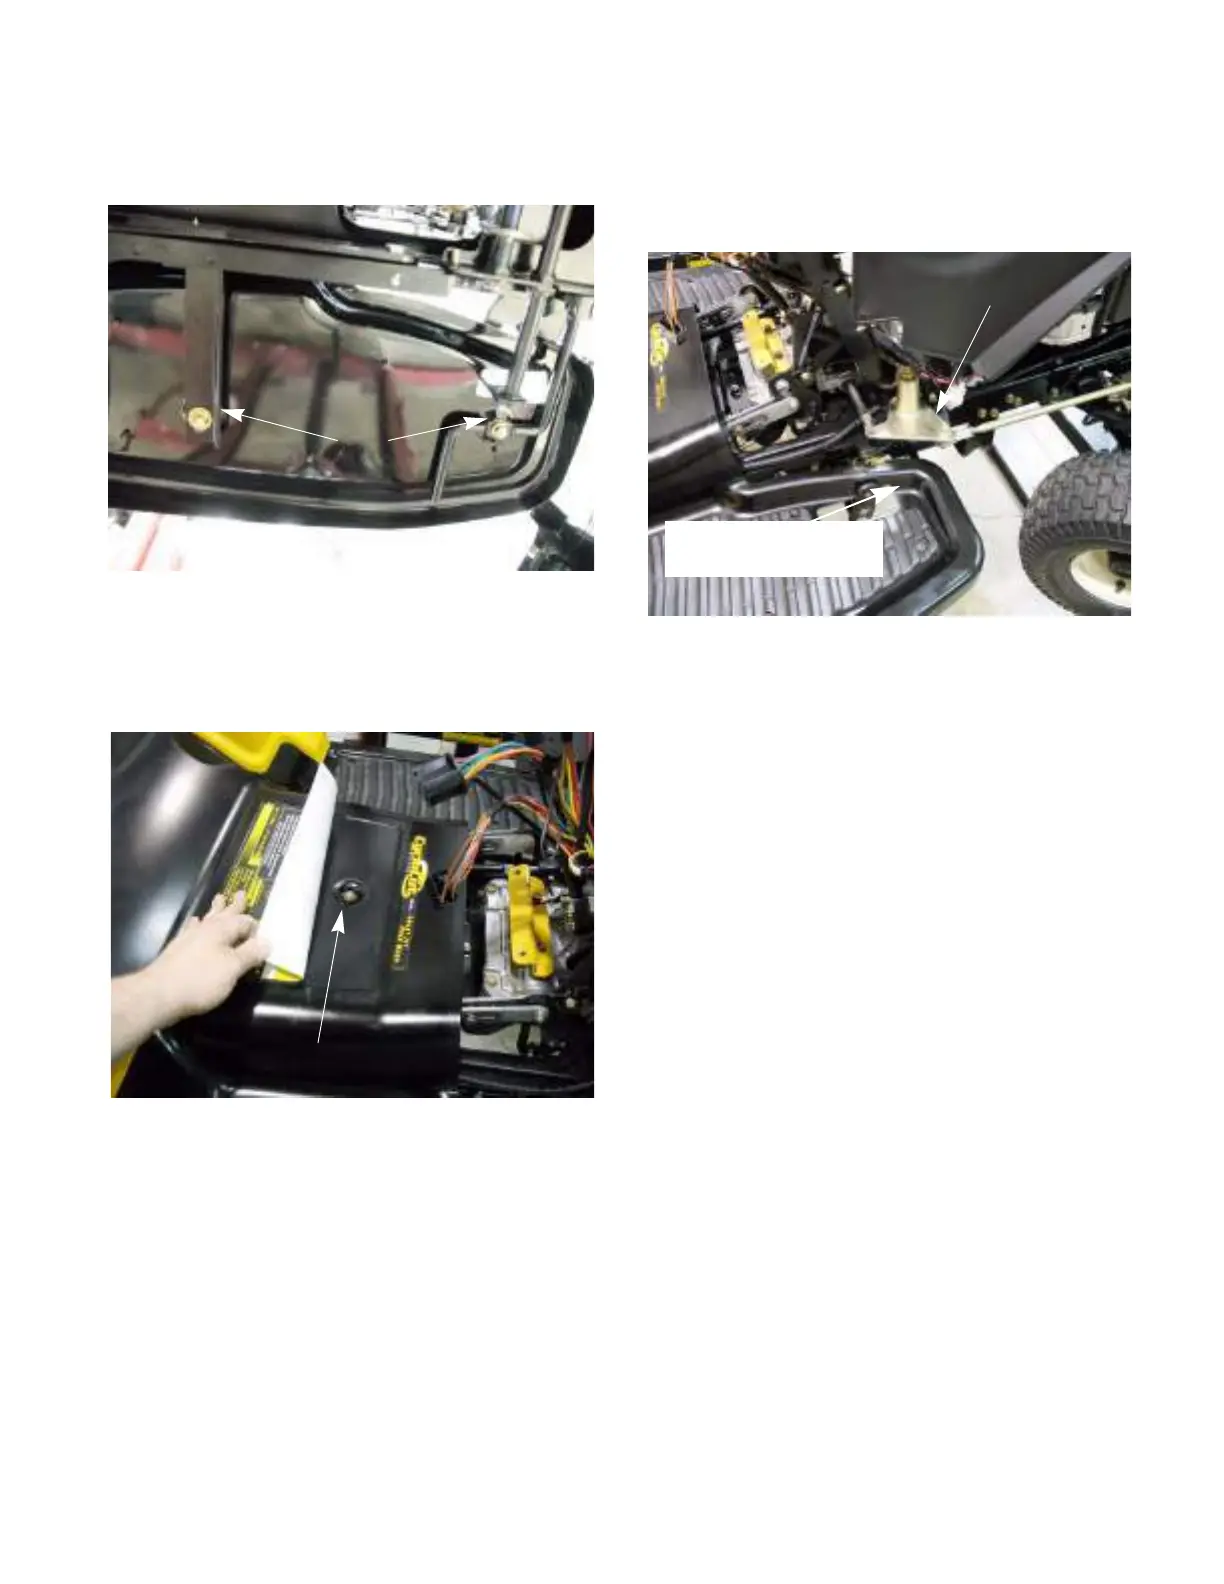
10. Place the steering wheel on the steering shaft.
Turn the wheels to the left and right to allow the
fenders to clear the steering arm assembly.
See Figure 4.18.
NOTE: When lifting the fender off of the tractor,
clear the left side first and rotate the fender to
clear the deck lift lever.
11. Install the fender by following the previous steps
in reverse.
Figure 4.18
Steering arm assembly
Place some tape
here to protect the paint
 Loading...