70
71
It is very important to check the front wheel
connection to the bicycle. Failure to properly
tighten may cause the front wheel to dislodge.
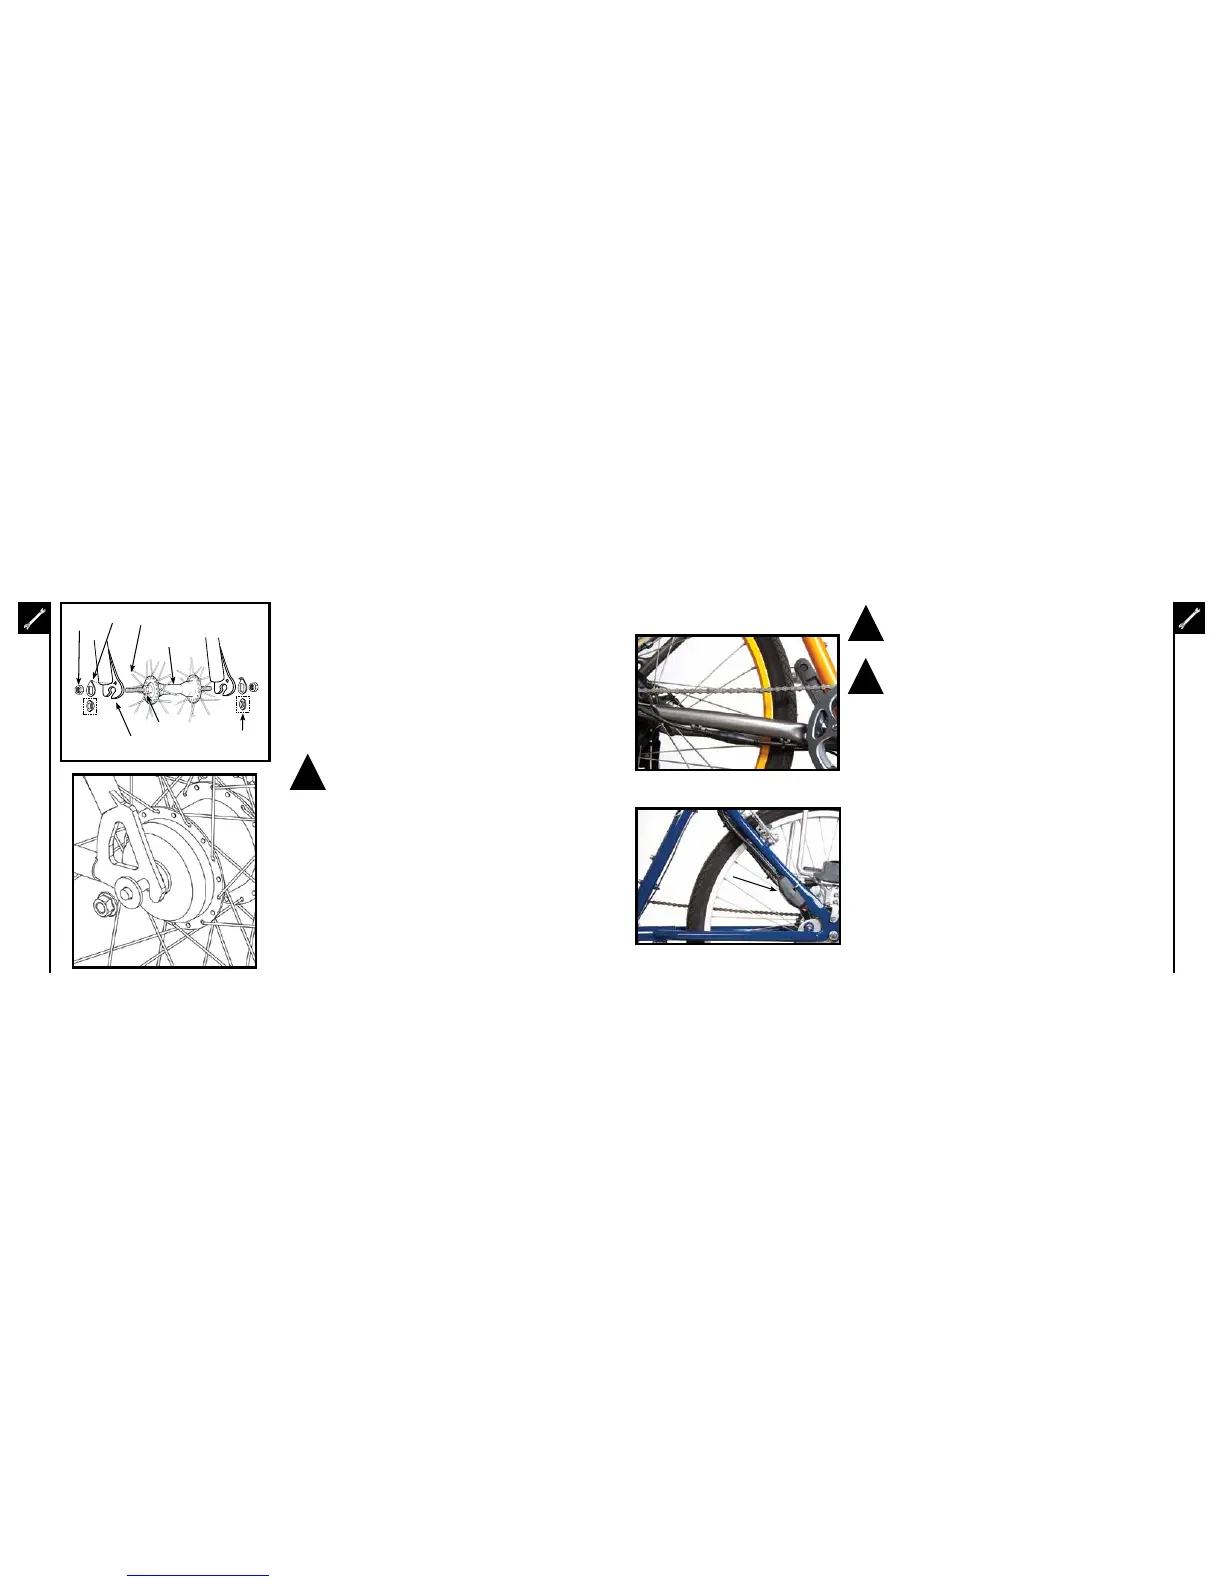
Axle Nut
Axle
Hub
Cone Nut
Fork Drop Out
Retaining
Washer
Step
Retaining
Washer
!
1. Make sure the brakes are loose enough to allow the wheel to
pass through the brake pads easily.
2. Place wheel into fork dropouts.
3. Installretainingwasherswithraisedlippointedtowardsthe
fork, and insert into the small hole of the fork blade. NOTE:
Some bikes may have step retaining washers in place of the
retaining washer (shown in dotted box). If so, install the step
retaining washer, raised portion sliding in to the fork dropouts.
4. Installaxlenutandtighten.Makesurethewheeliscentered
between the fork blades.
5. Spin the wheel to make sure that it is centered and clears the
brake shoes. Tighten the brakes if necessary.
Tighten both rear wheel axle nuts securely. Failure to do
this may cause the rear wheel to dislodge from the frame
dropouts resulting in serious damage or injury.
!
Periodically, disassemble the mechanism from the
bicycle and inspect for any wear or damage and replace if
the connections are made properly.
!
1. If the bicycle has rim brakes, make sure the brakes are loose
enough to allow the wheel to pass through the brake pads easily.
For disc brakes, no adjustment is required.
2. Place the wheel into the frame dropouts.
3. Slideawasherontoeachsideoftheaxle
4. Installaxlenutsandtighten.Makesurethewheeliscenteredin
the frame. This may be easiest with the bike turned upside-down.
5. Spin the wheel to make sure that it is centered and clears the
brake shoes. Tighten the brakes if necessary.
1. If the bicycle has rim brakes, make sure the brakes are loose
enough to allow the wheel to pass through the brake pads easily.
For disc brakes, no adjustment is required.
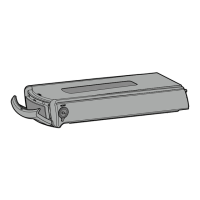
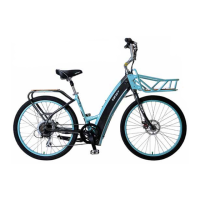
2. Most IZIP bikes have a plug or quick-disconnect box located on
the seat stay or chain stay. These allow the motor to be easily
disconnected from the controller. Simply undo the single large
plug(Zuma,E3Metro,Ultra,ViaRapido)oropentheblackplastic
box and undo the five plugs inside (most other IZIP bikes).
3. Withthebicycleinastandorupside-down,loosentheaxlenuts
then remove the wheel from the bicycle.
E3Metro,showingquickdisconnectplugon
chain stay.
Via Lento, showing quick-disconnect box on
seat stay.