34
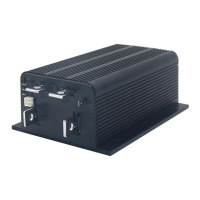
Curtis PMC 1204/1205 Manual
Bench Test Procedure
A. Hook up the controller as shown. Connect the voltmeter leads to the
controller’s B+ and B- terminals.
B. Turn on the power switch (not the keyswitch) and watch the
voltmeter. Its reading should build up slowly over several seconds to
within a couple of volts of full battery voltage. If this voltage does not
come up, the controller is bad.
C. Now turn on the keyswitch. The main contactor should turn on and
the voltage at the controller’s B+ and B- terminals should now equal
the full battery voltage. Move the potbox lever through its range. The
lamps should go smoothly from full off to full on with the pot.
D. If the controller has HPD, test this feature as follows:
1. Turn off the keyswitch.
2. Move the potbox lever about halfway.
3. Turn the keyswitch switch on. Verify that the lamps
do not come on until the potbox lever is moved most
of the way toward OFF and then moved back up.
E. Test the controller’s potbox fault protection feature by pulling off one
of the potbox’s two connections to the controller’s throttle input
terminals while the lamps are on (potbox lever in the ON position).
The lamps should turn off. With the potbox lever still in the ON
position, reconnect the wire. The lamps should smoothly increase in
brightness to their previous level.
F. Finally, remove the controller from the test setup and check its in-
ternal plug diode, as described in Troubleshooting Procedure 4-G .
TROUBLESHOOTING & BENCH TESTING
 Loading...