Network Setup
112
To configure your CyberGuard SG appliance as a DHCP server, you must set a static IP
address and netmask on the network interface on which you want the DHCP server to
run; see the Direct Connection section of the chapter entitled Network Connections.
To begin configuring the CyberGuard SG appliance’s DHCP server, select DHCP Server
from the Network Setup section of the web management console’s main menu.
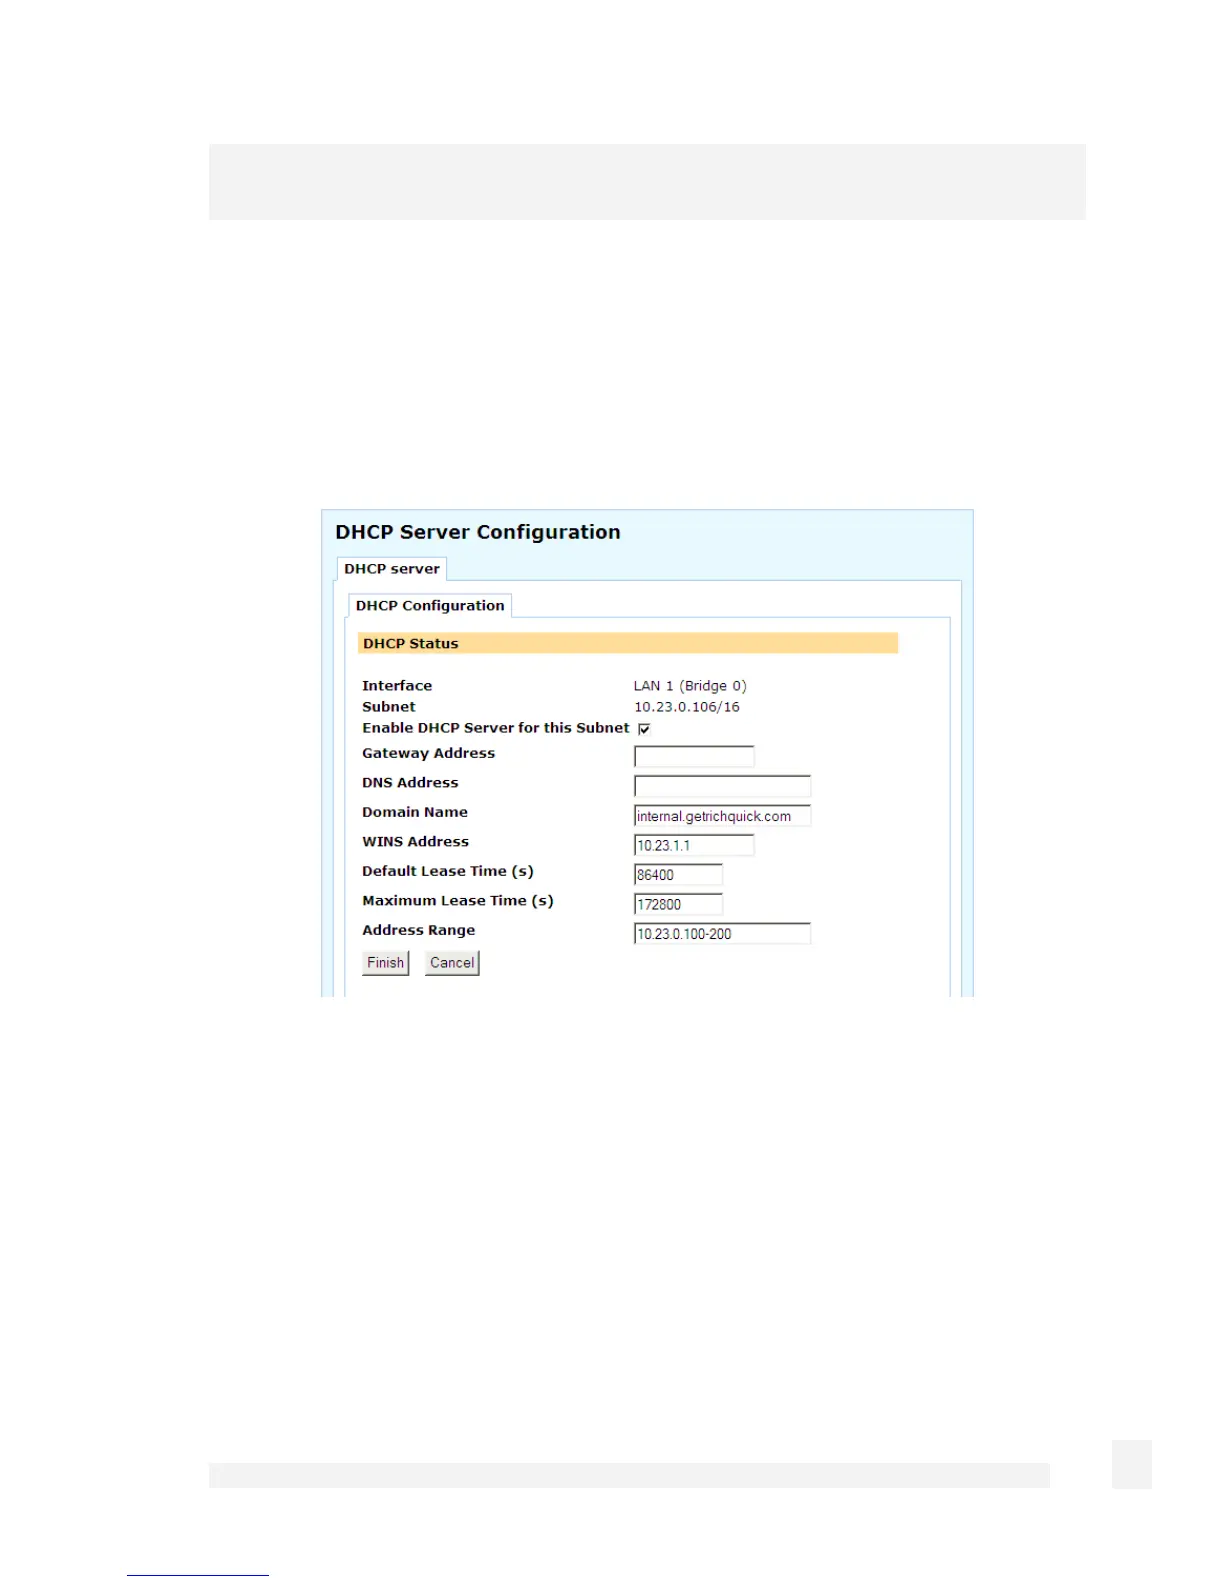
DHCP configuration
Click the Edit icon next to the network interface on which you wish to edit or enable a
DHCP server.
To configure the DHCP server, follow these instructions.
• Check the Enable DHCP Server for this Subnet checkbox.
• Enter the Gateway Address to issue the DHCP clients. If this field is left blank, the
CyberGuard SG appliance's IP address is used.
• Enter the DNS Address to issue the DHCP clients. If this field is left blank, the
CyberGuard SG appliance's IP address is used. Leave this field blank for automatic
DNS server assignment. If your CyberGuard SG appliance is configured for DNS
masquerading, you should either leave this field blank, or enter the IP address of the
LAN port of the CyberGuard SG appliance.
 Loading...