Network Setup
92
Note
Additionally, switch A on the SG560, SG565 and SG580 (but not the SG710 or SG710+)
supports port based VLANs. One benefit of this feature is that you are able to assign
individual functions to each of the ports on the switch, e.g. you might decide to use port
A2 to connect to a DMZ, and port A3 as a second Internet connection. See the section
entitled Port Based VLANs later in this chapter for details.
Adding VLANs
On the Network Setup page under the Connections menu, select VLAN from the pull
down menu and click Add.
•
Interface: Select the network interface on which to add the VLAN
•
VLAN ID: If this VLAN interface is to participate on an existing VLAN, the VLAN ID
number must match the existing VLAN’s ID
•
Port / Mode: If this table is displayed, this interface has been enabled for port based
VLANS; see the Port Based VLANs section later in this chapter
Click Update. You have now added a tagged VLAN interface that you may configure
through the main Network Setup -> Connections menu as you would any other
network interface.
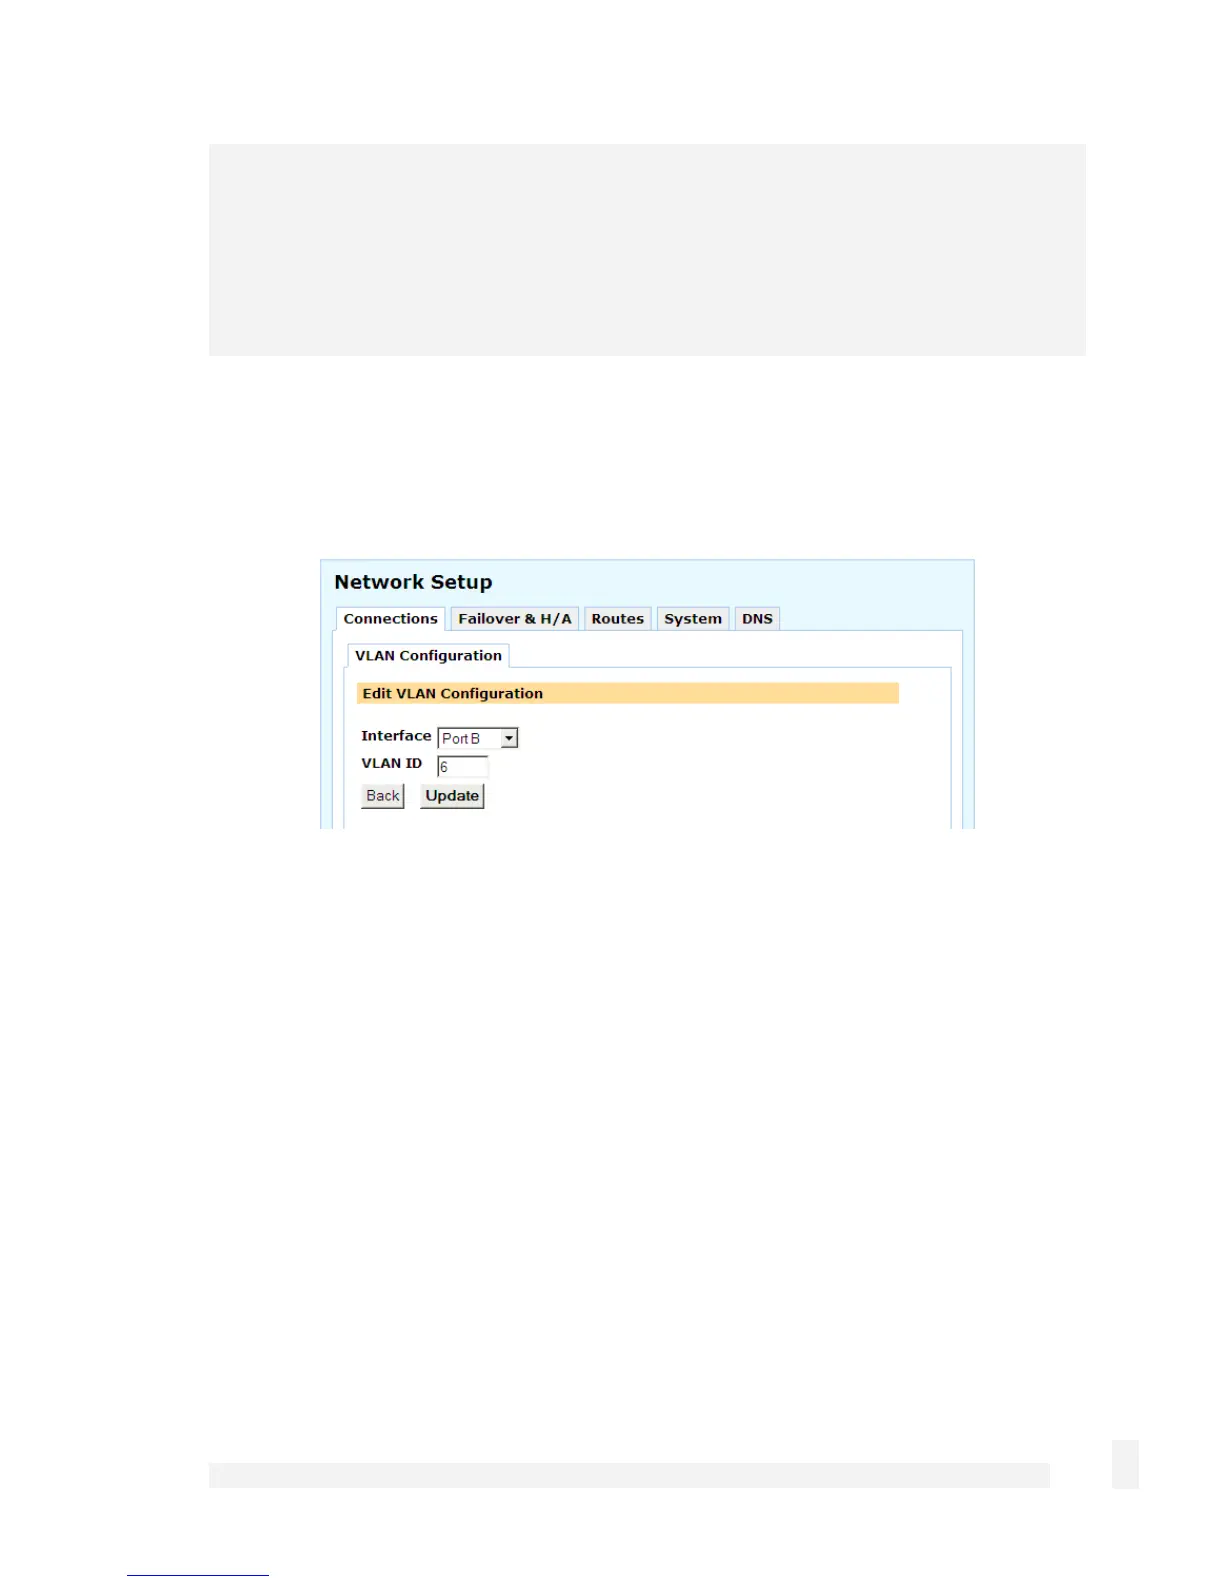
Editing VLANs
Once a VLAN has been added, you may edit the settings you entered in Adding VLANs
by clicking the Edit icon alongside the VLAN interface in the main Network Setup ->
Connections table.
 Loading...